Esta versão pode conter edições incorretas. Mude para o último instantâneo verificado.
O que você precisa
-
Este passo não foi traduzido. Ajude a traduzi-lo
-
Remove the five screws indicated using a Philips head screwdriver.
-
-
Este passo não foi traduzido. Ajude a traduzi-lo
-
Pull hard on the browning lever until it detaches from the toaster.
-
It will take some force to pull it off.
-
Once the tab is off, lift up on the housing to remove it from the toaster.
-
-
-
Este passo não foi traduzido. Ajude a traduzi-lo
-
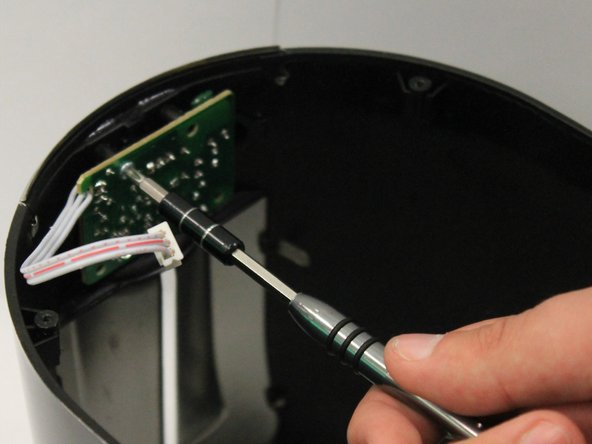
Once the housing has been pulled upwards, carefully uplug the wire connecting the browning dial circuit board to the main circuit board.
-
-
Este passo não foi traduzido. Ajude a traduzi-lo
-
There are four screws on the circuit board for the browning dial.
-
Unscrew each of them with a Philips head screwdriver to detach the board and remove the board and dial from the toaster housing.
-
-
Este passo não foi traduzido. Ajude a traduzi-lo
-
There are two holes on the board where the pin from the browning dial can align.
-
Replace the browning dial by inserting the pin on the dial into one of the holes indicated.
-
Replace the entire circuit board if need be.
-


Equipe

University of North Texas, Team S8-G7, Riccardelli Fall 2018 Membro de University of North Texas, Team S8-G7, Riccardelli Fall 2018
UNT-RICCARDELLI-F18S8G7
Membros da 4
Autoria de 5 guias