Introdução
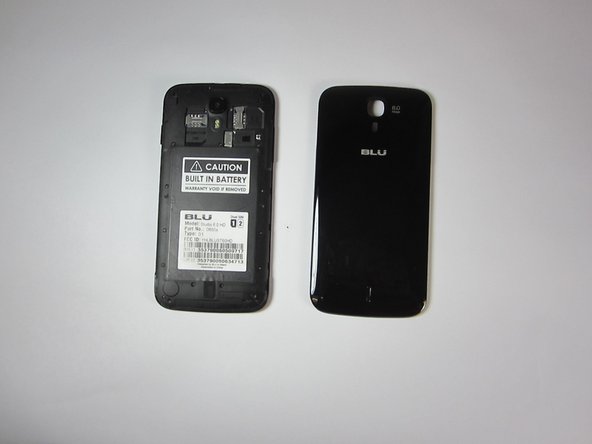
In this guide you'll be replacing your Blu Studio battery with a new one.
So along with the tools listed for this guide you will need to have already purchased a battery.
O que você precisa
-
-
To begin the removal of your back panel, first locate the lift tab on the bottom-right corner.
-
-
-
With your back panel already removed from the previous guide you'll need to acquire a Philips head screw driver size (PH00)
-
-
-
-
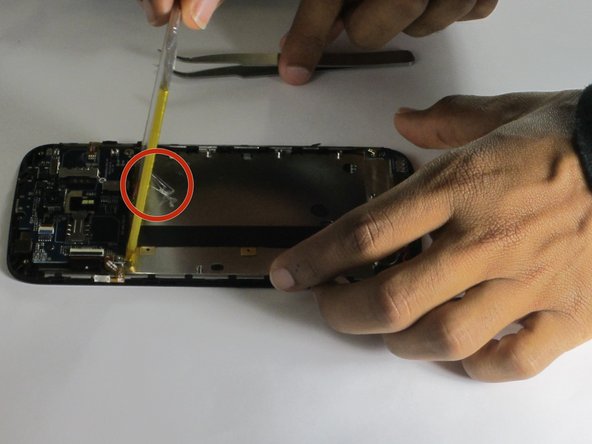
After removing all 16 screws you can begin the process of removing the battery housing panel.
-
You will need to use the thinner plastic prying tool to slowly outline the seem of the case starting from the top (near the camera).
-
Try to be careful around the side buttons as the plastic is weakest there.
-
After the top half of the case has been opened insert the thicker prying tool to keep the case open. This will help as the battery and battery housing have a suction cup like action that keeps them from separating.
-
-
-
With your back panel and battery housing removed you can proceed to replacing your battery.
-
Locate the white indicator and wired connections.
-
-
-
One way to tell if your battery needs to be replaced is water damage.
-
If you believe your phone has water damage an indicator on your battery will tell you if water has been in contact with your battery by turning pink or red.
-
-
-
Begin by lifting the battery from the phone frame. This can be done with plastic prying tools or tweezers.
-
The battery is held in place with thermal glue so it will offer some resistance.
-
-
-
This next step will involve your soldering workstation.
-
Begin by desoldering the wires.
-
At this point the battery can be removed and your replacement inserted in its place. (remember to properly dispose of your old battery).
-
Re-solder the wires back onto the new battery's connector board.(Depending on the battery replacement purchased, it may come with its own wires which will have to be desoldered as well)
-


To reassemble your device, follow these instructions in reverse order.
To reassemble your device, follow these instructions in reverse order.
Cancelar: não concluí este guia.
22 outras pessoas executaram este guia.
Equipe

USF Tampa, Team 9-1, Blackwell Fall 2014 Membro de USF Tampa, Team 9-1, Blackwell Fall 2014
USFT-BLACKWELL-F14S9G1
Membros da 3
Autoria de 8 guias
7 comentários
Thanks bro excelente muy bien explicado mi telelfono no prendia de un dia para otro y en cualquier otro celular solo habria sido cosa de sacar la bateria y volverla a insertar en en estos telefonos lamentablemente no viene la bateria soldada a una pequeña base la unica solucion fue destaparlo cortar el cable rojo y volvera unir añadiendole otro cable y soldandolo de nuevo asi prendio y no hubo problema con otros modelos de versiones mas sencillas de blu si tienen la bateria desmontable que mal que estos modelos vienen asi
All I want to be able to do is remove the battery so it can be replace, my biggest problem and most likely everyone biggest problem is removing the battery without damaging the the phone. And unfortunately there is little to no information indicating that step by step procedure in this guide.
I just de-soldered my three wires, however my new battery only came with the red and black wire. Where do I solder the yellow too. Replacement batteries are rarely the same as the original, but it is the correct model number.