Esta versão pode conter edições incorretas. Mude para o último instantâneo verificado.
O que você precisa
-
Este passo não foi traduzido. Ajude a traduzi-lo
-
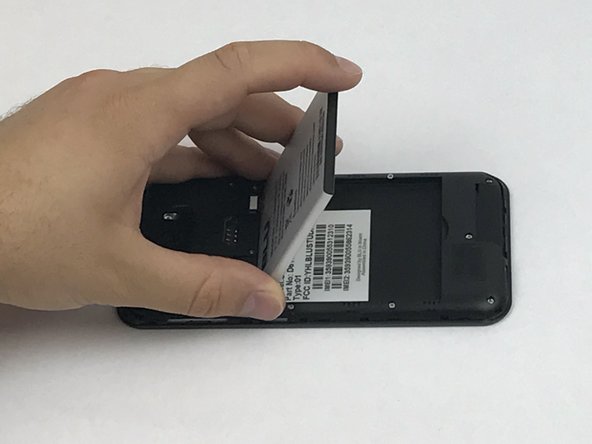
Locate the notch to remove the back panel at the lower left corner of the panel.
-
Insert the plastic opening tool or a fingernail into the notch.
-
Apply force upwards until back panel becomes loosened.
-
-
Este passo não foi traduzido. Ajude a traduzi-lo
-
Remove the loosened back panel and set aside.
-
Locate the notch to remove the battery.
-
-
-
Este passo não foi traduzido. Ajude a traduzi-lo
-
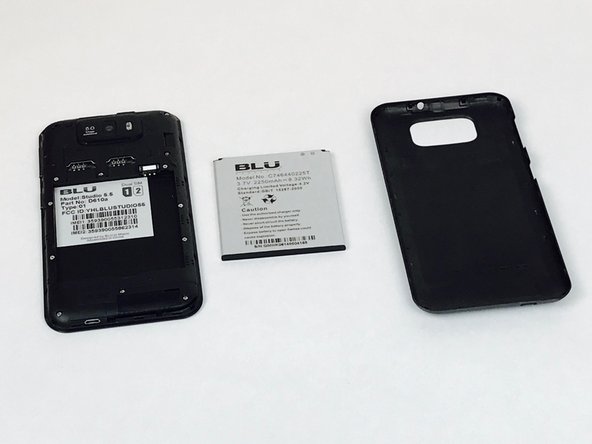
Insert a plastic opening tool or your fingernail into the notch and apply force upwards until the battery is loosened.
-
Remove the battery and set aside.
-
-
Este passo não foi traduzido. Ajude a traduzi-lo
-
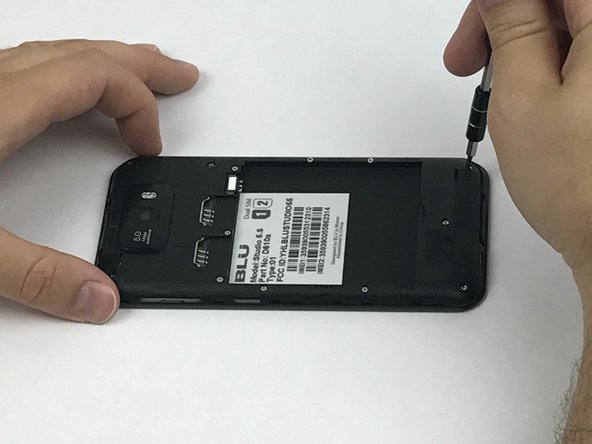
Locate all twelve screws along the back panel:
-
Seven 5mm screws.
-
Five 3.5mm screws.
-
Using a Phillips #000 screwdriver, remove all twelve screws.
-
-
Este passo não foi traduzido. Ajude a traduzi-lo
-
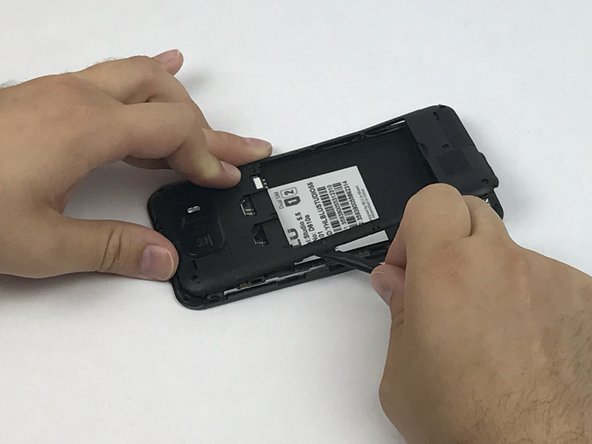
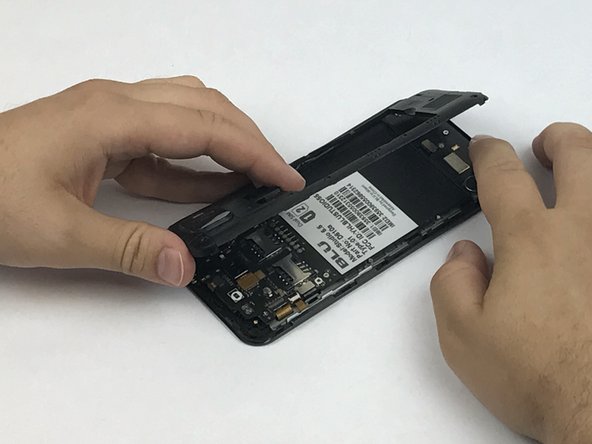
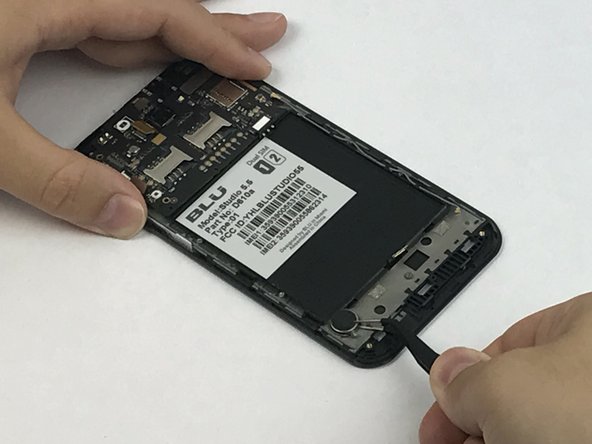
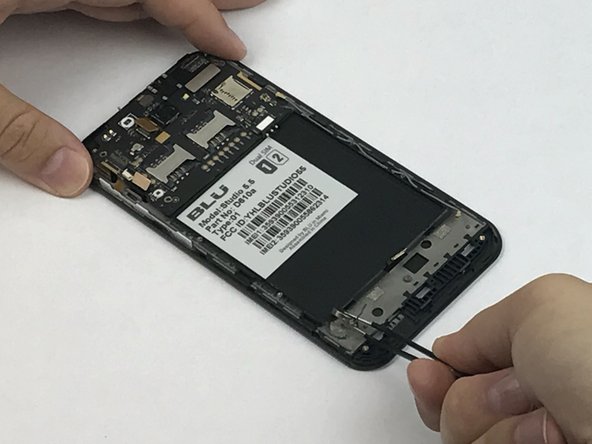
Now that all the screws have been removed, use a plastic opening tool to carefully pry at each of the corners until loosened.
-
Place the plastic opening tool inside the loosened panel and gently push upwards and move along the phone to remove the back panel.
-
Remove the panel as if you were turning the page of a book.
-
-
Este passo não foi traduzido. Ajude a traduzi-lo
-
Using a pair of tweezers grasp the speakers that are located below the battery and pry it off as it is glued onto the phone assembly.
-
You can now remove the speakers and replace them.
-


Equipe

USF Tampa, Team S1-G6, Nance Spring 2017 Membro de USF Tampa, Team S1-G6, Nance Spring 2017
USFT-NANCE-S17S1G6
Membros da 3
Autoria de 8 guias