Introdução
Work area should be lint free, clean and well lit.
O que você precisa
-
-
Open the rear panel to expose the battery and the chassis assembly. Remove the battery.
 Pergunte ao FixBot
-
-
-
Use a small, non-marring plastic opening tool to remove the lower-rear cover. (Credit cards and guitar picks work great.)
-
-
-
Use a T6 Torx screwdriver to loosen and remove the six screws from the chassis as shown.
-
Flip the phone over to the front and remove the plastic bezel.
-
-
-
-
Remove the midframe from the back of the phone, which should now be free after removing the screws. The green motherboard should now be exposed.
-
-
-
Remove the front-cover by carefully prying the side release tabs, located on the side of the phone.
-
-
-
Gently pry the side release tabs to lift the flexing keypad from the frame.
-
-
-
Gently lift the motherboard.
-
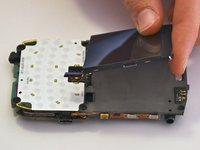
Locate the screen's ribbon cable underneath the motherboard, and detach it from the phone.
-
-
-
Carefully pry at the sides of the screen until the display assembly is free. Remove the display from the motherboard unit.
-


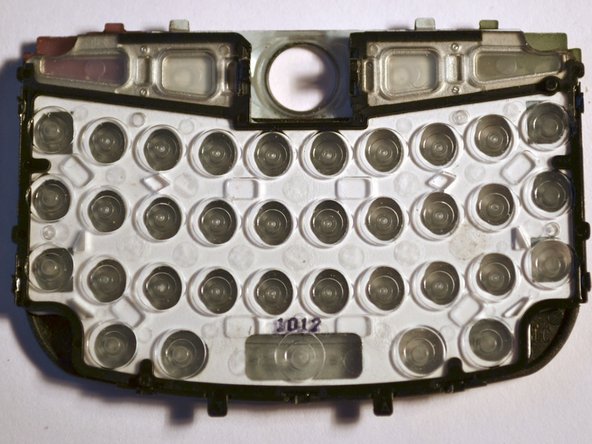
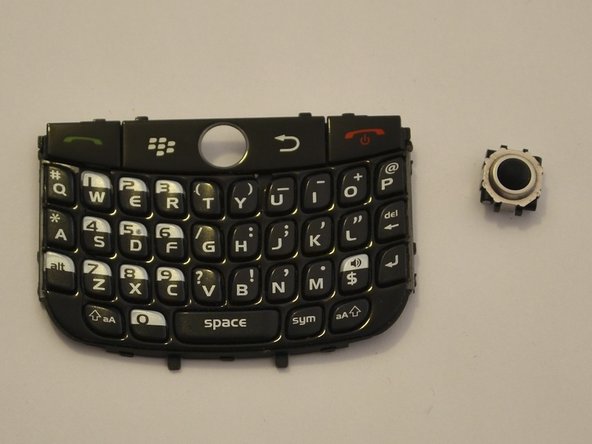
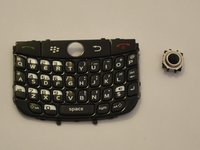


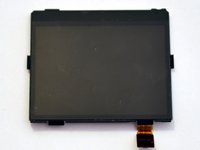
To reassemble your device, follow these instructions in reverse order.
Cancelar: não concluí este guia.
4 outras pessoas executaram este guia.

Equipe

Cuesta, Team 1-3, Zipperian Fall 2011 Membro de Cuesta, Team 1-3, Zipperian Fall 2011
CUESTA-ZIPPERIAN-F11S1G3
3 Membros
Autoria de 8 guias
