Esta versão pode conter edições incorretas. Mude para o último instantâneo verificado.
O que você precisa
-
Este passo não foi traduzido. Ajude a traduzi-lo
-
Remove the battery cover by applying pressure and sliding down the silver square on the back of the phone.
-
-
Este passo não foi traduzido. Ajude a traduzi-lo
-
Remove the battery by prying under it with your finger or the plastic opening tool.
-
Remove the four small 3/8" long screws using a 1/16" diameter torx screwdriver.
-
-
Este passo não foi traduzido. Ajude a traduzi-lo
-
Use a nylon spudger to carefully remove the two side bars of plastic.
-
-
Este passo não foi traduzido. Ajude a traduzi-lo
-
Use a nylon spudger to carefully pry the back casing off.
-
-
-
Este passo não foi traduzido. Ajude a traduzi-lo
-
Remove the bottom casing clip, it will easily unsnap when pulled
-
-
Este passo não foi traduzido. Ajude a traduzi-lo
-
Unhook both sides of the white wire from the motherboard using the plastic opening tool from before
-
-
Este passo não foi traduzido. Ajude a traduzi-lo
-
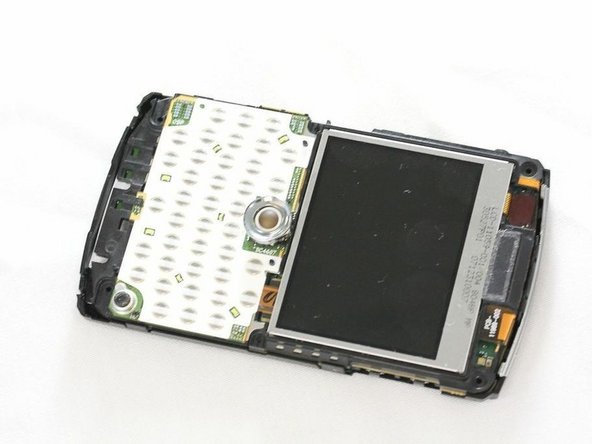
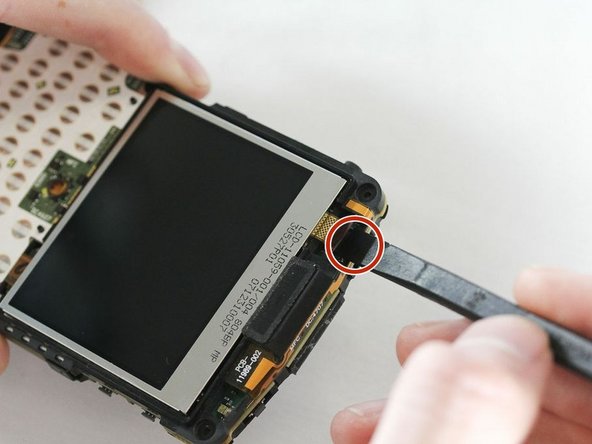
At the top of the phone, locate the gloss SATA cable strap connecting the LCD screen to the phone.
-
Using the prying tool, unattach this cable by levering under the connector
-
-
Este passo não foi traduzido. Ajude a traduzi-lo
-
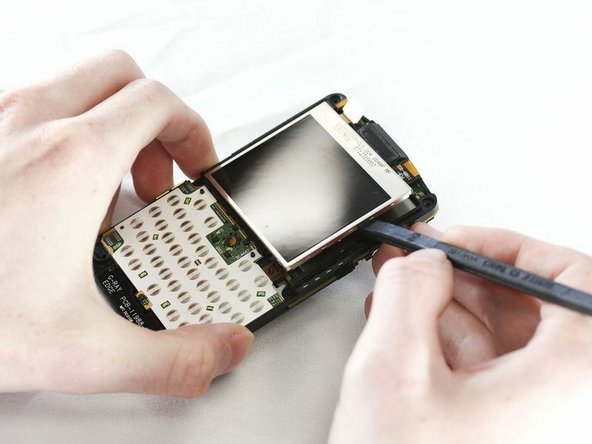
Using the prying tool, lever up the old screen as shown.
-
-
Este passo não foi traduzido. Ajude a traduzi-lo
-
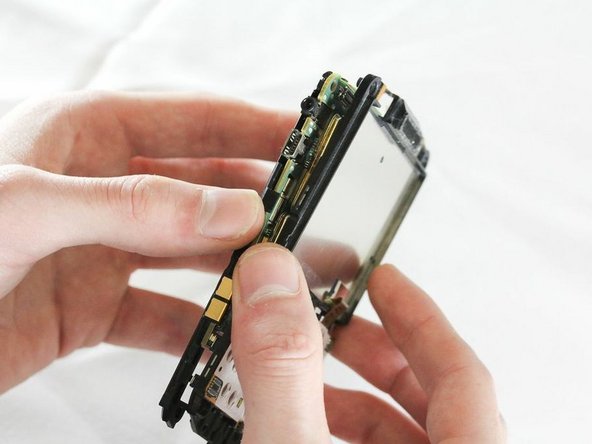
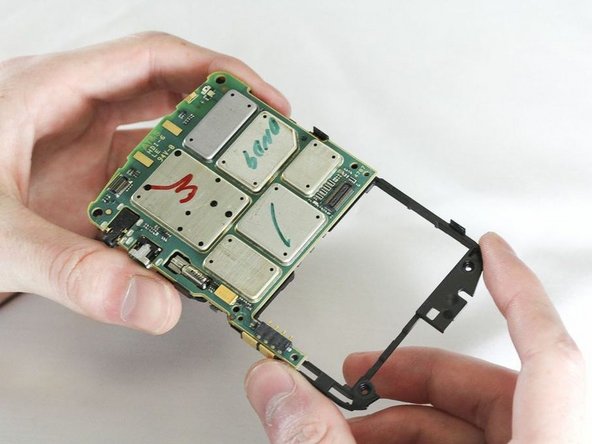
There will be two small clips on each side of the motherboard. Using the plastic opening tool unhook each clip one at a time
-
Once all four clips are unhooked you should be able to pull the motherboard from the casing using your hands.
-
After you remove the old motherboard, you can then replace it with a new one.
-


Cancelar: não concluí este guia.
3 outras pessoas executaram este guia.
Equipe

Cal Poly, Team 13-64, Johann Spring 2013 Membro de Cal Poly, Team 13-64, Johann Spring 2013
CPSU-JOHANN-S13S13G64
Membros da 4
Autoria de 7 guias