Ir para o conteúdo principal

Bidet Sprayer Hose Replacement

  1. Bidet Sprayer Hose Replacement, Spray Hose: passo 1, imagem 1 %32 Bidet Sprayer Hose Replacement, Spray Hose: passo 1, imagem 2 %32
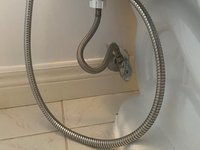
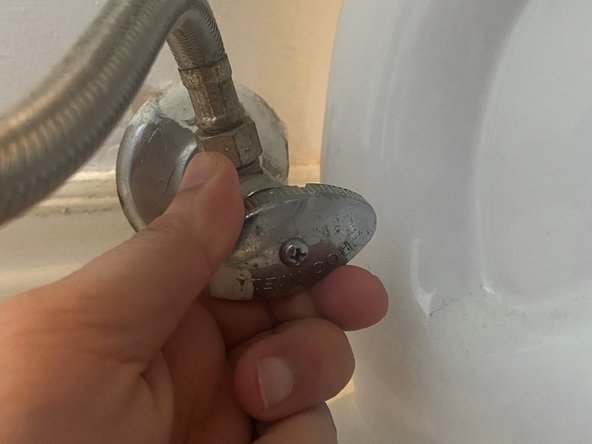
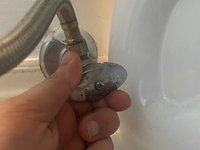
    • Turn off the main water valve under the toilet.

    • Rotate it clockwise until it is completely shut.

  2. Bidet Sprayer Hose Replacement: passo 2, imagem 1 %32
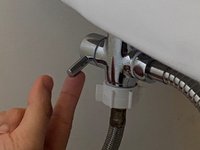
    • Push this valve downwards to shut off the bidet sprayer.

  3. Bidet Sprayer Hose Replacement: passo 3, imagem 1 %32 Bidet Sprayer Hose Replacement: passo 3, imagem 2 %32
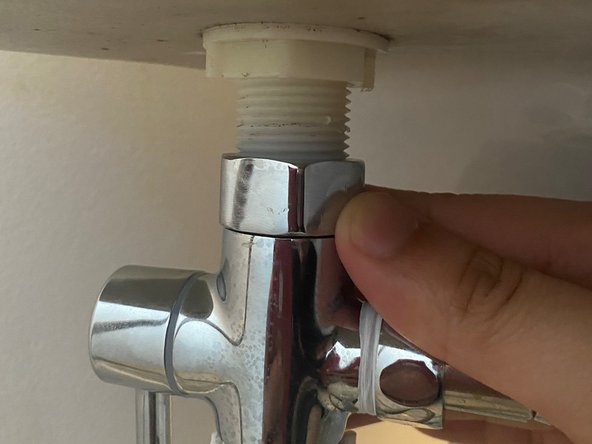
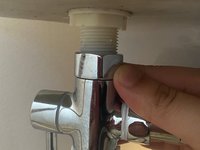
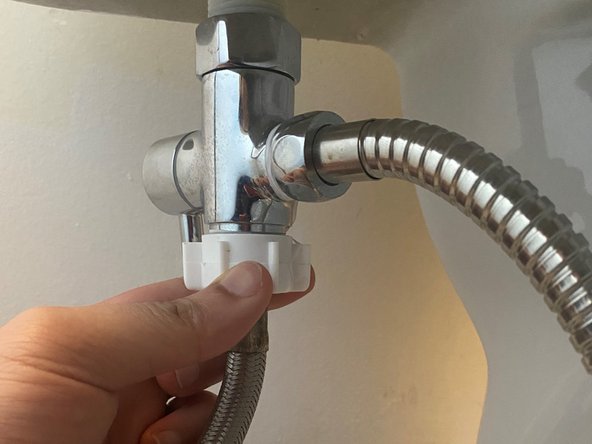
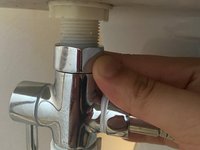
    • Disconnect the tee connector from the water supply by turning the knob counterclockwise.

    • Turn the knob counterclockwise to detach the tee connector from the toilet.

    • You may also flush out any water inside the bidet by straightening the hose and any water remaining will pour out of the end of the hose.

  4. Bidet Sprayer Hose Replacement: passo 4, imagem 1 %32 Bidet Sprayer Hose Replacement: passo 4, imagem 2 %32
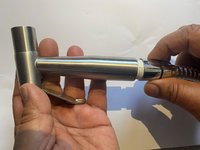
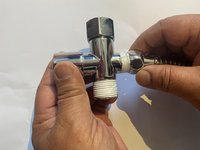
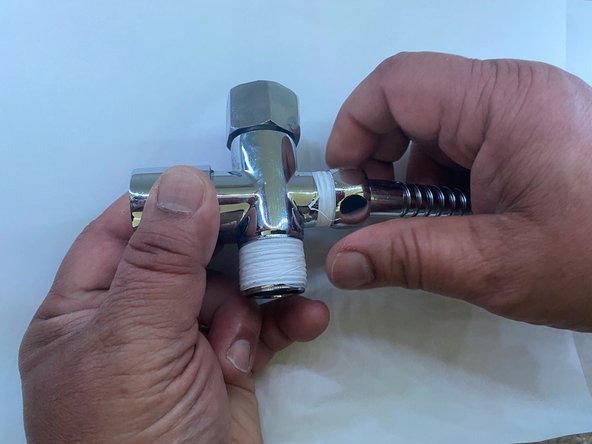
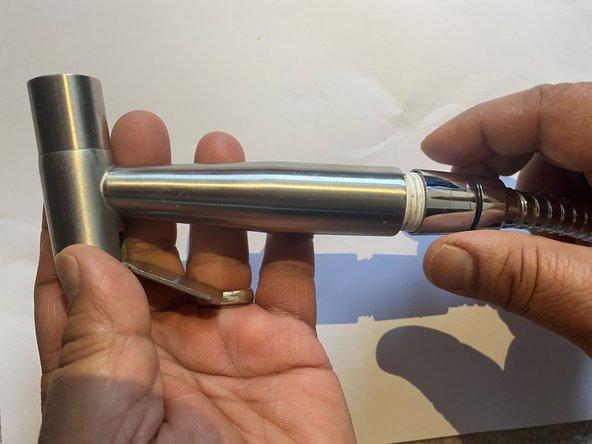
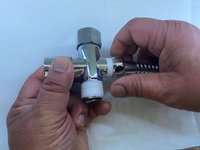
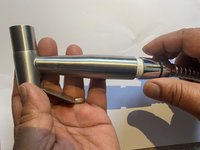
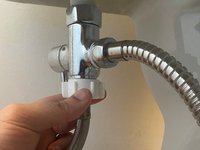
    • Unscrew the sprayer from the hose.

    • Unscrew the hose from the tee connector.

  5. Bidet Sprayer Hose Replacement: passo 5, imagem 1 %32 Bidet Sprayer Hose Replacement: passo 5, imagem 2 %32 Bidet Sprayer Hose Replacement: passo 5, imagem 3 %32
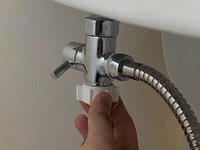
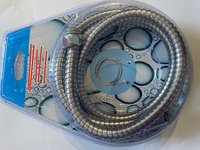
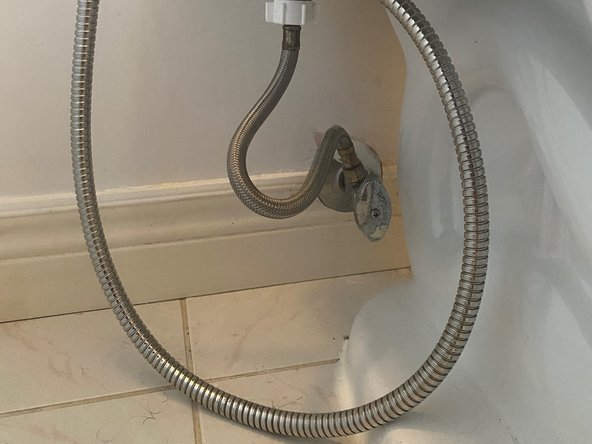
    • Attach the new/replacement hose with the tee connector. The valve should be on the opposite side.

    • Attach the hose to the sprayer.

  6. Bidet Sprayer Hose Replacement: passo 6, imagem 1 %32 Bidet Sprayer Hose Replacement: passo 6, imagem 2 %32 Bidet Sprayer Hose Replacement: passo 6, imagem 3 %32
    • Start by reattaching the tee connector to the toilet. Turn the knob clockwise.

    • Connect the tee connector to the main water supply line. Turn the knob counterclockwise.

    • Make sure the bidet is placed well enough to not overextend the hose.

  7. Bidet Sprayer Hose Replacement: passo 7, imagem 1 %32 Bidet Sprayer Hose Replacement: passo 7, imagem 2 %32
    • Push the valve upwards to turn on the bidet.

    • Turn the main water valve counterclockwise to turn on the toilet water supply.

    • Test out the new hose by using the sprayer and checking for any leaks.

Conclusão

To prevent further leaks, rest the device in a manner so that the hose is not stretched extensively or placed in a twisted position.

tahmid.razzak

Membro desde: 09/21/20

145 Reputação

Autoria de 1 guia

0 comentários

Adicione um comentário

Exibir estatísticas:

Últimas 24 horas: 0

Últimos 7 dias: 17

Últimos 30 dias: 58

Duração total: 2,395