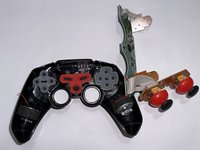
Ir para o conteúdo principal

Beboncool Wireless Switch Pro Controller Buttons Replacement

O que você precisa

  1. Beboncool Wireless Switch Pro Controller Buttons Replacement, Motherboard: passo 1, imagem 1 %32
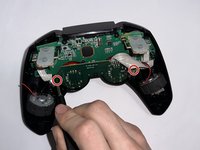
    • Use a Phillips #0 screwdriver to remove the seven 5 mm screws from the back of the controller.
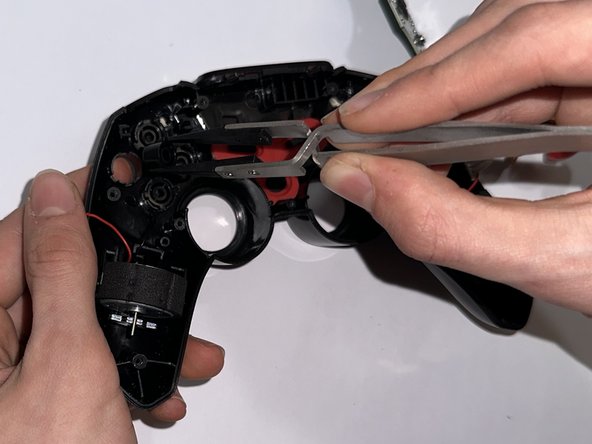
  2. Beboncool Wireless Switch Pro Controller Buttons Replacement: passo 2, imagem 1 %32 Beboncool Wireless Switch Pro Controller Buttons Replacement: passo 2, imagem 2 %32
    • Gently separate the top and bottom halves of the controller.

  3. Beboncool Wireless Switch Pro Controller Buttons Replacement: passo 3, imagem 1 %32 Beboncool Wireless Switch Pro Controller Buttons Replacement: passo 3, imagem 2 %32
    • Use a Phillips #0 screwdriver to remove the two 5 mm screws holding the joystick motherboard in place.

  4. Beboncool Wireless Switch Pro Controller Buttons Replacement: passo 4, imagem 1 %32
    • Carefully move the bumper buttons out of the way.

  5. Beboncool Wireless Switch Pro Controller Buttons Replacement: passo 5, imagem 1 %32 Beboncool Wireless Switch Pro Controller Buttons Replacement: passo 5, imagem 2 %32
    • Use a Phillips #0 screwdriver to remove the 5 mm screw holding the motherboard in place.

    • Remove the motherboard.

  6. Beboncool Wireless Switch Pro Controller Buttons Replacement, Buttons: passo 6, imagem 1 %32 Beboncool Wireless Switch Pro Controller Buttons Replacement, Buttons: passo 6, imagem 2 %32
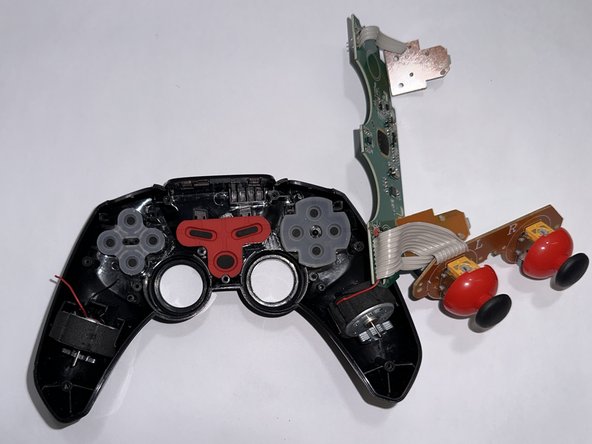
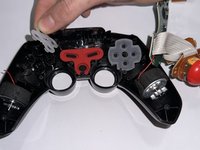
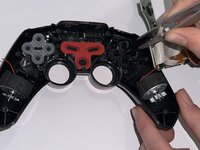
    • To remove the alphabetic buttons, remove the translucent silicone cover.

    • Use tweezers or your fingers to remove the buttons.

    • Pushing a button from below will elevate them enough to easily grab them.

  7. Beboncool Wireless Switch Pro Controller Buttons Replacement: passo 7, imagem 1 %32 Beboncool Wireless Switch Pro Controller Buttons Replacement: passo 7, imagem 2 %32
    • To remove the directional buttons, first remove the translucent silicone cover. Then, use tweezers or your fingers to remove the button pad.

    • As with the alphabetic buttons, push on the buttons from below, then grab them.

Conclusão

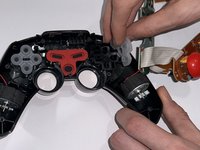
To reassemble your device, follow these instructions in reverse order.

Tayah Appel

Membro desde: 03/27/23

529 Reputação

Autoria de 5 guias

Equipe

Casper College, Team 1-3, Lareau Spring 2023 Membro de Casper College, Team 1-3, Lareau Spring 2023

CASC-LAREAU-S23S1G3

Membros da 3

Autoria de 5 guias

0 comentários

Adicione um comentário

Exibir estatísticas:

Últimas 24 horas: 1

Últimos 7 dias: 2

Últimos 30 dias: 6

Duração total: 65