Este guia tem alterações mais recentes. Mudar para a última versão não verificada.
Introdução
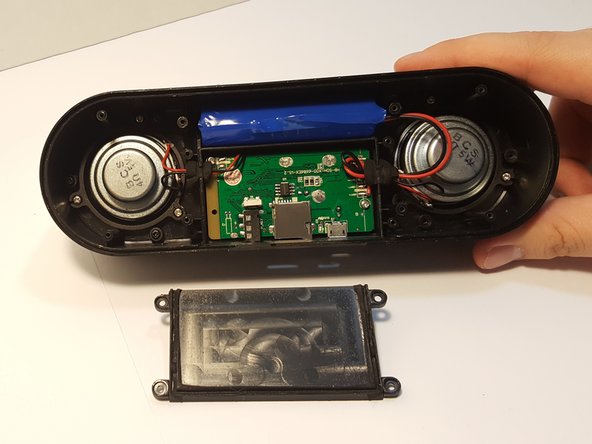
This guide provides step by step comprehensive method for the removal of the battery from the speaker. unfortunately the battery is soldered into the motherboard via wires, therefore this replacement guide will be a bit more difficult than a normal battery replacement guide.
O que você precisa
-
-
-
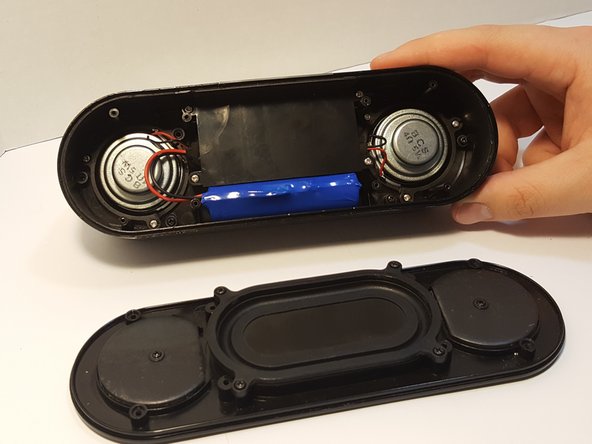
Remove the four 4.5 mm silver Phillips screws that secure the plastic panel covering the motherboard.
-
Remove the plastic panel.
-
-
-
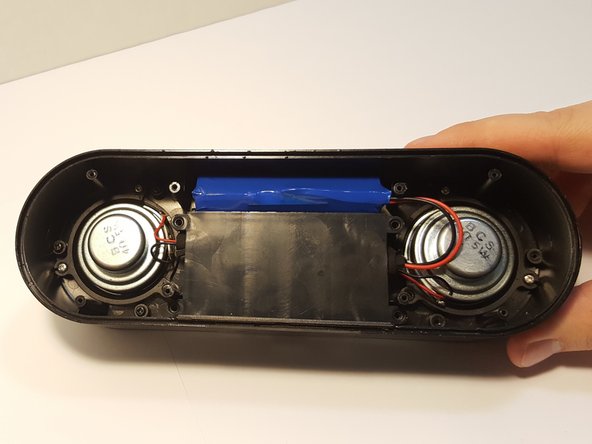
Remove the battery from the holder. when removing the batter for the first time, it may be difficult.
-


To reassemble your device, follow these instructions in reverse order.
To reassemble your device, follow these instructions in reverse order.
Cancelar: não concluí este guia.
3 outras pessoas executaram este guia.

Equipe

UMass Dartmouth, Team 3-2, Bhusal Spring 2016 Membro de UMass Dartmouth, Team 3-2, Bhusal Spring 2016
UMASSD-BHUSAL-S16S3G2
Membros da 5
Autoria de 8 guias
3 comentários
Thank you for providing battery replacement instructions for the ZENGRE BlueTooth speaker system. They are very helpful.
Bendiciones. con que batería la reemplazaste? podrías enviarme un link para comprarlo, desde ya muchas gracias
MUCHAS GRACIAS!!!!
Sin embargo hubiese sido exelente pudiese mostrarse los tipos de batería con los cuales se puede reemplazar.