Ir para o conteúdo principal

Barreto Trencher E718MTH4S 2016 Chain Replacement

O que você precisa

  1. Barreto Trencher E718MTH4S 2016 Chain Replacement, Engage the hub lock pins: passo 1, imagem 1 %32 Barreto Trencher E718MTH4S 2016 Chain Replacement, Engage the hub lock pins: passo 1, imagem 2 %32 Barreto Trencher E718MTH4S 2016 Chain Replacement, Engage the hub lock pins: passo 1, imagem 3 %32
    • Make sure that both ignition switches are turned to the off position. There is one on the engine and one on the control panel.

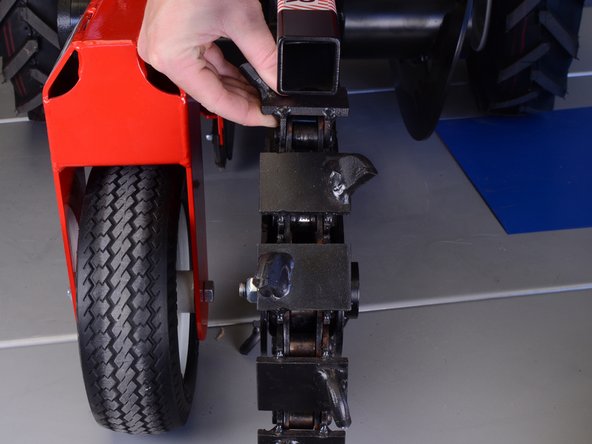
    • Pull the ring near one of the wheel hubs straight out, away from the wheel.

    • Rotate it so that the small roll pin lines up with its slot.

    • Release the ring so that the lock pin slides into the wheel. You may need to rotate the wheels a little before the lock pin fully engages.

    • With the pin engaged, it should be very hard to turn the wheels.

    • Repeat this step so that the lock pins on both wheels are engaged.

    Why 10311 for the chain roller assembly? It doesn't include the bearings. Part number 00265 includes the bearings.

    JAMES - Responder

    It's also important to ensure that the boom cushion washer is still between the tension bolt and the boom cushion. Mine was missing and the tension bolt was screwed all of the way in, which took it halfway through the boom cushion, which resulted in a chain that was too loose.

    JAMES - Responder

  2. Barreto Trencher E718MTH4S 2016 Chain Replacement, Rotate the auger: passo 2, imagem 1 %32 Barreto Trencher E718MTH4S 2016 Chain Replacement, Rotate the auger: passo 2, imagem 2 %32
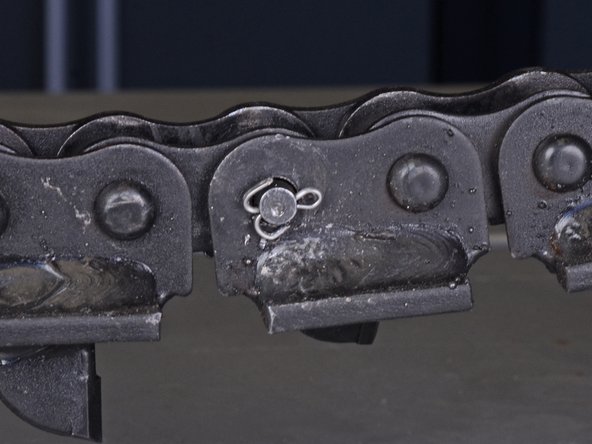
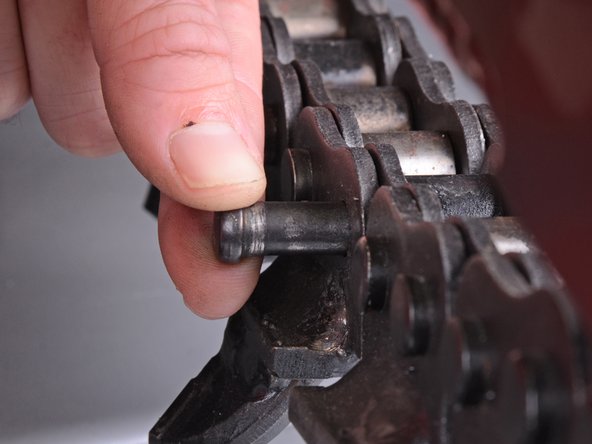
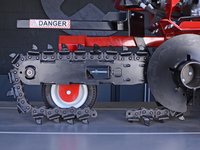
    • Rotate the auger to move the chain until its master link (the link with the removable pin) is easily accessible.

  3. Barreto Trencher E718MTH4S 2016 Chain Replacement, Remove the cotter pin: passo 3, imagem 1 %32 Barreto Trencher E718MTH4S 2016 Chain Replacement, Remove the cotter pin: passo 3, imagem 2 %32 Barreto Trencher E718MTH4S 2016 Chain Replacement, Remove the cotter pin: passo 3, imagem 3 %32
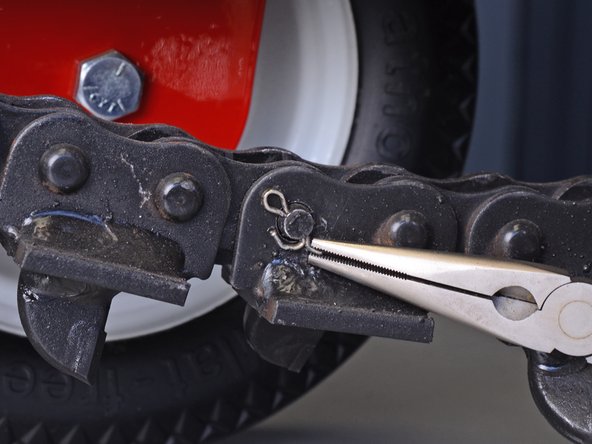
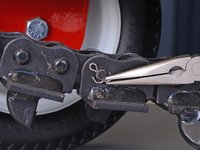
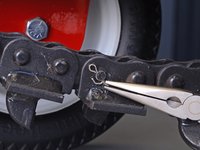
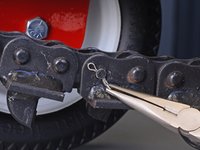
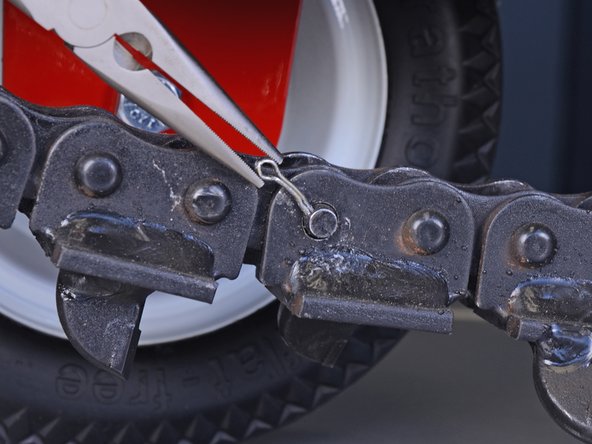
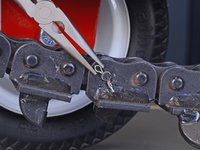
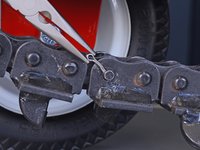
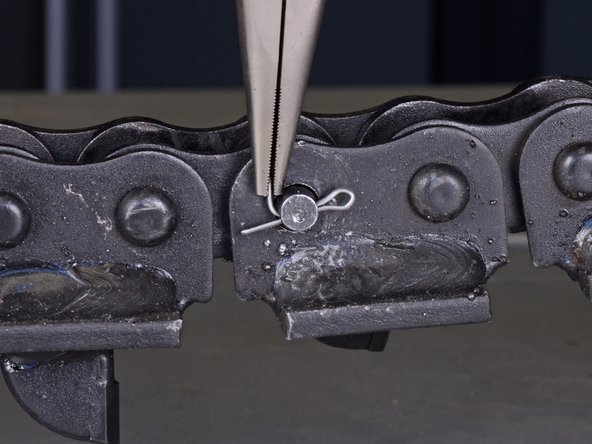
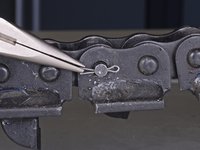
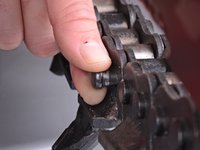
    • Use a pair of needle-nose pliers to straighten both sides of the cotter pin securing the pin in the master link.

    If the pin in the master link is damaged, the part number is 03519. It is not readily listed on any diagram or parts list so it can be hard to identify.

    JARRON - Responder

  4. Barreto Trencher E718MTH4S 2016 Chain Replacement: passo 4, imagem 1 %32 Barreto Trencher E718MTH4S 2016 Chain Replacement: passo 4, imagem 2 %32
    • Pull the cotter pin out of the chain pin.

  5. Barreto Trencher E718MTH4S 2016 Chain Replacement, Reassembly note: passo 5, imagem 1 %32 Barreto Trencher E718MTH4S 2016 Chain Replacement, Reassembly note: passo 5, imagem 2 %32 Barreto Trencher E718MTH4S 2016 Chain Replacement, Reassembly note: passo 5, imagem 3 %32
    • When you reinstall the chain, use a new cotter pin.

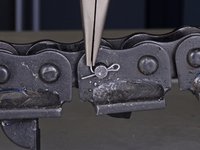
    • Insert the new cotter pin into the chain pin.

    • Use a set of needle-nose pliers to bend each half of the cotter pin back around the chain pin to secure the cotter pin.

    so i have been faced with this issue several times and the pin just coming out is difficult. just wanted to say this is a great idea as far as stablizing the chain and pin with the 2 arm puller in order to remove said pin. thankls have a blessed day

    Zac-TeCH

    ZACHARY - Responder

  6. Barreto Trencher E718MTH4S 2016 Chain Replacement, Remove the master link pin: passo 6, imagem 1 %32 Barreto Trencher E718MTH4S 2016 Chain Replacement, Remove the master link pin: passo 6, imagem 2 %32 Barreto Trencher E718MTH4S 2016 Chain Replacement, Remove the master link pin: passo 6, imagem 3 %32
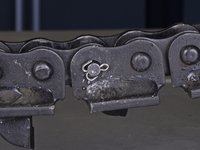
    • Turn the auger to move the chain until the master link is positioned on top of the boom.

    • In this position, the link is easier to access and the chain is braced against the guide on the boom.

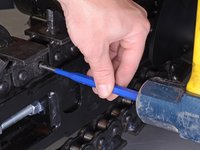
    • Place the smaller, flat end of a 3/16 inch pin punch against the end of the master link pin that previously held the cotter pin.

    • Hit the larger end of the punch with a heavy hammer to tap the pin out of the master link.

    • Be very careful to avoid hitting your hand. Don't hold the punch too close to either end, and realign the hammer and punch after each swing.

    • If the pin is stuck, it may help to apply some kind of penetrating lubricant to the interface between the chain and the pin. Allow the lubricant to sit for a few minutes before trying again.

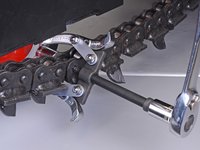
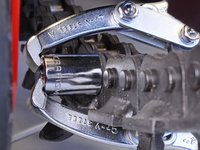
    • If you are still having trouble, a two-jaw gear puller or in-line pin puller might work better. When using a gear puller, it might be necessary to stabilize the claw side of the puller with some kind of spacer that won't be crushed when you start pushing the pin out. A 3/4 inch socket works well.

    • When using a gear puller, the master link has to be underneath the boom to allow adequate space for the puller arms. Turn the auger to move the chain so the master link is positioned properly.

    COMMENT ABOVE acciedently commented on previous step, should be step 6!!!

    ZACHARY - Responder

    An air hammer is much, much faster and easier.

    JAMES - Responder

  7. Barreto Trencher E718MTH4S 2016 Chain Replacement: passo 7, imagem 1 %32 Barreto Trencher E718MTH4S 2016 Chain Replacement: passo 7, imagem 2 %32 Barreto Trencher E718MTH4S 2016 Chain Replacement: passo 7, imagem 3 %32
    • The chain is very heavy and will drop off the boom as soon as the pin is removed from the master link. Make sure your hands are out of the way and nothing fragile is underneath the chain before you remove the pin.

    • Pull the pin out of the master link.

    • When you reassemble the chain, you will need significant force to push the pin all the way back into the master link. Use a heavy hammer and a pin punch to push the pin back into place.

  8. Barreto Trencher E718MTH4S 2016 Chain Replacement, Remove the chain: passo 8, imagem 1 %32 Barreto Trencher E718MTH4S 2016 Chain Replacement, Remove the chain: passo 8, imagem 2 %32
    • Lift the chain off of the dig sprocket and chain roller and remove it from the trencher.

Conclusão

To reassemble your device, follow these instructions in reverse order.

When you reassemble the chain, make sure to use a new cotter pin.

After reassembly, make sure the chain is properly tensioned and grease the chain roller Zerk fitting.

2 outras pessoas executaram este guia.

Adam O'Camb

Membro desde: 04/11/15

210.041 Reputação

Autoria de 416 guias

2Comentários do guia

Parts section has wrong chain listed. Chain listed is a roller chain which I am assuming is for the wheel drive. Trenching chain part # as of 10/27/23 is 03626-4S. 18" welded shark.

ROBI BRYANT - Responder

thank you so much!

LUNA -

Comentar

Visualizações:

Últimas 24 horas: 0

Últimos 7 dias: 5

Últimos 30 dias: 40

Ao todo: 3,424