Ir para o conteúdo principal

BLU Advance 4.0 Screen Replacement

O que você precisa

  1. Cuidado: as etapas de 1 a 3 são provenientes de um guia marcado como em andamento.

    BLU Advance 4.0 Screen Replacement, Removing the back cover: passo 1, imagem 1 %32 BLU Advance 4.0 Screen Replacement, Removing the back cover: passo 1, imagem 2 %32
    • With the back camera on the top side and facing you, find a notch on the bottom right side of the phone.

    • Unclip the cover by raising it up from the notch and sliding a flat rigid tool along the edge.

  2. BLU Advance 4.0 Screen Replacement, Revealing the motherboard: passo 2, imagem 1 %32 BLU Advance 4.0 Screen Replacement, Revealing the motherboard: passo 2, imagem 2 %32 BLU Advance 4.0 Screen Replacement, Revealing the motherboard: passo 2, imagem 3 %32
    • Remove the battery.

    • Remove 3 screws from each side with a Phillips 00 screwdriver.

    • Unclip the screen by sliding a flat rigid tool between the black and the blue side-band.

    • Pop off the blue side-band to be exposed to the motherboard.

  3. BLU Advance 4.0 Screen Replacement, Separating motherboard from screen: passo 3, imagem 1 %32
    • Remove 2 black plastic buttons from each side, exposing metallic padding.

    • Gently pry the metallic padding off the motherboard with a flat rigid tool.

    • Carefully separate the clip-on tabs while lifting the motherboard away from the screen.

    • Forcefully separating the motherboard from the screen can further damage your device.

  4. BLU Advance 4.0 Screen Replacement, Screen: passo 4, imagem 1 %32 BLU Advance 4.0 Screen Replacement, Screen: passo 4, imagem 2 %32
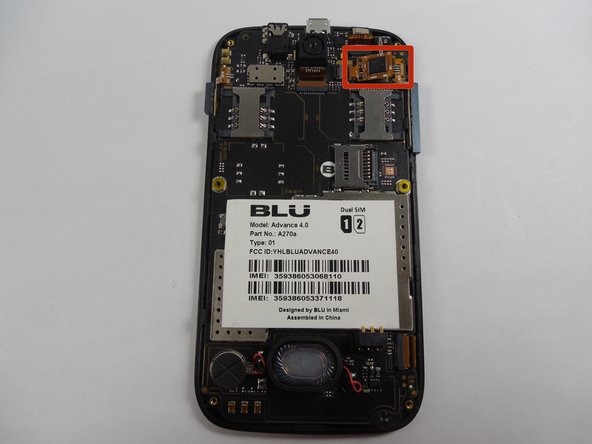
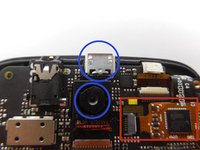
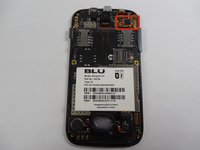
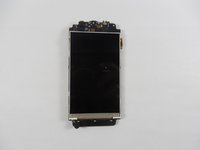
    • The screen connector is located near the back camera and charger port.

    • Remove the attached screen by gently tugging the cord that connects it to main frame.

    • Pull gently to avoid damaging the connected cable.

  5. BLU Advance 4.0 Screen Replacement: passo 5, imagem 1 %32 BLU Advance 4.0 Screen Replacement: passo 5, imagem 2 %32
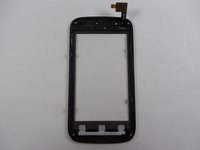
    • After screen removal, you should be left with the old screen and a plug-in tab .

    • Leave the motherboard and inner screen in one piece.

    • If the inner screen is cracked, replacing the outer screen is useless.

  6. BLU Advance 4.0 Screen Replacement, Placing in new screen: passo 6, imagem 1 %32
    • Work backwards by carefully sliding in the new screen's plug-in tab into the screen connector.

    • The phone will not have sensitivity if the plug-in tab is damaged.

Conclusão

To reassemble your device, follow these instructions in reverse order.

Uma outra pessoa concluiu este guia.

Jon Sclar

Membro desde: 11/13/14

292 Reputação

Autoria de 3 guias

Equipe

UMass Dartmouth, Team 6-2, Vijaybhaskar Fall 2014 Membro de UMass Dartmouth, Team 6-2, Vijaybhaskar Fall 2014

UMASSD-VIJAYBHASKAR-F14S6G2

Membros da 3

Autoria de 6 guias

0 comentários

Adicione um comentário

Exibir estatísticas:

Últimas 24 horas: 0

Últimos 7 dias: 3

Últimos 30 dias: 16

Duração total: 3,763