Ir para o conteúdo principal

Axess TA2513-10WT Side Button Replacement

O que você precisa

  1. Axess TA2513-10WT Side Button Replacement, Back Cover: passo 1, imagem 1 %32
    • Lay the tablet down on a flat surface with the screen facing up, and the external camera facing upwards and closest to you.

  2. Axess TA2513-10WT Side Button Replacement: passo 2, imagem 1 %32 Axess TA2513-10WT Side Button Replacement: passo 2, imagem 2 %32 Axess TA2513-10WT Side Button Replacement: passo 2, imagem 3 %32
    • Insert the plastic opening tool in the space between the screen and the back cover above the volume buttons.

    • Slide the plastic opening tool gently along the sides.

    • If a small gap is not created between the screen and the back cover, pry gently upward at each of these latching points.

  3. Axess TA2513-10WT Side Button Replacement: passo 3, imagem 1 %32
    • Place the spudger in an open space to keep the back case from shutting while you continue to slide the opening tool.

  4. Axess TA2513-10WT Side Button Replacement: passo 4, imagem 1 %32
    • Remove the back cover with your hands once all points have been unlatched. It should separate completely from the screen that contains the battery and chip components.

  5. Axess TA2513-10WT Side Button Replacement, Buttons: passo 5, imagem 1 %32 Axess TA2513-10WT Side Button Replacement, Buttons: passo 5, imagem 2 %32
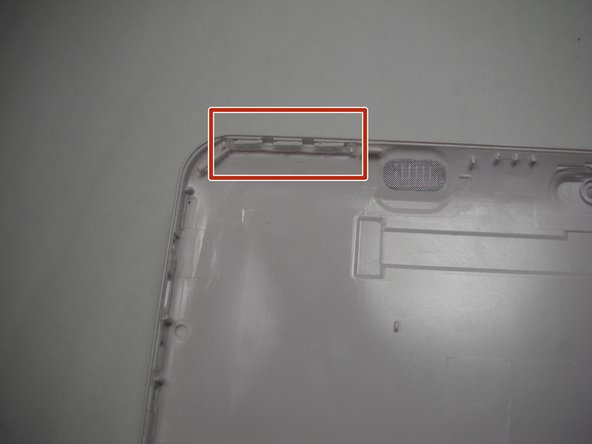
    • Orient the tablet's back cover so that the inside faces up and the buttons are positioned at the top left corner.

  6. Axess TA2513-10WT Side Button Replacement: passo 6, imagem 1 %32 Axess TA2513-10WT Side Button Replacement: passo 6, imagem 2 %32
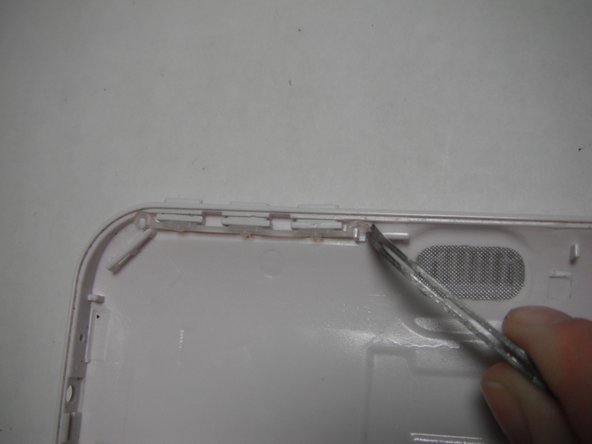
    • Unlatch the clear rubber holder from the posts with the tweezers.

  7. Axess TA2513-10WT Side Button Replacement: passo 7, imagem 1 %32 Axess TA2513-10WT Side Button Replacement: passo 7, imagem 2 %32
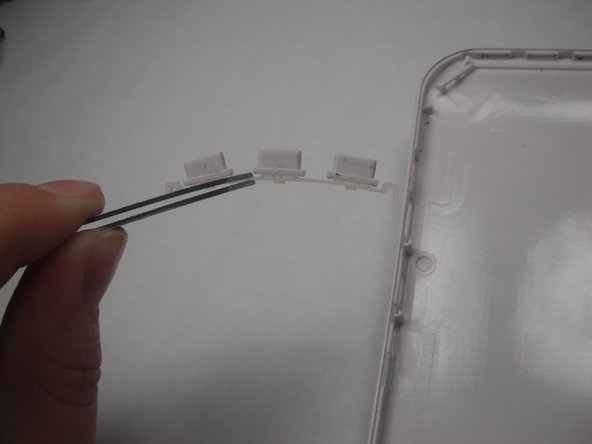
    • With tweezers, pull the rubber holder from the back cover completely.

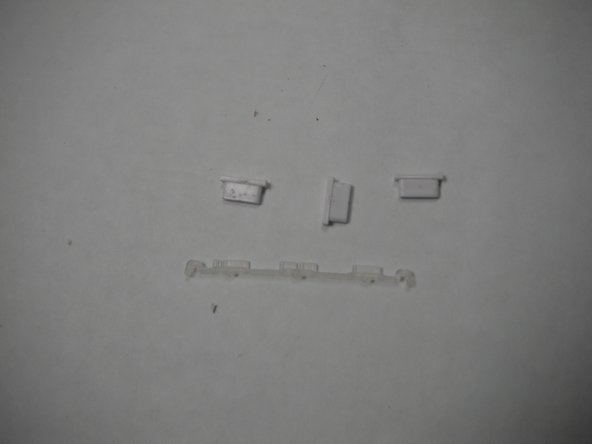
  8. Axess TA2513-10WT Side Button Replacement: passo 8, imagem 1 %32 Axess TA2513-10WT Side Button Replacement: passo 8, imagem 2 %32 Axess TA2513-10WT Side Button Replacement: passo 8, imagem 3 %32
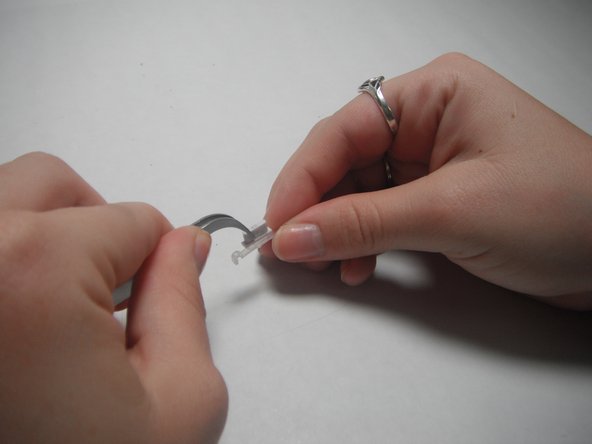
    • Remove the individual buttons with tweezers.

Conclusão

To reassemble your device, follow these instructions in reverse order.

Lori Scott

Membro desde: 03/24/15

101 Reputação

Autoria de 1 guia

Equipe

Baylor, Team 6-3, Shaver Spring 2015 Membro de Baylor, Team 6-3, Shaver Spring 2015

BU-SHAVER-S15S6G3

Membros da 3

Autoria de 10 guias

0 comentários

Adicione um comentário

Exibir estatísticas:

Últimas 24 horas: 0

Últimos 7 dias: 0

Últimos 30 dias: 2

Duração total: 221