Introdução
This is an in-depth guide on how to replace the camera in your Audiovox T752. The guide includes step-by-step instructions and pictures to help you through the process.
O que você precisa
-
-
Find a good spot to fit the pry bar between the back cover and tablet. Slowly drag the pry bar along the sides of the cover.
-
NOTE: some force will need to be used to remove the cover. Avoid excessive force.
-
-
-
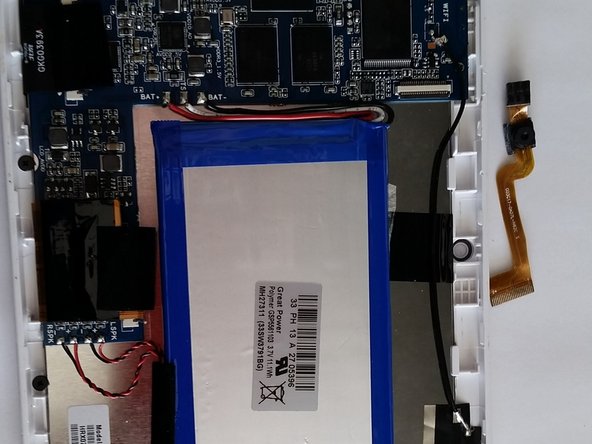
Remove the pink and aluminum protective cover. Be sure to also remove any tape holding it in place.
-
-


To reassemble your device, follow these instructions in reverse order.
To reassemble your device, follow these instructions in reverse order.
Equipe

Penn State, Team 2-42, Kaschak Winter 2015 Membro de Penn State, Team 2-42, Kaschak Winter 2015
PSU-KASCHAK-W15S2G42
Membros da 4
Autoria de 3 guias