Introdução
So the speaker in your Audiovox CR8030iE5 has not been producing any audio or has not been sounding good at all and you think you have to go buy a new one. Well, hold on! We have a simple fix for that.
Fortunately, if your audio does not work/sounds bad chances are you have a speaker going out and it needs to be replaced. We all know how important it is to hear quality audio.
Remember! Each speaker has a powerful magnet, so be sure to be very cautious of other metal surroundings.
O que você precisa
-
-
Turn the device upside down.
-
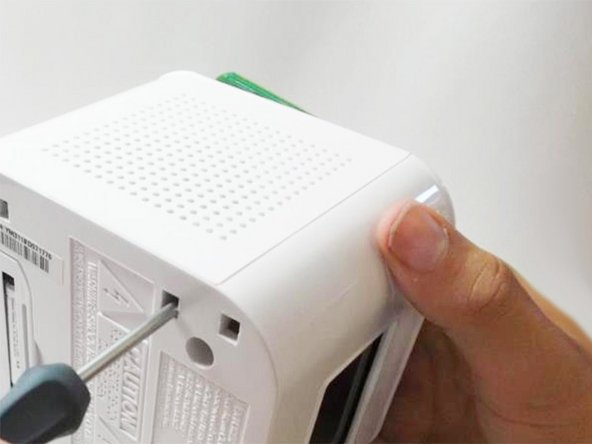
Apply constant pressure to the base of your Audiovox, while holding the plastic casing until the casing is completely removed.
-
-
-
-
Slide a plastic opening tool along the rim of the faulty speaker where it meets the plastic casing.
-
-
-
Using your thumb, applying constant pressure, pull back the plastic tab towards the speaker and away from the metal bracket.
-
Simultaneously insert a Phillips #00 screwdriver into the square hole on the underside of clock and push through to lift the metal bracket off of the plastic tab.
-


To reassemble your device, follow these instructions in reverse order.
To reassemble your device, follow these instructions in reverse order.
Cancelar: não concluí este guia.
3 outras pessoas executaram este guia.

Equipe

Cal Poly, Team 10-39, Amido Spring 2013 Membro de Cal Poly, Team 10-39, Amido Spring 2013
CPSU-AMIDO-S13S10G39
Membros da 4
Autoria de 6 guias