Este guia tem alterações mais recentes. Mudar para a última versão não verificada.
Introdução
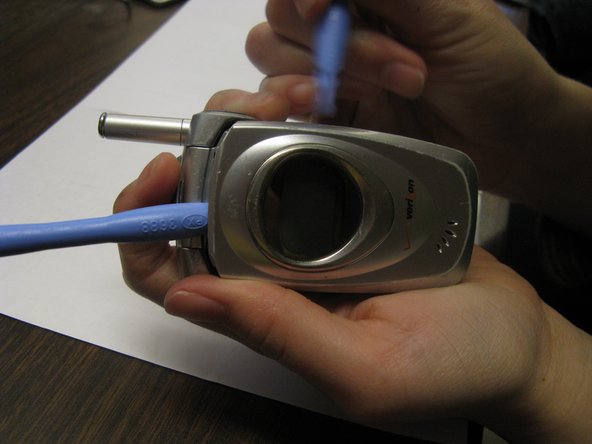
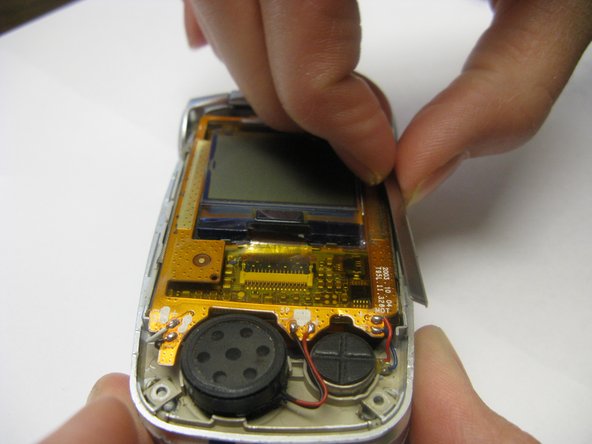
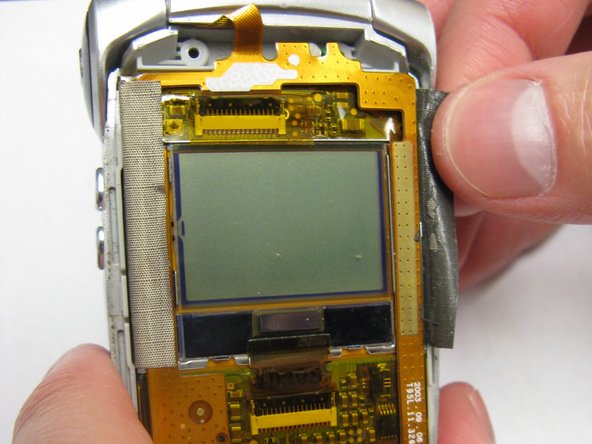
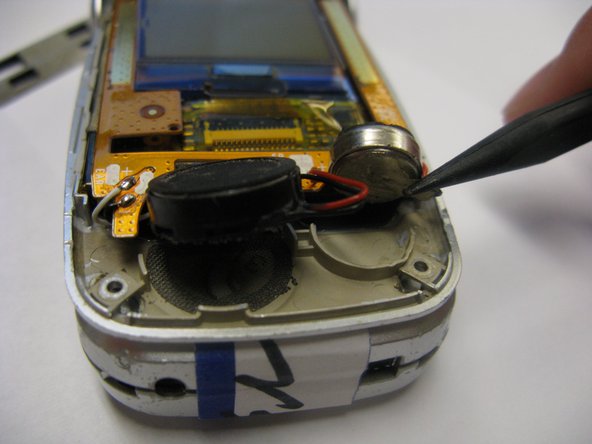
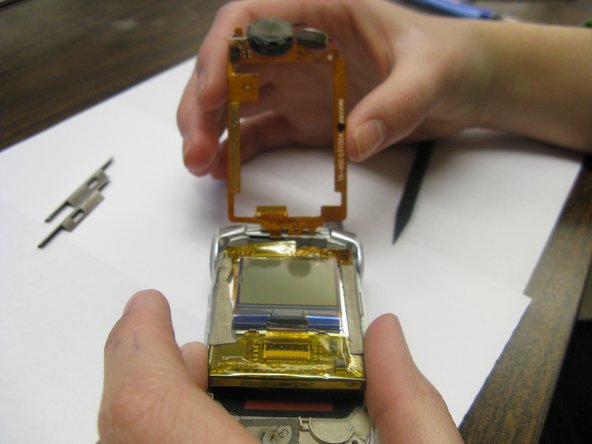
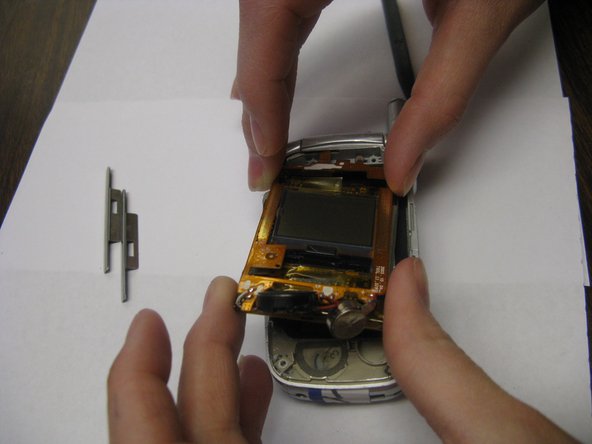
This guide will show you how to replace the main inside LCD screen on the Audiovox CDM-8900.
O que você precisa


Quase terminado!
To reassemble your device, follow these instructions in reverse order.
Conclusão
To reassemble your device, follow these instructions in reverse order.
Equipe

Cal Poly, Team 28-31, Regan Spring 2010 Membro de Cal Poly, Team 28-31, Regan Spring 2010
CPSU-REGAN-S10S28G31
Membros da 4
Autoria de 12 guias