Este guia tem alterações mais recentes. Mudar para a última versão não verificada.
Introdução
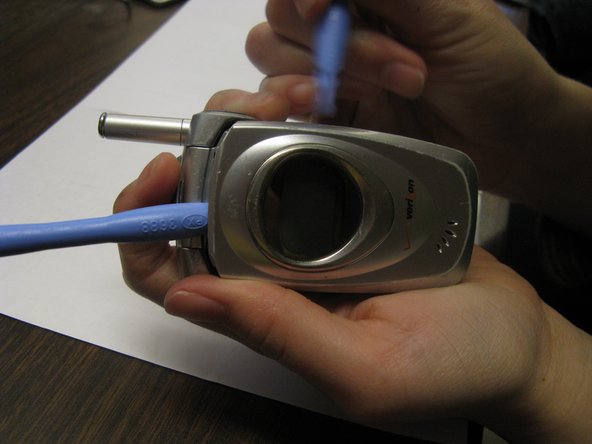
This guide will show you how to replace the [main] LCD screen on the Audiovox CDM-8900.
O que você precisa
-
-
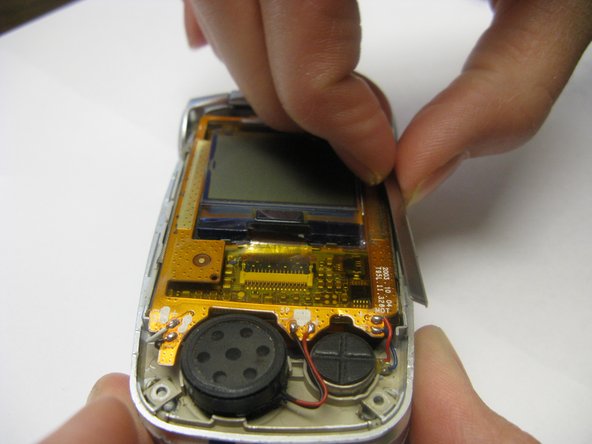
Remove screw covers (4 in total) using the spudger.
-
Note: Because the bottom two screw covers are attached with an adhesive, you will not be able to replace them when you reassemble the phone.
-
-
-
-
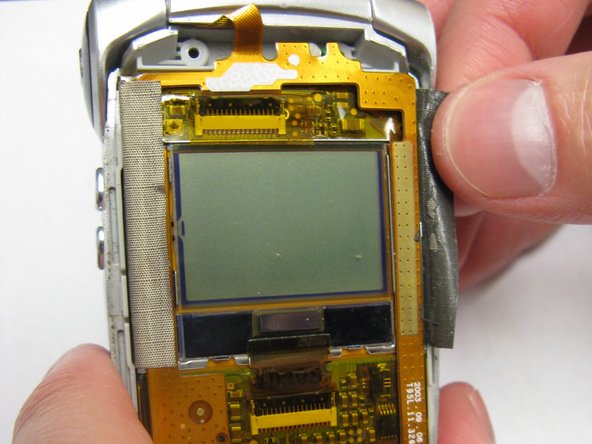
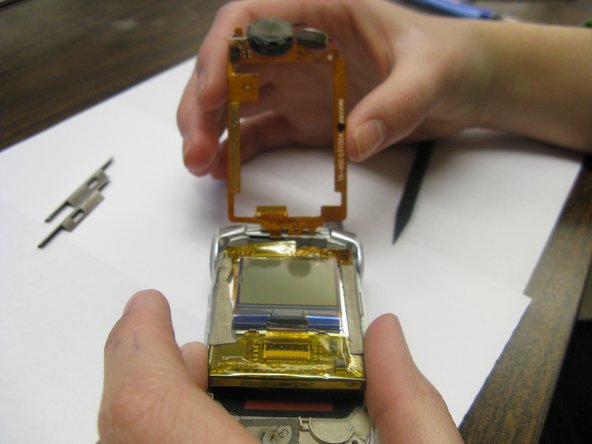
WARNING: Do not detach or tear any wires when completing this step.
-
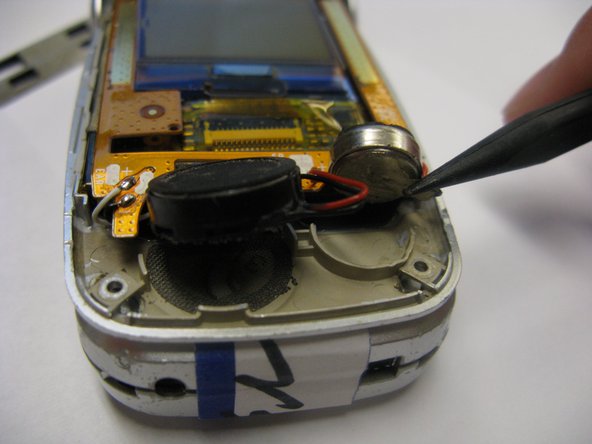
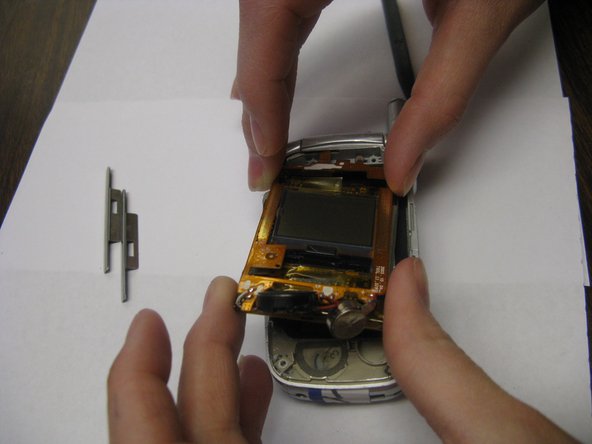
Using the spudger, carefully separate the black discs (speaker and microphone) from the inside surface of the phone.
-
Note: The smaller black disc is glued down, so you may need to use some force to detach it. Both disks will still remain attached via wires.
-


To reassemble your device, follow these instructions in reverse order.
To reassemble your device, follow these instructions in reverse order.
Equipe

Cal Poly, Team 28-31, Regan Spring 2010 Membro de Cal Poly, Team 28-31, Regan Spring 2010
CPSU-REGAN-S10S28G31
Membros da 4
Autoria de 12 guias