Ir para o conteúdo principal

Asus UL80J Wifi Card Replacement

O que você precisa

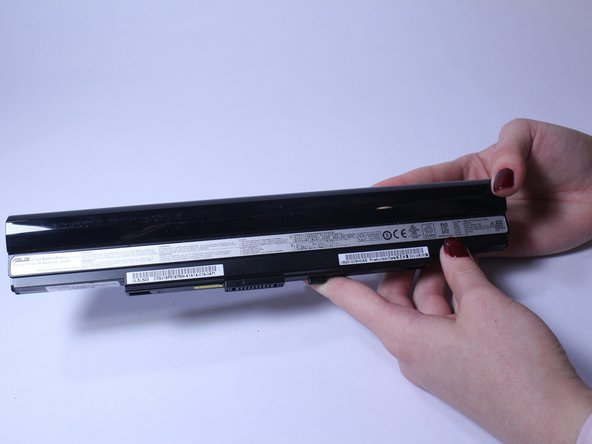
  1. Asus UL80J Wifi Card Replacement, Battery: passo 1, imagem 1 %32
    • Place laptop face down with battery facing up.

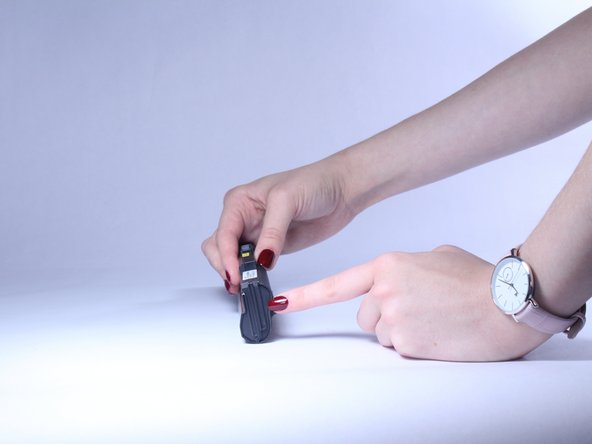
  2. Asus UL80J Wifi Card Replacement: passo 2, imagem 1 %32
    • Slide unlock button to the right.

  3. Asus UL80J Wifi Card Replacement: passo 3, imagem 1 %32 Asus UL80J Wifi Card Replacement: passo 3, imagem 2 %32 Asus UL80J Wifi Card Replacement: passo 3, imagem 3 %32
    • Slide the button marked with an arrow to the left. The battery should now unclick. Slide the battery away from the laptop to remove it.

  4. Asus UL80J Wifi Card Replacement, Keyboard: passo 4, imagem 1 %32
    • Insert a plastic opening tool or a flat-head screwdriver between the laptop body and the keyboard.

  5. Asus UL80J Wifi Card Replacement: passo 5, imagem 1 %32
    Ferramenta utilizada nesse passo:
    Plastic Cards
    $2.99
    Comprar
    • Gently pry the keyboard up. This will allow you to unclip the keyboard.

    • Use an old plastic card or a similar flat object to prevent the keyboard from clipping back in while carefully working along the keyboard perimeter.

    • Unclipping sounds are normal.

    • Keep unclipping the keyboard along the perimeter. Once the keyboard is unclipped, be careful and do not take it out right away, as there is still a ribbon that connects the keyboard with the rest of the computer located on the bottom.

  6. Asus UL80J Wifi Card Replacement: passo 7, imagem 1 %32
    • Slowly lift the keyboard and use flash light if needed to locate the ribbon cable on the bottom. Lift the ZIF connector tab before pulling the ribbon cable out.

    • Remove the tape from the ribbon cable if needed and remove the keyboard.

  7. Asus UL80J Wifi Card Replacement, Wifi Card: passo 8, imagem 1 %32
    • Once the keyboard and battery are removed, unscrew the five 8 mm screws from the aluminum plate below the keyboard.

    • Remove the four 5 mm screws.

    • WARNING: In order to replace this you need to remove a screw that voids the warranty on your computer.

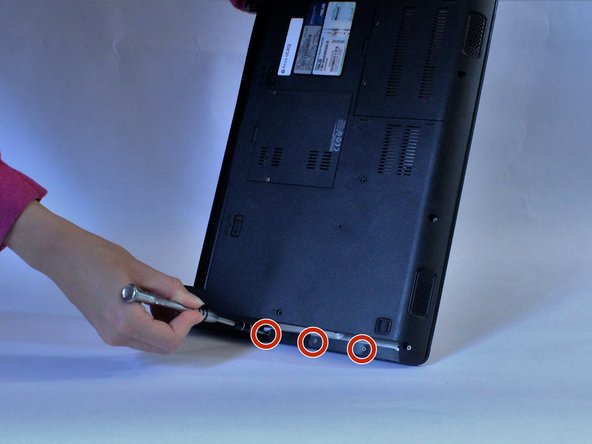
  8. Asus UL80J Wifi Card Replacement: passo 9, imagem 1 %32
    • Unscrew these nine 6 mm screws on the back cover, as these hold down the plastic cover on top.

  9. Asus UL80J Wifi Card Replacement: passo 10, imagem 1 %32 Asus UL80J Wifi Card Replacement: passo 10, imagem 2 %32
    • Once those screws are out, remove the CD drive out of the computer, as there are three 3 mm screws underneath that need to be removed before undoing the plastic cover.

  10. Asus UL80J Wifi Card Replacement: passo 11, imagem 1 %32
    • Once the CD drive is out, use a plastic opening tool to pull the plastic cover off the base of the laptop. There will be sticky tape stuck to the ports on the sides, this is normal, you will have to pull hard enough to get the tape off the ports.

    • WARNING: Be careful with the plastic opening tool, as you can break the plastic in the thinner sections of the cover.

  11. Asus UL80J Wifi Card Replacement: passo 12, imagem 1 %32 Asus UL80J Wifi Card Replacement: passo 12, imagem 2 %32 Asus UL80J Wifi Card Replacement: passo 12, imagem 3 %32
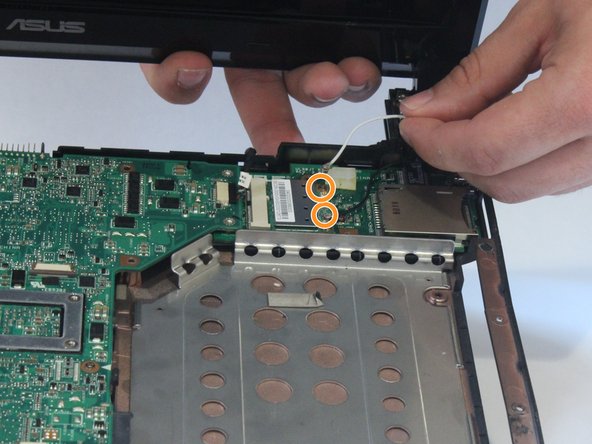
    • Before removing the plastic cover, there will be two ribbon cables that require detachment with locations indicated by the red arrows. Carefully lift up the cover to expose the motherboard and components.

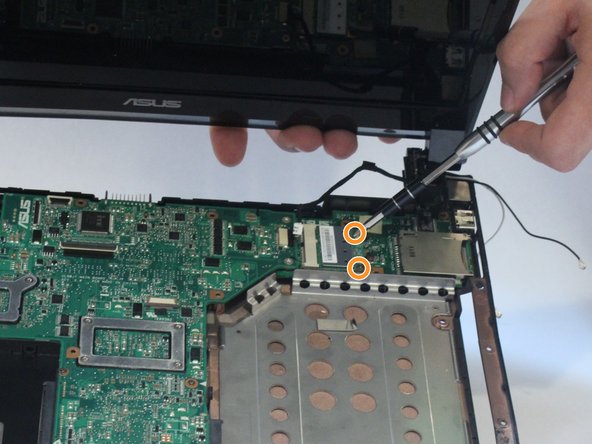
    • The WiFi card is located in the upper right corner. Disconnect the black and white wires. It is attached via two 3 mm screws. Remove these screws to remove the WiFi card.

Conclusão

To reassemble your device, follow these instructions in reverse order.

Uma outra pessoa concluiu este guia.

John

Membro desde: 02/15/17

316 Reputação

Autoria de 3 guias

Equipe

USF Tampa, Team S2-G4, Lacy Spring 2017 Membro de USF Tampa, Team S2-G4, Lacy Spring 2017

USFT-LACY-S17S2G4

Membros da 3

Autoria de 7 guias

0 comentários

Adicione um comentário

Exibir estatísticas:

Últimas 24 horas: 0

Últimos 7 dias: 2

Últimos 30 dias: 4

Duração total: 1,313