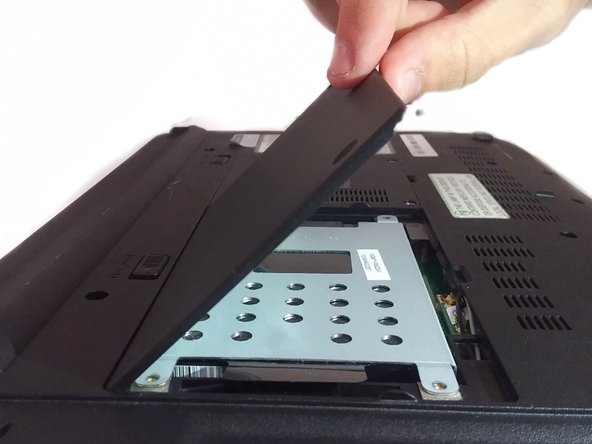
Ir para o conteúdo principal

Asus UL30VT-X1 Hard Drive Replacement

O que você precisa

  1. Asus UL30VT-X1 Hard Drive Replacement, Hard Drive: passo 1, imagem 1 %32 Asus UL30VT-X1 Hard Drive Replacement, Hard Drive: passo 1, imagem 2 %32
    • Flip the laptop over onto the back.

  2. Asus UL30VT-X1 Hard Drive Replacement: passo 2, imagem 1 %32 Asus UL30VT-X1 Hard Drive Replacement: passo 2, imagem 2 %32
    • Unscrew the three screws on the hard drive panel using a Phillips Head #00 screwdriver.

  3. Asus UL30VT-X1 Hard Drive Replacement: passo 3, imagem 1 %32 Asus UL30VT-X1 Hard Drive Replacement: passo 3, imagem 2 %32
    • Lift the hard drive panel up from the small cut out at the bottom with your finger to expose the hard drive.

  4. Asus UL30VT-X1 Hard Drive Replacement: passo 4, imagem 1 %32 Asus UL30VT-X1 Hard Drive Replacement: passo 4, imagem 2 %32
    • Grab the black pull tab with your fingers. Pull upwards and then outwards to remove the hard drive.

    • It can sometimes be a little difficult to remove the hard drive.

Conclusão

To reassemble your device, follow these instructions in reverse order.

0 comentários

Adicione um comentário

Exibir estatísticas:

Últimas 24 horas: 0

Últimos 7 dias: 0

Últimos 30 dias: 0

Duração total: 176