Introdução
Use this guide to replace the display screen of your Asus R510CA-OB01 laptop. In the event that your screen is faulty or blurred or you'd like to update to a screen with better resolution, you can use this guide to replace the display screen in your device.
O que você precisa
-
-
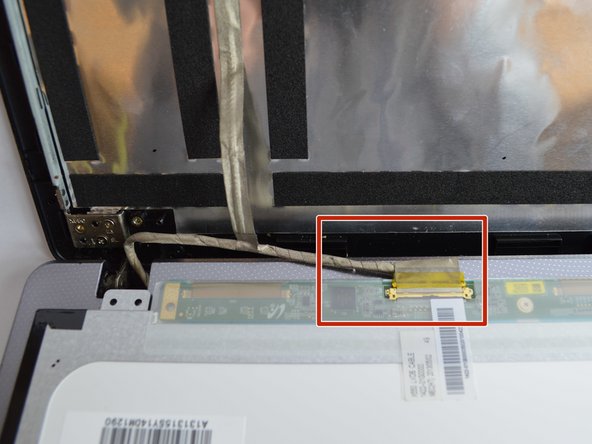
Open the device.
-
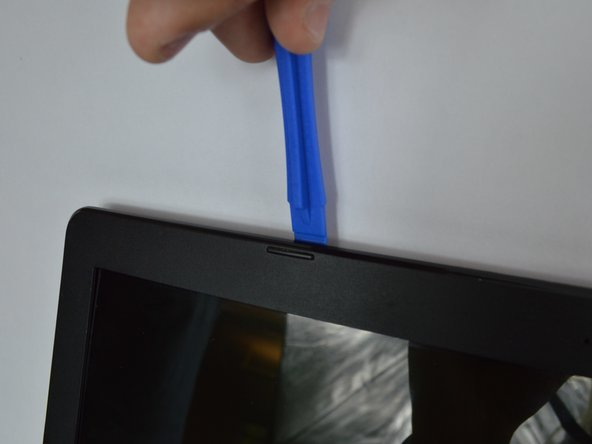
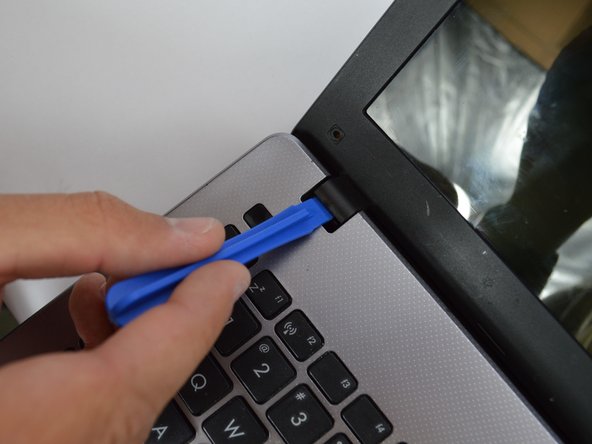
Remove the black plastic squares on each side with a spudger.
-
-


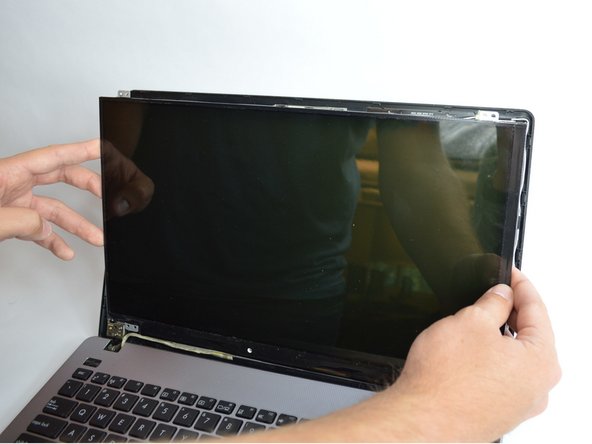

To reassemble your device, follow these instructions in reverse order.
To reassemble your device, follow these instructions in reverse order.
Cancelar: não concluí este guia.
Uma outra pessoa concluiu este guia.

Equipe

USF Tampa, Team S3-G4, Nance Fall 2017 Membro de USF Tampa, Team S3-G4, Nance Fall 2017
USFT-NANCE-F17S3G4
Membros da 2
Autoria de 4 guias