Ir para o conteúdo principal

Asus Q552UB-BHI7T12 Screen Replacement

O que você precisa

  1. Asus Q552UB-BHI7T12 Screen Replacement, Screen: passo 1, imagem 1 %32 Asus Q552UB-BHI7T12 Screen Replacement, Screen: passo 1, imagem 2 %32
    • Remove the two screw covers by hand or by using the pointed end of a spudger.

  2. Asus Q552UB-BHI7T12 Screen Replacement: passo 2, imagem 1 %32
    • Remove both screws with a Phillips head screwdriver.

  3. Asus Q552UB-BHI7T12 Screen Replacement: passo 3, imagem 1 %32 Asus Q552UB-BHI7T12 Screen Replacement: passo 3, imagem 2 %32
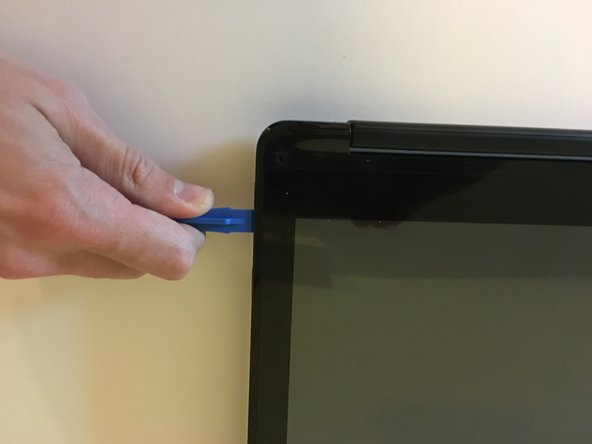
    • Wedge an opening tool between the two halves of the screen.

    • Keep the two latches together and go completely around the screen to release all the latches.

  4. Asus Q552UB-BHI7T12 Screen Replacement: passo 4, imagem 1 %32 Asus Q552UB-BHI7T12 Screen Replacement: passo 4, imagem 2 %32
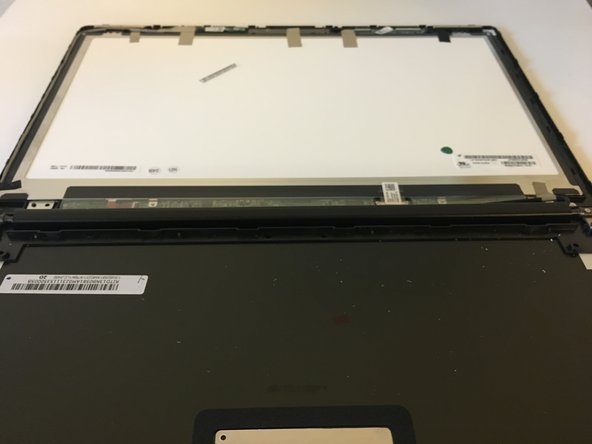
    • Separate the two parts of the screen.

  5. Asus Q552UB-BHI7T12 Screen Replacement: passo 5, imagem 1 %32
    • Remove any tape that is holding the screen in place.

  6. Asus Q552UB-BHI7T12 Screen Replacement: passo 6, imagem 1 %32 Asus Q552UB-BHI7T12 Screen Replacement: passo 6, imagem 2 %32
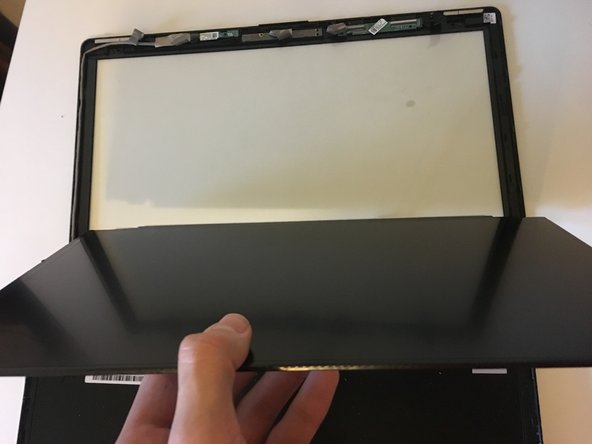
    • Use an opening tool to lift out the screen after all the tape is removed.

    • The screen may be stuck due to any tape or any remaining glue.

  7. Asus Q552UB-BHI7T12 Screen Replacement: passo 7, imagem 1 %32
    • Pull the screen horizontally away to remove the last cable attached to the screen.

Conclusão

Follow these instructions in reverse order to reassemble your device.

2 outras pessoas executaram este guia.

2 comentários

Can you show the connection on motherboard for LCD cable?

Bustelo Pilon - Responder

Does anyone know where I can get this same model replacement?

Anthony C - Responder

Adicione um comentário

Exibir estatísticas:

Últimas 24 horas: 0

Últimos 7 dias: 2

Últimos 30 dias: 3

Duração total: 943