Ir para o conteúdo principal

Asus Q551L Screen Replacement

O que você precisa

  1. Asus Q551L Screen Replacement, Back Panel: passo 1, imagem 1 %32 Asus Q551L Screen Replacement, Back Panel: passo 1, imagem 2 %32
    • Unscrew the 10 screws around the edge of the back panel. Eight of the screws are 0.0793mm T5 , two of them are 0.0793 JIS #0.

  2. Asus Q551L Screen Replacement: passo 2, imagem 1 %32
    • Use the plastic opening tool to pry the back panel off the base of the laptop.

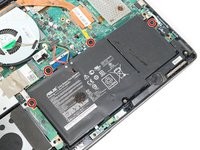
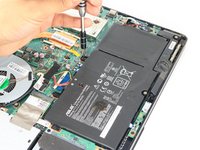
  3. Asus Q551L Screen Replacement, Battery: passo 3, imagem 1 %32 Asus Q551L Screen Replacement, Battery: passo 3, imagem 2 %32
    • Unscrew the four screws to remove the battery.

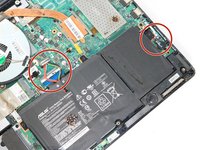
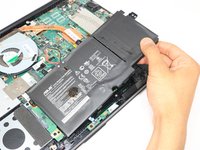
  4. Asus Q551L Screen Replacement: passo 4, imagem 1 %32 Asus Q551L Screen Replacement: passo 4, imagem 2 %32
    • Un-clip both wire clips on the upper and right side of the battery.

    • Lift the battery out of the device.

  5. Asus Q551L Screen Replacement, Screen: passo 5, imagem 1 %32 Asus Q551L Screen Replacement, Screen: passo 5, imagem 2 %32
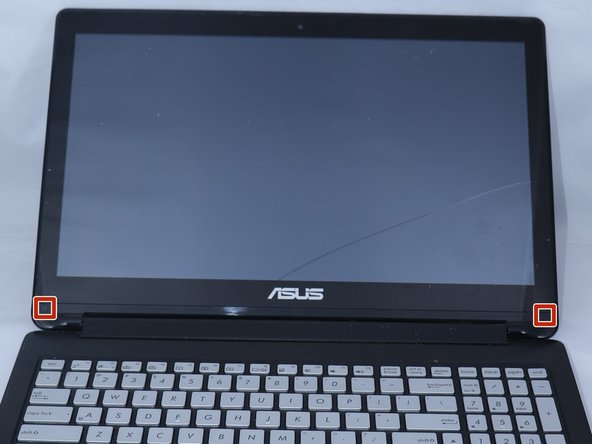
    • Use the metal spudger to gently lift the two plastic squares off the screen.

  6. Asus Q551L Screen Replacement: passo 6, imagem 1 %32 Asus Q551L Screen Replacement: passo 6, imagem 2 %32
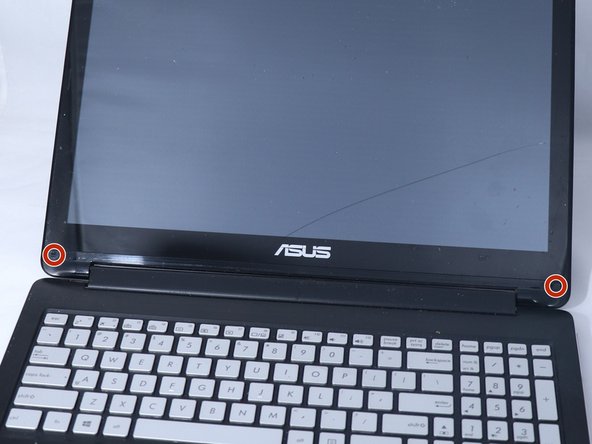
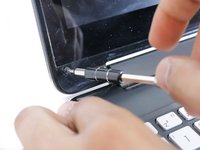
    • Unscrew the two PH0 screws and set them aside.

  7. Asus Q551L Screen Replacement: passo 7, imagem 1 %32
    • Use the plastic opening tool to pry the front edges of the screen off of the back.

  8. Asus Q551L Screen Replacement: passo 8, imagem 1 %32
    • Take off the tapes.

    • Gently pry the LCD from the front frame.

Conclusão

To reassemble your device, follow these instructions in reverse order.

4 outras pessoas executaram este guia.

0 comentários

Adicione um comentário

Exibir estatísticas:

Últimas 24 horas: 0

Últimos 7 dias: 5

Últimos 30 dias: 13

Duração total: 3,054