Introdução
Replacing the hard drive on this device is quite easy as all of the components are accessible by removing a single cover.
O que você precisa
-
-
First, turn off your laptop, then disconnect the power supply. Unplug any peripheral devices connected to your laptop.
-
Next, remove the battery from the laptop.
-
-
-
Next, remove the 4 Phillips screws from the service door cover (circled in red).
-
-
-
-
Remove the 4 screws circled in red in the photo.
-
Once the screws are removed, slide the hard drive to the right, with the help of the tab.
-
-
-
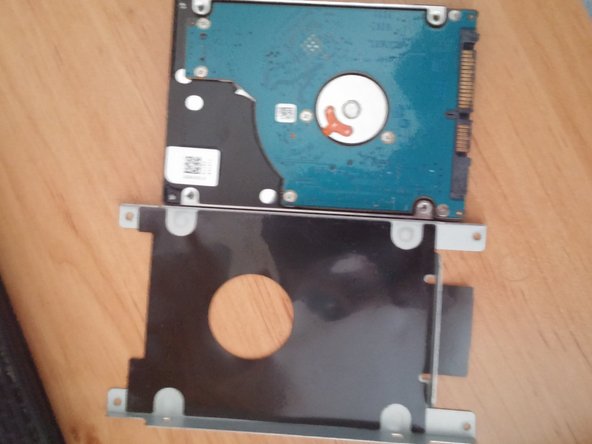
Remove the 4 screws located on the side of the support.
-
Then, remove the hard drive form its metallic support.
-
Finally, replace de hard drive with a new one or an SSD.
-


To reassemble your device, follow these steps in reverse order.
To reassemble your device, follow these steps in reverse order.
Cancelar: não concluí este guia.
2 outras pessoas executaram este guia.
Um agradecimento especial a esses tradutores:
100%


Estes tradutores estão nos ajudando a consertar o mundo! Quer contribuir?
Comece a traduzir ›

3 comentários
why do you do this?
You can do this to replace a faulty hard-drive or replace it by a SSD to get better performance. So I did this to replace mine by a new one and I wrote this guide for other people who search how to do it. As you can see, very easy to do.
Brendan -
Amazing tutorial, thanks :)