Ir para o conteúdo principal

Asus Chromebook Flip C302CA Mother & Daughterboard Replacement

O que você precisa

  1. Asus Chromebook Flip C302CA Mother & Daughterboard Replacement, Mother & Daughterboard: passo 1, imagem 1 %32
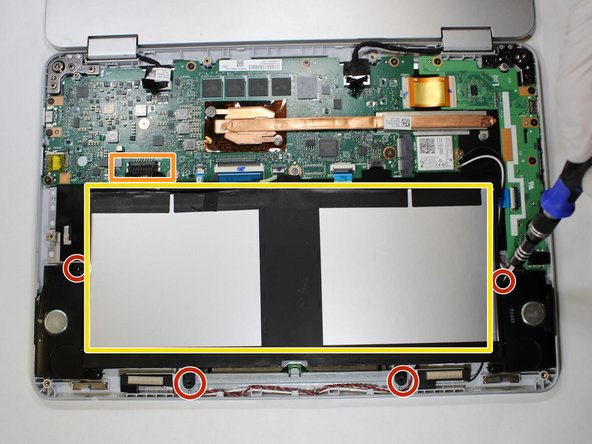
    • With the T5 Torx Screwdriver, remove the ten 5 mm screws from the back panel.

    • Remove the rubber caps at the top of the panel. Then, using the Phillips #00 Screwdriver, remove the two 1 mm screws underneath.

    • Lift up the back panel.

  2. Asus Chromebook Flip C302CA Mother & Daughterboard Replacement: passo 2, imagem 1 %32
    Ferramenta utilizada nesse passo:
    Tweezers
    $4.99
    Comprar
    • Using Tweezers, carefully remove the black wire connected to the audio card.

    • Repeat this process for the white wire.

  3. Asus Chromebook Flip C302CA Mother & Daughterboard Replacement: passo 3, imagem 1 %32
    • Remove the four 2.5 mm screws securing the battery

    • Remove the connector from the motherboard by pulling straight up on it.

    • Carefully lift the battery out of the laptop.

  4. Asus Chromebook Flip C302CA Mother & Daughterboard Replacement: passo 4, imagem 1 %32
    • Remove the highlighted strips connected to the top of the display.

  5. Asus Chromebook Flip C302CA Mother & Daughterboard Replacement: passo 5, imagem 1 %32
    • Gently lift the white tab highlighted in the image. Then, disconnect the blue connector by pulling away from the motherboard.

  6. Asus Chromebook Flip C302CA Mother & Daughterboard Replacement: passo 6, imagem 1 %32
    • Gently lift the black tab highlighted in the photo. Then, repeat the same process mentioned above.

  7. Asus Chromebook Flip C302CA Mother & Daughterboard Replacement: passo 7, imagem 1 %32
    • Once again, lift the white tab highlighted in the image. Then, pull the brown connector away to disconnect it from the motherboard.

  8. Asus Chromebook Flip C302CA Mother & Daughterboard Replacement: passo 8, imagem 1 %32
    • With the Phillips #00 Screwdriver, remove the two highlighted 1 mm screws attaching the heatsink (highlighted in orange) to the motherboard.

    • Then, remove the heatsink from the motherboard.

  9. Asus Chromebook Flip C302CA Mother & Daughterboard Replacement: passo 9, imagem 1 %32
    • With the Philips-Head #00 Screwdriver, remove the eleven 2.5 mm screws that secure the motherboard.

    • With the same tool, remove the four 1.3 mm screws at the bottom of the mother board/daughterboard.

    • Replace the motherboard/daughterboard.

Conclusão

To reassemble your device, follow these instructions in reverse order.

0 comentários

Adicione um comentário

Exibir estatísticas:

Últimas 24 horas: 2

Últimos 7 dias: 5

Últimos 30 dias: 12

Duração total: 167