Ir para o conteúdo principal

Asus A52F Screen Replacement

O que você precisa

  1. Asus A52F Screen Replacement, Screen: passo 1, imagem 1 %32 Asus A52F Screen Replacement, Screen: passo 1, imagem 2 %32
    • Remove the six rubber pads around the border of the screen using a spudger.

  2. Asus A52F Screen Replacement: passo 2, imagem 1 %32
    • Remove the six screws using a Phillips #0 screwdriver.

  3. Asus A52F Screen Replacement: passo 3, imagem 1 %32 Asus A52F Screen Replacement: passo 3, imagem 2 %32
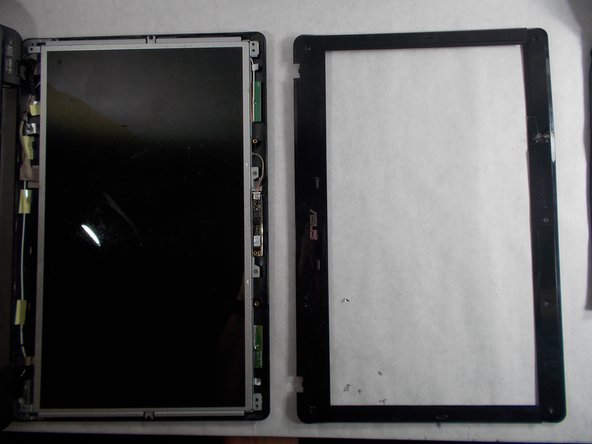
    • Separate the plastic bezel from the rest of the screen using an opening tool.

  4. Asus A52F Screen Replacement: passo 4, imagem 1 %32 Asus A52F Screen Replacement: passo 4, imagem 2 %32
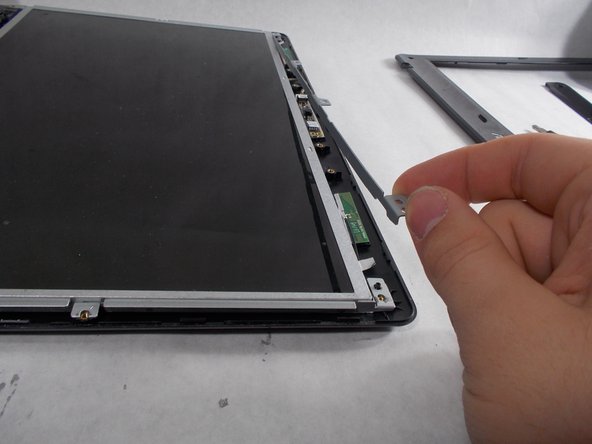
    • Lift the metal bar on the top of the screen away from the device.

  5. Asus A52F Screen Replacement: passo 5, imagem 1 %32 Asus A52F Screen Replacement: passo 5, imagem 2 %32 Asus A52F Screen Replacement: passo 5, imagem 3 %32
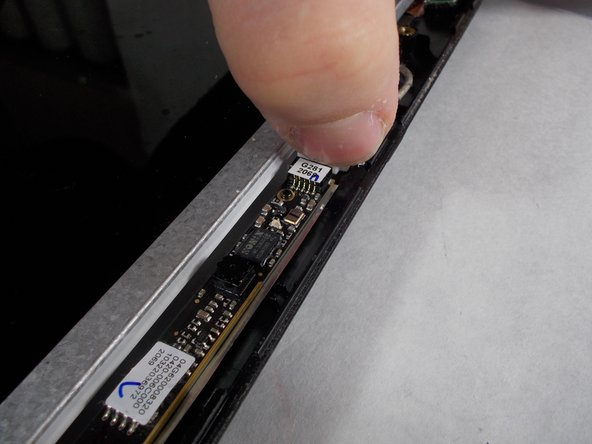
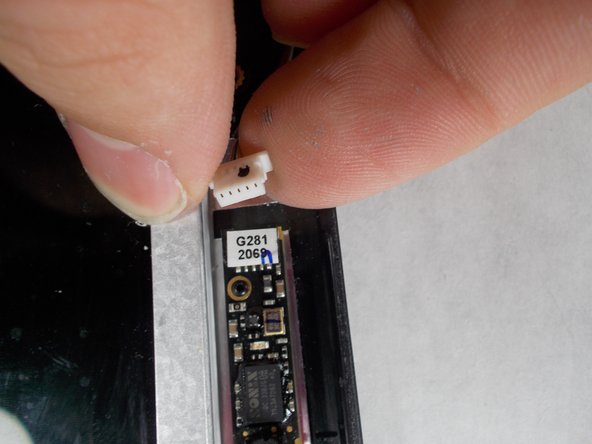
    • Gently detach the wire to the left of the webcam.

  6. Asus A52F Screen Replacement: passo 6, imagem 1 %32 Asus A52F Screen Replacement: passo 6, imagem 2 %32
    • Carefully pull the screen toward you and lay it on the keyboard.

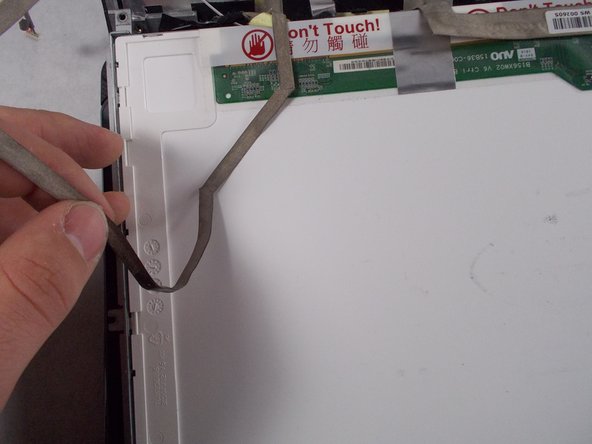
    • Peel the webcam wire off the back of the screen.

  7. Asus A52F Screen Replacement: passo 7, imagem 1 %32 Asus A52F Screen Replacement: passo 7, imagem 2 %32 Asus A52F Screen Replacement: passo 7, imagem 3 %32
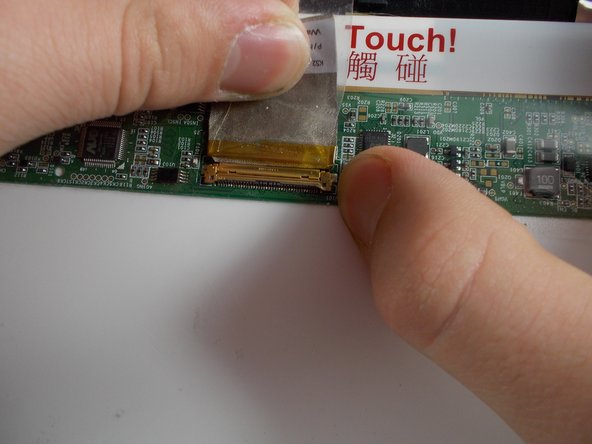
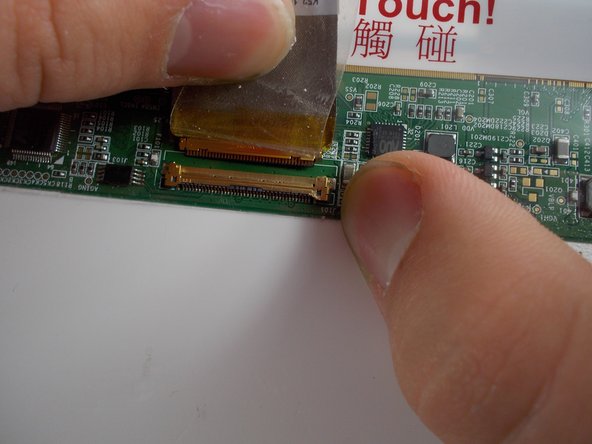
    • Peel back the tape holding the screen cable in its socket.

    • Gently pull the tape and cable away from you to remove the cable from the socket.

    • The screen is now disconnected and can be removed.

Conclusão

To reassemble your device, follow these instructions in reverse order.

Uma outra pessoa concluiu este guia.

Morgan Hays

Membro desde: 03/08/17

330 Reputação

Autoria de 2 guias

Equipe

0 comentários

Adicione um comentário

Exibir estatísticas:

Últimas 24 horas: 0

Últimos 7 dias: 1

Últimos 30 dias: 13

Duração total: 1,068