Ir para o conteúdo principal

Asus A52F Hard Drive Replacement

O que você precisa

  1. Asus A52F Hard Drive Replacement, Battery: passo 1, imagem 1 %32 Asus A52F Hard Drive Replacement, Battery: passo 1, imagem 2 %32
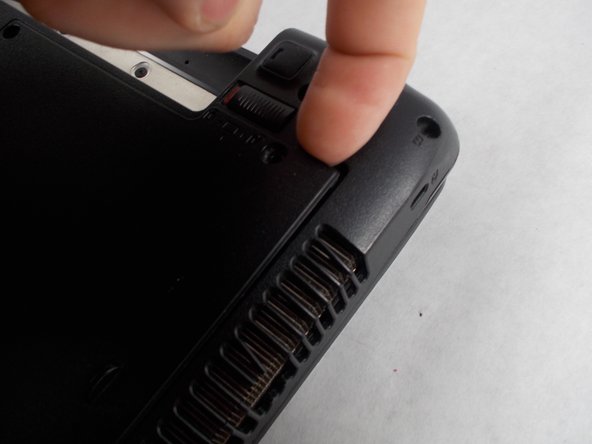
    • Place the laptop face down with the battery facing away from you.

    • Locate the two buttons next to the battery.

    • Slide the right slider to the unlocked (red) position.

  2. Asus A52F Hard Drive Replacement: passo 2, imagem 1 %32 Asus A52F Hard Drive Replacement: passo 2, imagem 2 %32
    • Hold the left button to the left.

    • Slide the battery with your other hand away from you and it should disconnect.

  3. Asus A52F Hard Drive Replacement, Lower Case: passo 3, imagem 1 %32 Asus A52F Hard Drive Replacement, Lower Case: passo 3, imagem 2 %32 Asus A52F Hard Drive Replacement, Lower Case: passo 3, imagem 3 %32
    • Remove the five Phillips # 0 screws from the back panel.

    • Using your finger or a plastic spudger start to carefully pry up the back planel.

  4. Asus A52F Hard Drive Replacement: passo 4, imagem 1 %32 Asus A52F Hard Drive Replacement: passo 4, imagem 2 %32
    • Slide the back panel away and remove the panel.

  5. Asus A52F Hard Drive Replacement, Hard Drive: passo 5, imagem 1 %32 Asus A52F Hard Drive Replacement, Hard Drive: passo 5, imagem 2 %32 Asus A52F Hard Drive Replacement, Hard Drive: passo 5, imagem 3 %32
    • Remove the four Phillips #0 screws holding the hard drive case to the laptop.

    • Lift the hard drive upwards by the two arms in order to remove the hard drive case from the laptop.

  6. Asus A52F Hard Drive Replacement: passo 6, imagem 1 %32 Asus A52F Hard Drive Replacement: passo 6, imagem 2 %32
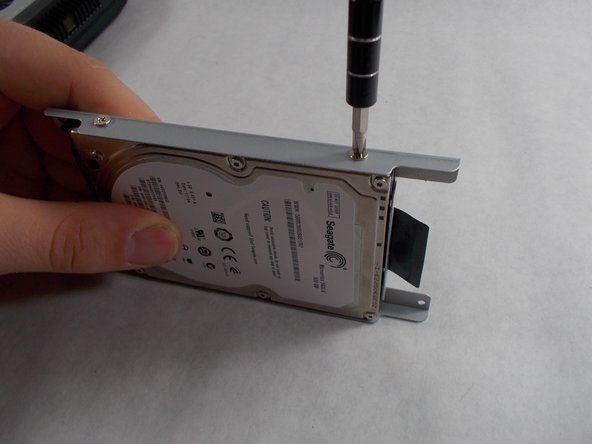
    • Using a Phillips #0 screwdriver, remove the cage screws on the side of the hard drive.

  7. Asus A52F Hard Drive Replacement: passo 7, imagem 1 %32 Asus A52F Hard Drive Replacement: passo 7, imagem 2 %32
    • Next, slide the case off of the broken hard drive.

    • Slide the working hard drive into the case and screw it on.

Conclusão

To reassemble your device, follow these instructions in reverse order.

Uma outra pessoa concluiu este guia.

Roman Justice

Membro desde: 03/08/17

225 Reputação

Autoria de 2 guias

Equipe

0 comentários

Adicione um comentário

Exibir estatísticas:

Últimas 24 horas: 0

Últimos 7 dias: 2

Últimos 30 dias: 15

Duração total: 1,528