Ir para o conteúdo principal

Anker 2.4G Wireless Mouse Side Button Replacement

O que você precisa

  1. Anker 2.4G Wireless Mouse Side Button Replacement, Side Button: passo 1, imagem 1 %32
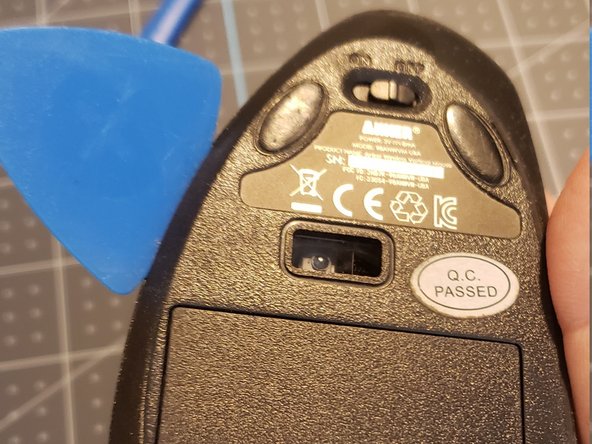
    • Flip the mouse over so that the bottom is facing up.

    • Using a prying tool to peel off the black stickers from the bottom of the mouse.

  2. Anker 2.4G Wireless Mouse Side Button Replacement: passo 2, imagem 1 %32
    • Using the Phillips #0 screwdriver, remove the four screws from the bottom of the mouse.

  3. Anker 2.4G Wireless Mouse Side Button Replacement: passo 3, imagem 1 %32 Anker 2.4G Wireless Mouse Side Button Replacement: passo 3, imagem 2 %32 Anker 2.4G Wireless Mouse Side Button Replacement: passo 3, imagem 3 %32
    • Pry the panels apart gently using a plastic opening tool or spudger.

    • Potential for device damage: In the pictures provided, a Phillips #0 screwdriver is used to pry open the mouse. It's important to note that this isn't proper procedure. Accidental internal damage to devices may occur when using improper prying tools. To avoid this, when prying open devices, always use plastic opening tools or spudgers.

  4. Anker 2.4G Wireless Mouse Side Button Replacement: passo 4, imagem 1 %32
    • After separating the halves, remove the housing wires from the white crimp headers to separate the upper and lower housing units of the mouse.

    • Potential for device damage: Pull as far up on the wire as possible to avoid ripping the wires.

  5. Anker 2.4G Wireless Mouse Side Button Replacement: passo 5, imagem 1 %32
    • Remove the two screws holding the board in place using a Phillips #0 screwdriver.

  6. Anker 2.4G Wireless Mouse Side Button Replacement: passo 6, imagem 1 %32
    • Remove the board from the housing unit and place it aside.

  7. Anker 2.4G Wireless Mouse Side Button Replacement: passo 7, imagem 1 %32 Anker 2.4G Wireless Mouse Side Button Replacement: passo 7, imagem 2 %32 Anker 2.4G Wireless Mouse Side Button Replacement: passo 7, imagem 3 %32
    • Left on the brown-colored bottom of the board, there are two black-and-white boxes. These are the side buttons.

    • Flip the board over to reveal the green-colored side.

    • Desolder the six silver pins to disconnect the side buttons.

    • Once desoldered, remove the old side buttons.

    • Resolder the pins of the new buttons onto the board.

Conclusão

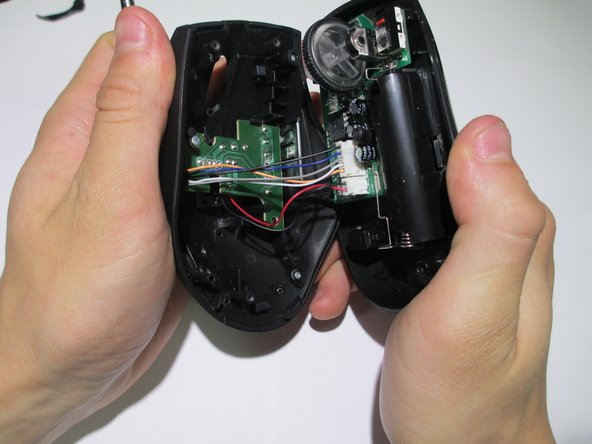
To reassemble your device, follow these instructions in reverse order.

Andreas Apitz

Membro desde: 01/23/14

119 Reputação

Autoria de 1 guia

Equipe

Cal Poly, Team 1-39, Maness Winter 2014 Membro de Cal Poly, Team 1-39, Maness Winter 2014

CPSU-MANESS-W14S1G39

Membros da 4

Autoria de 16 guias

0 comentários

Adicione um comentário

Exibir estatísticas:

Últimas 24 horas: 0

Últimos 7 dias: 1

Últimos 30 dias: 3

Duração total: 667