Introdução
Occasionally, your Aneng AN8008 Multimeter may encounter a blown fuse, typically due to overloading or a voltage surge during measurements. Replacing the fuse is a straightforward process that ensures your multimeter continues to function accurately.
This guide provides step-by-step instructions on how to replace a blown fuse in your Aneng AN8008 Multimeter. Whether you need to replace the fuse for amperage or voltage measurements, the following steps will guide you through disassembling the multimeter, accessing the fuse, and ensuring proper installation of a new fuse.
O que você precisa
-
-
Place the multimeter on its front.
-
Flip up the kickstand.
-
-
-
Use a PH1 screwdriver to unscrew the single screw holding the battery cover and kickstand.
-
-
-
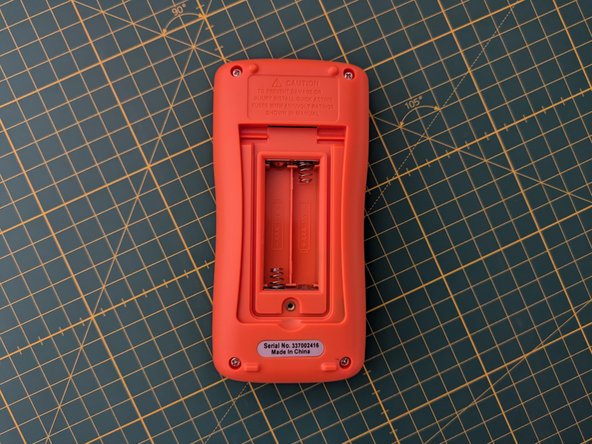
Remove the battery cover and kickstand.
-
Remove the batteries, if present.
-
-
-
-
Use a PH1 screwdriver to unscrew the four screws holding the back cover.
-
-
-
Insert a pick into the top gap between the backshell and front cover.
-
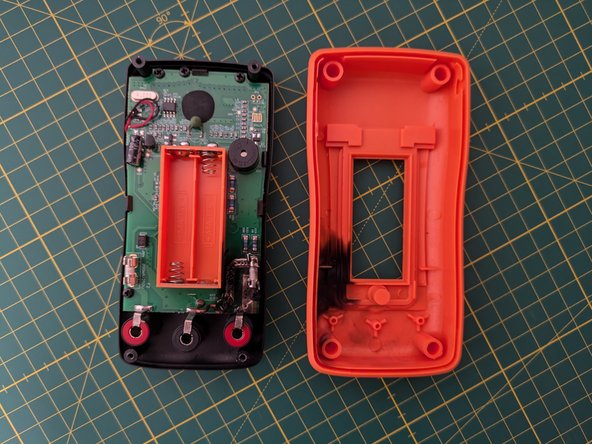
Partly leverage the front cover away from the backshell.
-
-
-
Insert a pick into the bottom gap between the backshell and front cover.
-
Fully leverage the front cover out of the backshell.
-
-
-
Locate the two fuses:
-
A 10A fuse for amperage measurements.
-
A 200mA fuse for voltage measurements
-
Clean any soot from the contacts using cotton swabs and rubbing alcohol to ensure a good connection before installing a new fuse.
-


To reassemble your device, follow these instructions in reverse order.
To reassemble your device, follow these instructions in reverse order.

Equipe
