Esta versão pode conter edições incorretas. Mude para o último instantâneo verificado.
O que você precisa
-
Este passo não foi traduzido. Ajude a traduzi-lo
-
Use the metal spudger to remove the rubber control panel at the top end of the speaker.
-
-
Este passo não foi traduzido. Ajude a traduzi-lo
-
Turning the speaker to the bottom end, peel back the Tap's rubber footing.
-
Use a T6 screwdriver to remove the the Tap's base.
-
-
-
Este passo não foi traduzido. Ajude a traduzi-lo
-
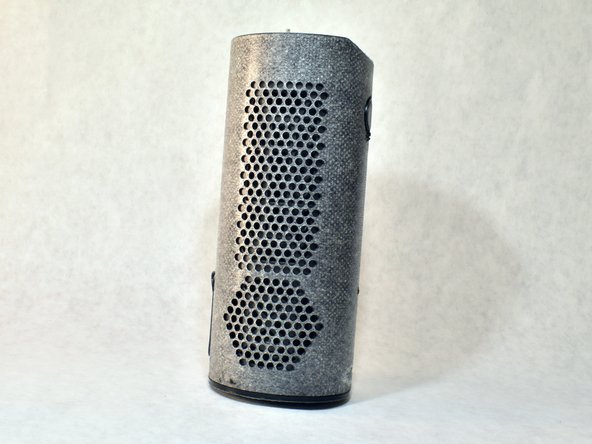
Time to break through the Tap's exterior. The only way to disassemble the Tap is from the outside.
-
First, remove the Tap's stretchy fabric wrap. Unroll the stretchy fabric from the sticky cowling.
-
After removing the stretchy fabric completely, the adhesive cowling remains.
-
-
Este passo não foi traduzido. Ajude a traduzi-lo
-
Next up: removing the cowling.
-
The key to remove the cowling is to slide it over the microphone, Bluetooth, and power buttons.
-
Once the cowling is off, only a few screws remain until the interior is reached. Progress!
-
-
Este passo não foi traduzido. Ajude a traduzi-lo
-
Use a pair of tweezers to remove the speaker button while using another pair of tweezers to hold the button steady.
-
Since the button is round, it is best to hold it steady and wiggle it in a slow motion until it comes loose.
-
-
Este passo não foi traduzido. Ajude a traduzi-lo
-
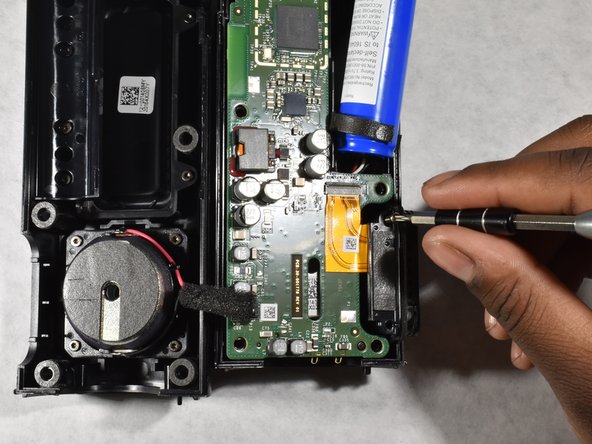
Once you remove the buttons its safe to pull apart the Amazon Tap.
-
Here you will find a standard 18650 Lithium Ion cell battery.
-
Carefully remove the Lithium Ion Cell Battery and insert a new one.
-


Cancelar: não concluí este guia.
9 outras pessoas executaram este guia.
Equipe

University of Memphis, Team S1-G3, Kim Spring 2017 Membro de University of Memphis, Team S1-G3, Kim Spring 2017
UM-KIM-S17S1G3
Membros da 3
1 Guia de autoria
11 comentários
Wow! Thanks for demystifying this!
Thank you for the guide as it is very helpful! Here is a replacement battery for the Amazon Tap:
Amazon Tap Replacement Battery
It even comes with the necessary tools to complete the repair.
Excellent.
made this very easy for me
Where does this leave us?? All taken apart and repaired, but with no way to purchase parts to replace the ones ripped apart during removal, nor the skills to put them on looking attractive with near the skills of the Chinese who probably build one of these things every 1.457 minutes at the factory!
Thank you. I was able to replace the battery. Your step by step guide was excellent. Though I could not fix the tip panel correctly I can operate its functions hands free. If show me how to fix top panel I WILL be appreciate