Ir para o conteúdo principal

Amazon Luna Controller Joystick Cover Replacement

O que você precisa

  1. Amazon Luna Controller Joystick Cover Replacement, Battery: passo 1, imagem 1 %32
    • Flip the controller over so that the back panel is facing up.

  2. Amazon Luna Controller Joystick Cover Replacement: passo 2, imagem 1 %32 Amazon Luna Controller Joystick Cover Replacement: passo 2, imagem 2 %32 Amazon Luna Controller Joystick Cover Replacement: passo 2, imagem 3 %32
    • Locate the latch on the back panel.

    • Pull down gently to open the compartment and expose the battery slots.

    • Remove batteries.

  3. Amazon Luna Controller Joystick Cover Replacement, Faceplate: passo 3, imagem 1 %32
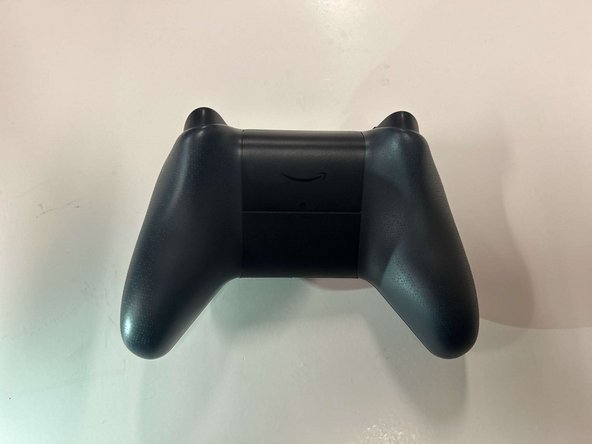
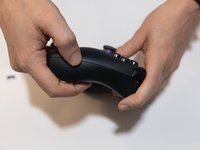
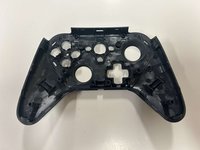
    • Flip the controller over to its front and locate the seam where the front plate connects to the rest of the body.

  4. Amazon Luna Controller Joystick Cover Replacement: passo 4, imagem 1 %32
    • Hold the controller firmly.

    • Insert the thin edge of an iFixit opening tool into the seam at the edge of the front plate close to the A button.

    • Work slowly and carefully around all sides to avoid snapping the clips.

  5. Amazon Luna Controller Joystick Cover Replacement: passo 5, imagem 1 %32 Amazon Luna Controller Joystick Cover Replacement: passo 5, imagem 2 %32
    • Once all clips are released, lift the front plate away from the controller.

  6. Amazon Luna Controller Joystick Cover Replacement, Buttons: passo 6, imagem 1 %32 Amazon Luna Controller Joystick Cover Replacement, Buttons: passo 6, imagem 2 %32
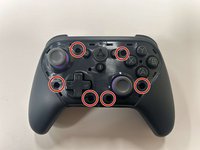
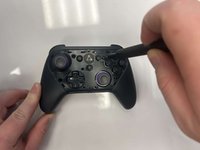
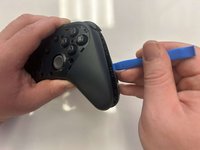
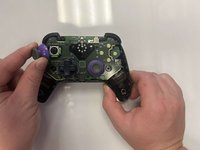
    • Remove the six 8 mm screws securing the controller's body using a TR9 Torx screwdriver.

  7. Amazon Luna Controller Joystick Cover Replacement: passo 7, imagem 1 %32 Amazon Luna Controller Joystick Cover Replacement: passo 7, imagem 2 %32
    • Gently pry along the seam that separates the two halves of the controller using an opening tool.

    • Work your way around the perimeter to carefully release the clips securing the two halves.

  8. Amazon Luna Controller Joystick Cover Replacement: passo 8, imagem 1 %32 Amazon Luna Controller Joystick Cover Replacement: passo 8, imagem 2 %32 Amazon Luna Controller Joystick Cover Replacement: passo 8, imagem 3 %32
    • Lay the front of the controller shell downward.

    • Remove the rubber padding that keeps the buttons in place.

    • Remove the buttons from the shell housing.

  9. Amazon Luna Controller Joystick Cover Replacement, Joystick Cover: passo 9, imagem 1 %32 Amazon Luna Controller Joystick Cover Replacement, Joystick Cover: passo 9, imagem 2 %32
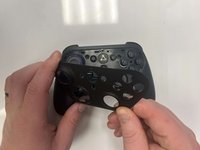
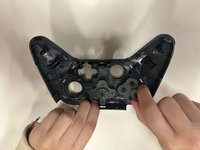
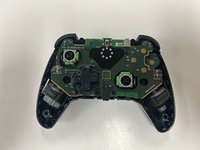
    • Gently pull the joystick thumbstick straight up to remove it from the controller.

Conclusão

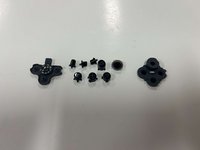
To reassemble your device, follow these instructions in reverse order.

Uma outra pessoa concluiu este guia.

0Comentários do guia

Comentar

Visualizações:

Últimas 24 horas: 1

Últimos 7 dias: 3

Últimos 30 dias: 7

Ao todo: 216