Introdução
If the Rear Camera of your Amazon Fire HD 8 12th Generation is taking fuzzy, unclear pictures, or won't even take pictures at all and it's just showing a black screen, then use to guide to take apart and replace your camera lenses. The cause of this could be many reasons, including overuse, physical mishandling, or even a software glitch.
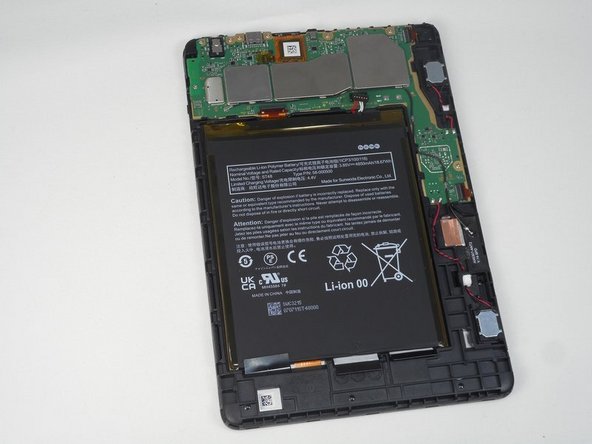
Before changing the camera, you are going to have to take the case off. A prerequisite on how to do this will be in the guide down below. Also, you need to make sure you have the correct replacement camera to change out with the old one. To do this, you will need to make sure you have the correct model number of the tablet. For reference the model number is RS2P8T. Replacing the camera is a very simple process and shouldn't require much time and technical skill.
Follow the guide below to complete the camera reinstallation.
O que você precisa
-
Passo 1 Buttons
Cuidado: as etapas de 1 a 2 são provenientes de um guia marcado como em andamento.
-
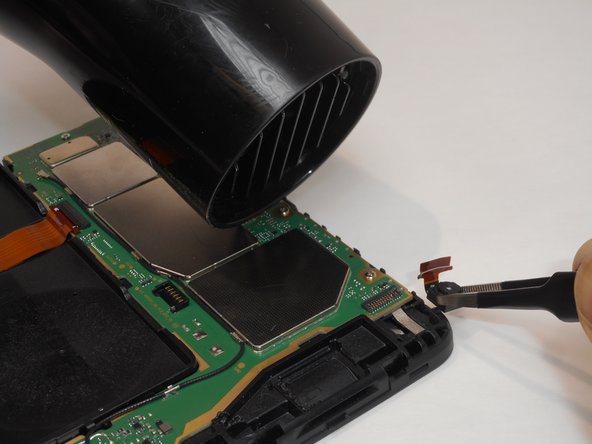
Put picks around the corner and move them along the edge to pry the case off.
-
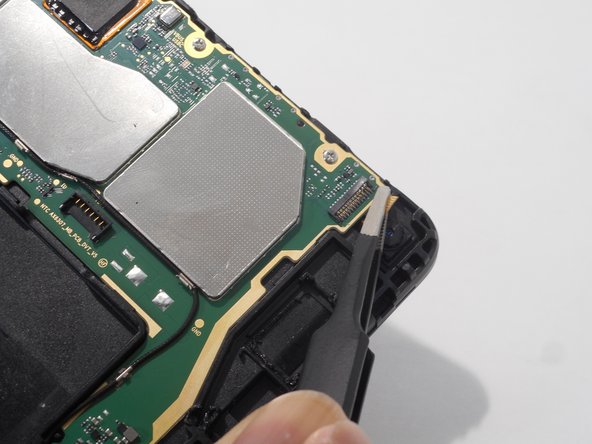
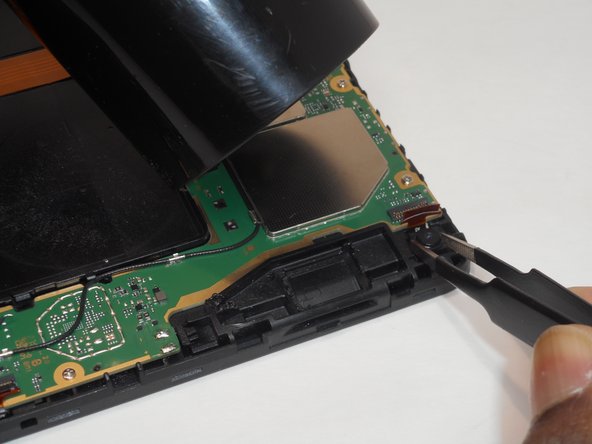
Once there is separation between the case and the screen, place a pick in between the screen and on the corner of the back case.
-
-


To reassemble your device, follow these instructions in reverse order.
To reassemble your device, follow these instructions in reverse order.

Equipe

University of Memphis, Team 1-1, Sneed Fall 2023 Membro de University of Memphis, Team 1-1, Sneed Fall 2023
UM-SNEED-F23S1G1
Membros da 4
Autoria de 7 guias