Esta versão pode conter edições incorretas. Mude para o último instantâneo verificado.
O que você precisa
-
Este passo não foi traduzido. Ajude a traduzi-lo
-
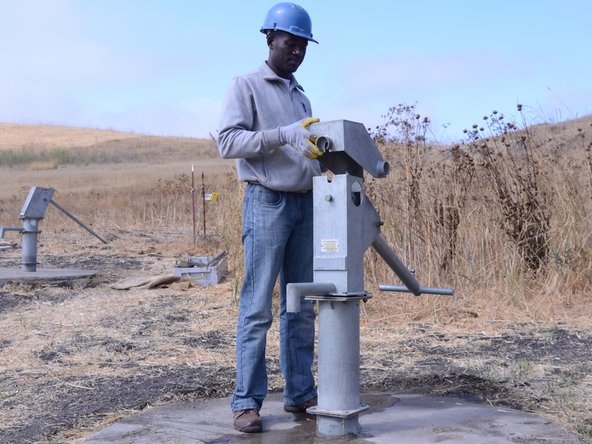
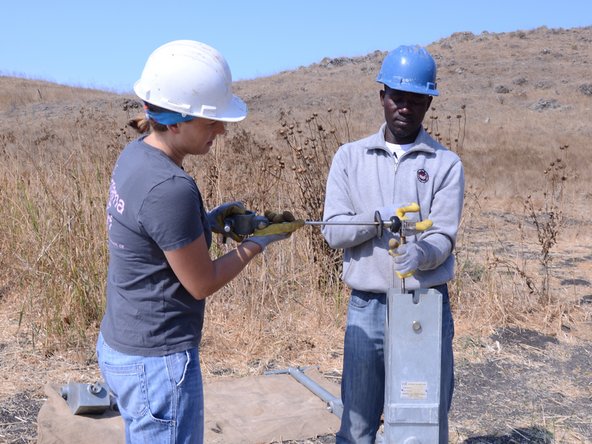
Assemble the required tools, including the Afridev tool and crescent wrenches.
-
-
Este passo não foi traduzido. Ajude a traduzi-lo
-
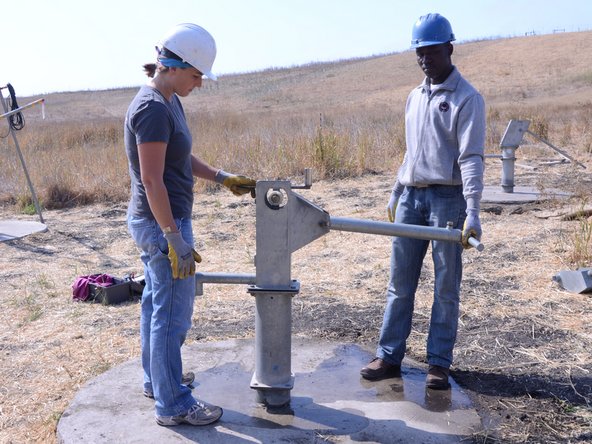
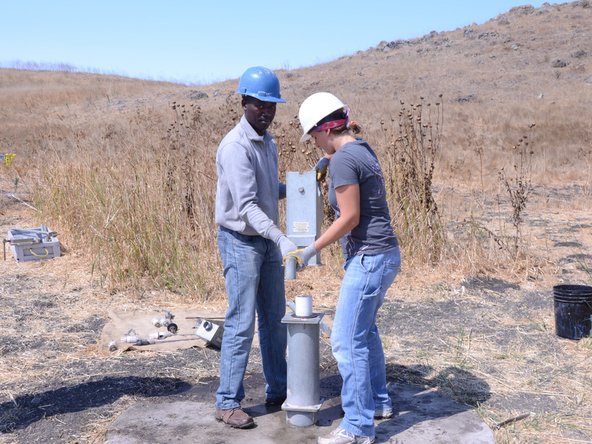
Perform a water test on the pump, by raising and lowering the handle a full 40 strokes. A properly performing pump will yield greater than 10 liters.
-
-
Este passo não foi traduzido. Ajude a traduzi-lo
-
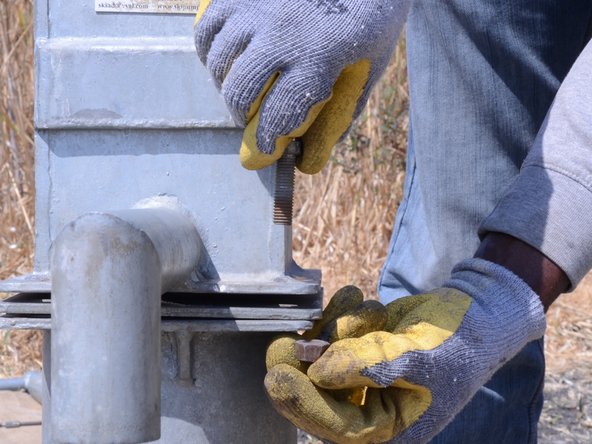
Loosen the bolt on front of the face plate with the Afridev tool.
-
Remove the plate from the pump by lifting it straight up.
-
-
Este passo não foi traduzido. Ajude a traduzi-lo
-
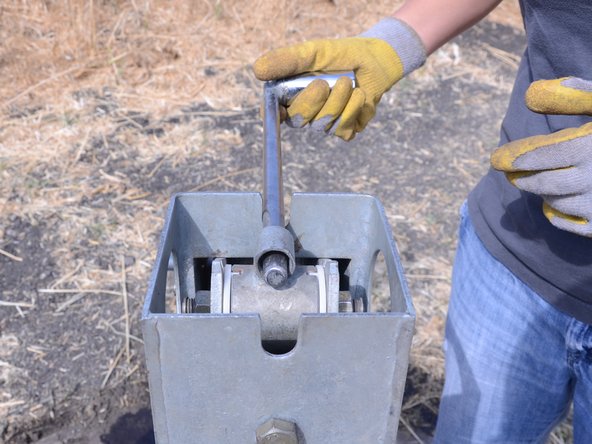
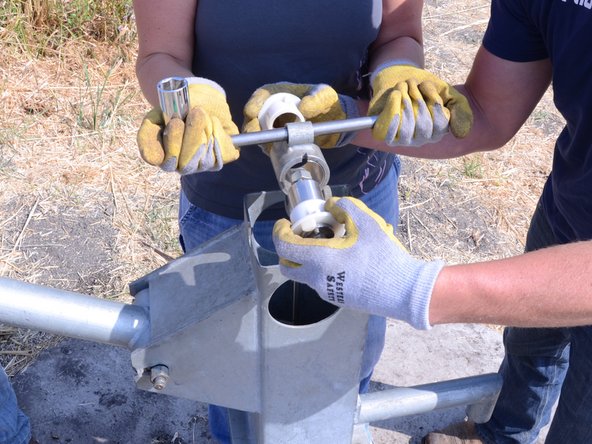
Insert the T-handle into the top cylinder of the exposed pump rod.
-
-
Este passo não foi traduzido. Ajude a traduzi-lo
-
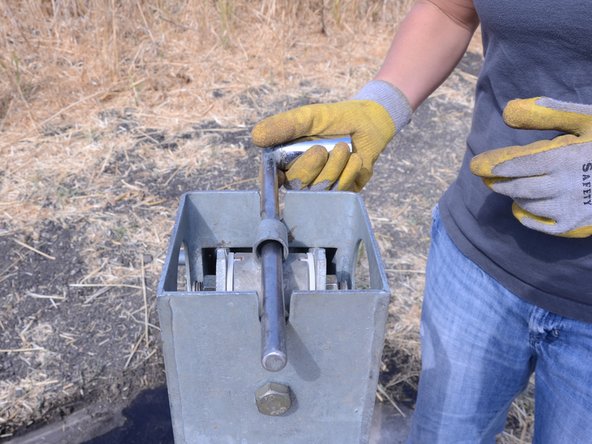
Loosen the 2 bolts on either side of the head to remove the handle from the pump rod.
-
-
Este passo não foi traduzido. Ajude a traduzi-lo
-
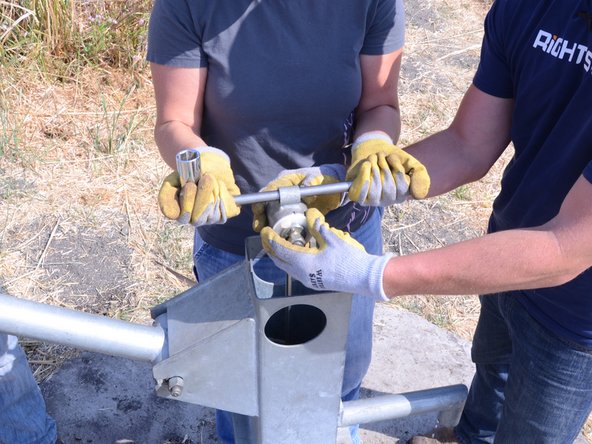
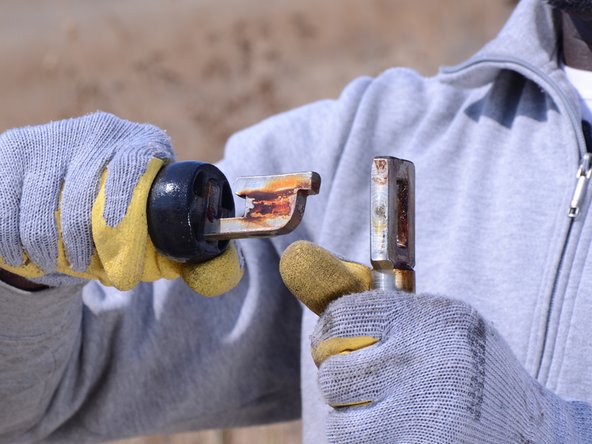
While one person lifts up on the T-handle, remove the bolt and connection pieces.
-
-
Este passo não foi traduzido. Ajude a traduzi-lo
-
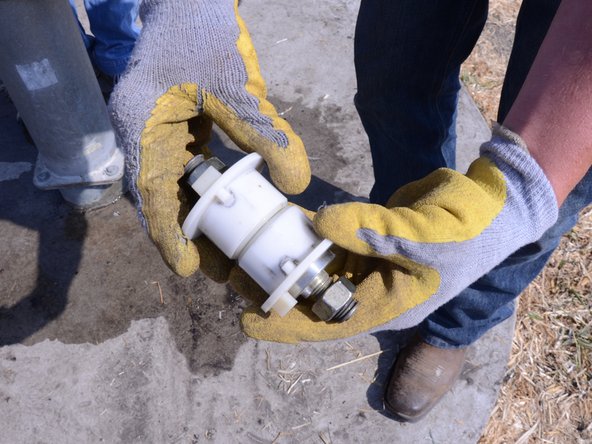
Remove the bolt and connection pieces from the handle.
-
-
-
Este passo não foi traduzido. Ajude a traduzi-lo
-
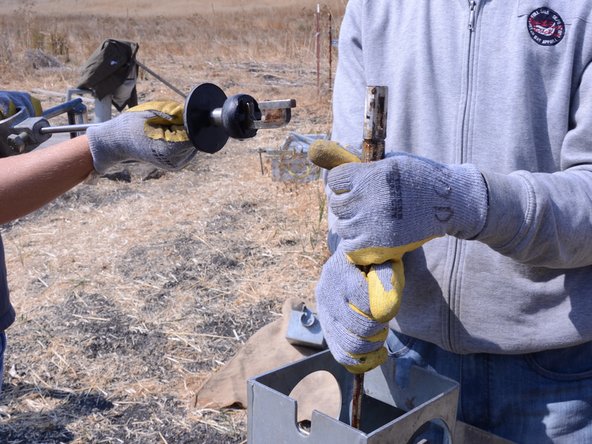
Grab firmly on the T-handle and lift the pump rod straight up.
-
Expose the first connection of the pump rod, and support the portion below the connection.
-
-
Este passo não foi traduzido. Ajude a traduzi-lo
-
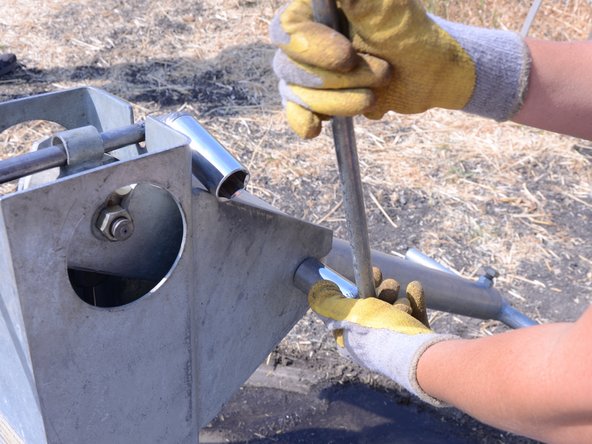
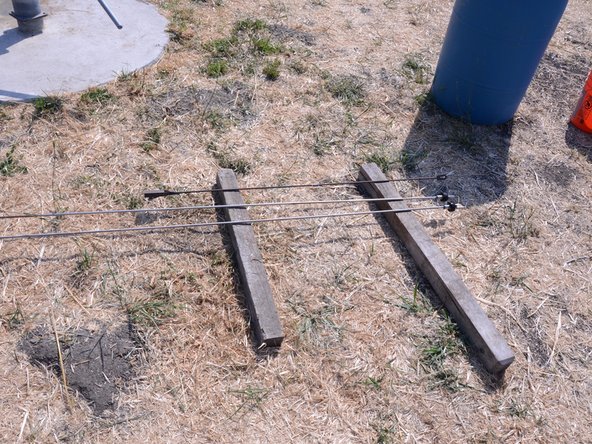
While holding the pump rod below the first connection tightly, lower the first portion of the rod to a horizontal position.
-
-
Este passo não foi traduzido. Ajude a traduzi-lo
-
Unhook the first connection by pushing it out and down, then pulling it away from the rest of the rod.
-
-
Este passo não foi traduzido. Ajude a traduzi-lo
-
Repeat steps 11-13 for the remaining sections of pump rod.
-
-
Este passo não foi traduzido. Ajude a traduzi-lo
-
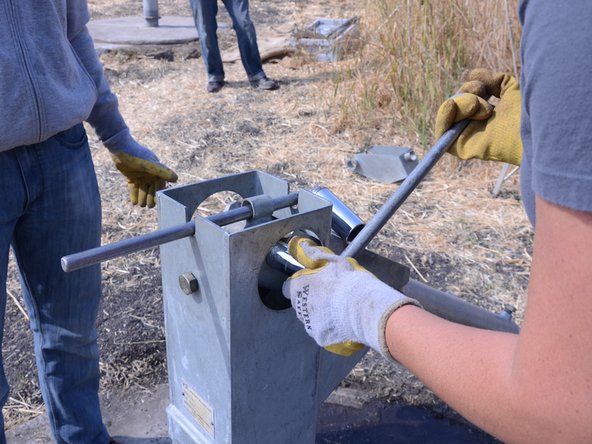
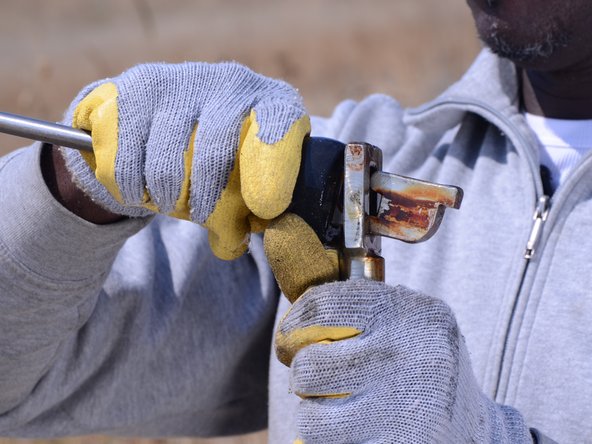
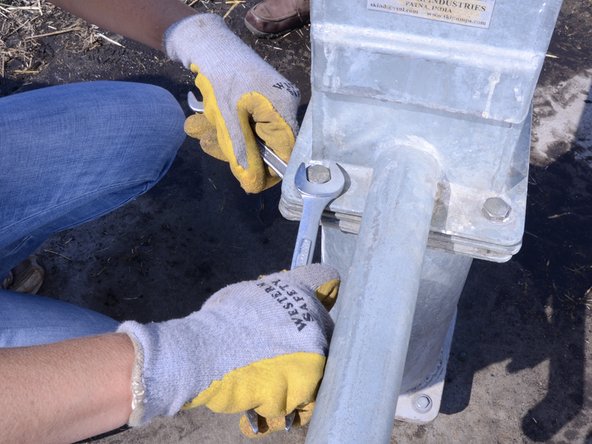
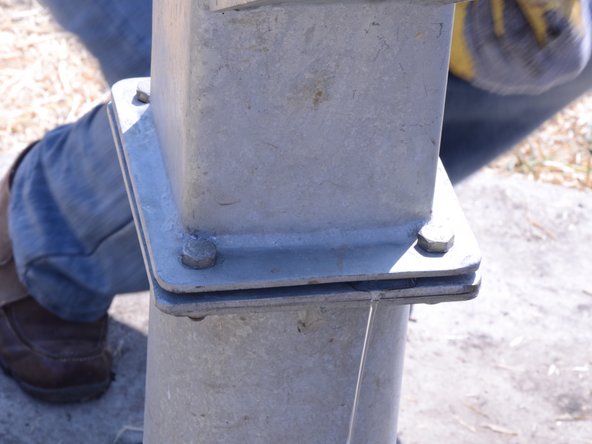
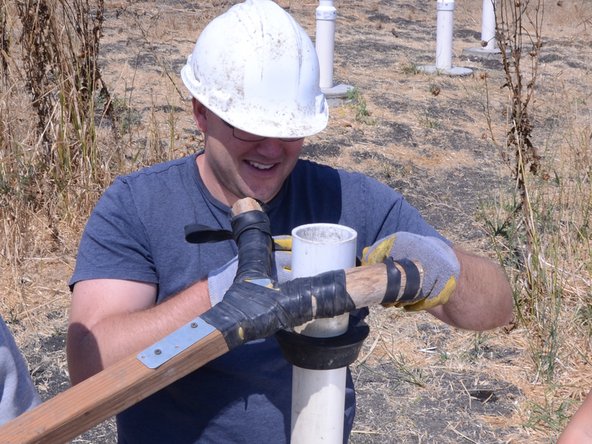
Place one wrench on the top side of the top base of the tank spout.
-
Place another wrench on the underside of the bolt in order to get more leverage.
-
Pull the top wrench to the right, and the bottom wrench to the left.
-
-
Este passo não foi traduzido. Ajude a traduzi-lo
-
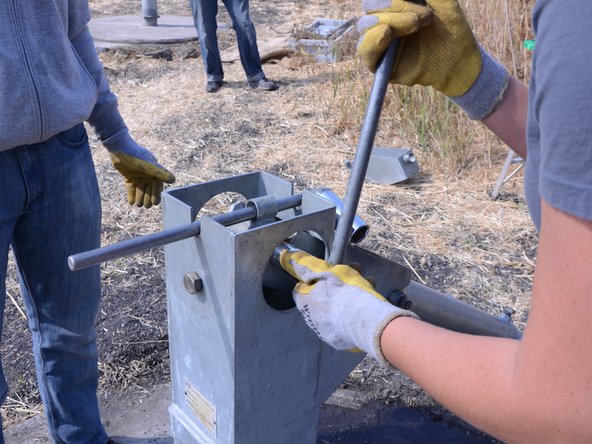
Remove the loosened bolt from the pump.
-
Repeat this procedure for the 3 remaining bolts.
-
-
Este passo não foi traduzido. Ajude a traduzi-lo
-
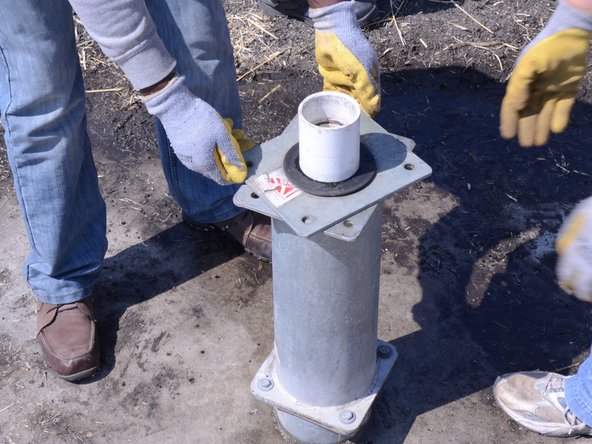
Lift the tank straight up to remove it from the pump.
-
-
Este passo não foi traduzido. Ajude a traduzi-lo
-
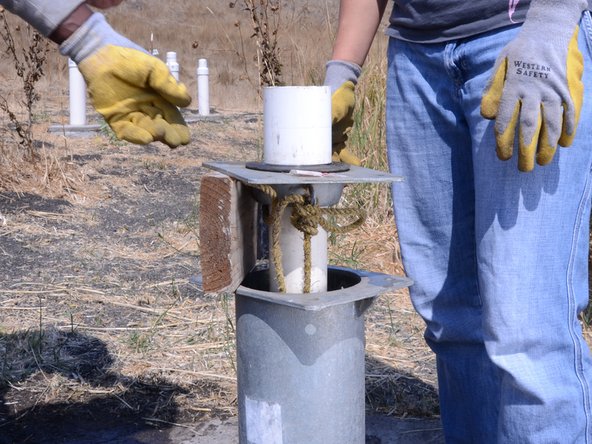
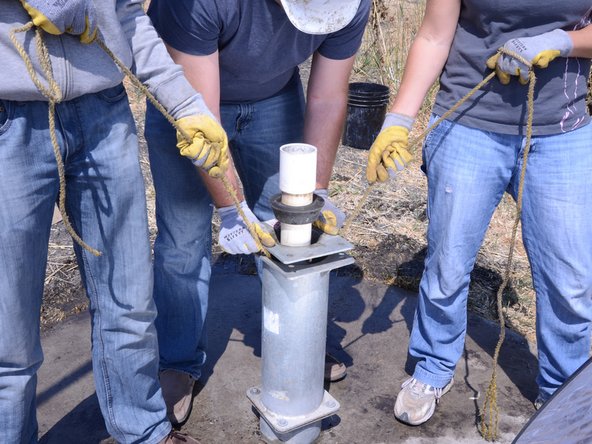
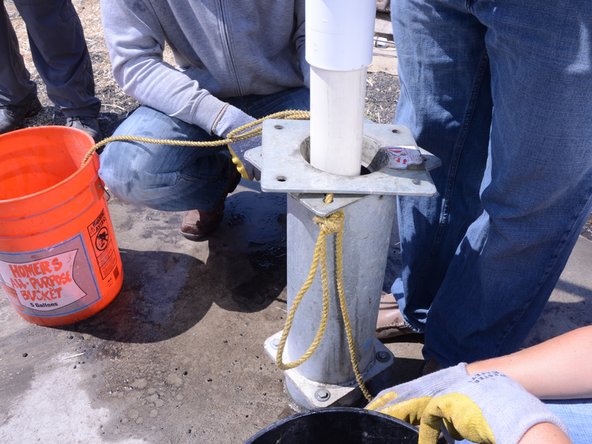
Slightly twist the head flange until the corners overhang the top of the tank, far enough so that you can grab them.
-
-
Este passo não foi traduzido. Ajude a traduzi-lo
-
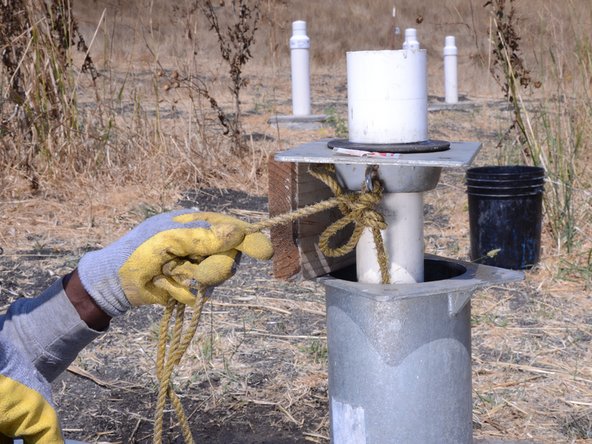
Untie knots from the flange, holding on to the loose ends of the rope.
-
-
Este passo não foi traduzido. Ajude a traduzi-lo
-
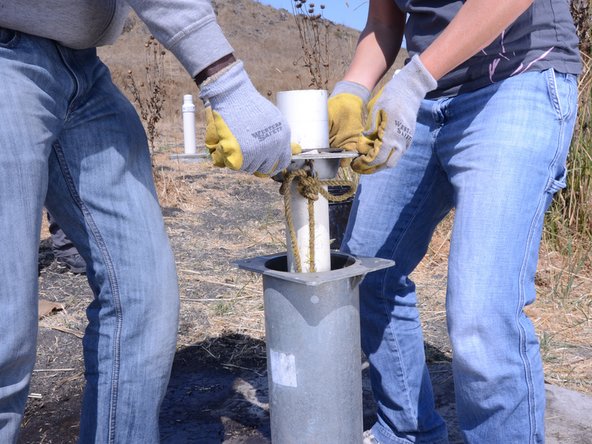
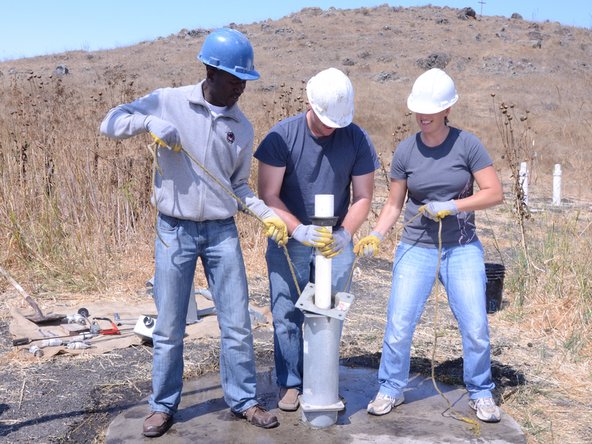
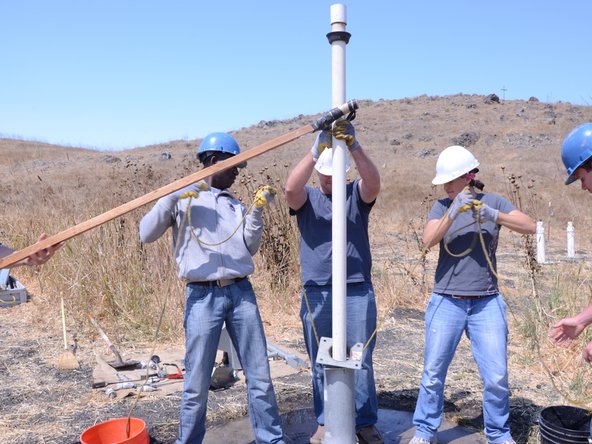
With two people holding each end of the rope, remove the support underneath the top plate and lower the plate.
-
This may require a bit of force, since the plate may be attached tightly.
-
-
Este passo não foi traduzido. Ajude a traduzi-lo
-
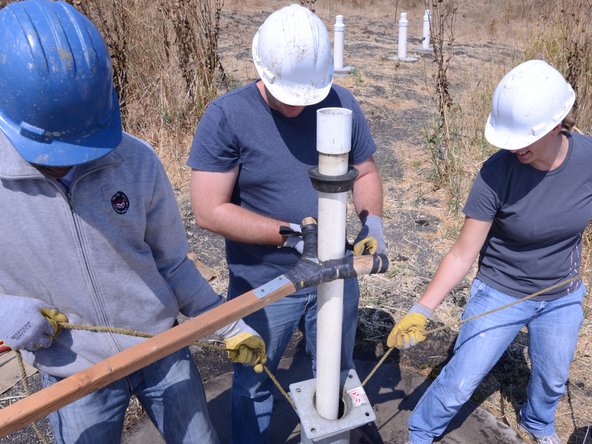
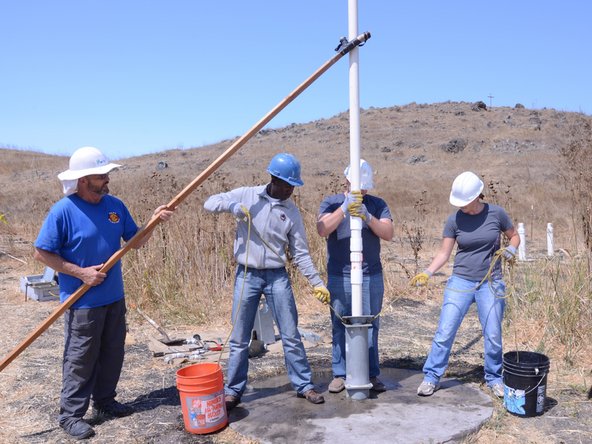
Lift the casing from the borehole, simultaneously pulling up on the ropes to support the casing.
-
-
Este passo não foi traduzido. Ajude a traduzi-lo
-
Continue lifting the casing, supporting the top portion with the casing support, as needed.
-
-
Este passo não foi traduzido. Ajude a traduzi-lo
-
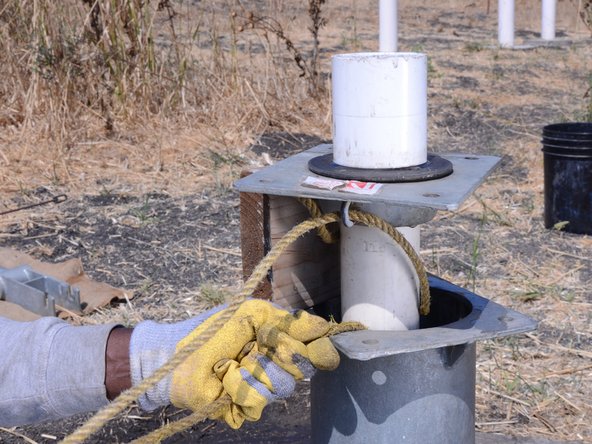
When you reach the portion of the casing that needs to be repaired, tie the casing support ropes onto the frame.
-
-
Este passo não foi traduzido. Ajude a traduzi-lo
-
While supporting the casing, make the necessary repairs to the casing pipe.
-


Cancelar: não concluí este guia.
Uma outra pessoa concluiu este guia.

Um comentário
It is much easier to lift the riser pipe AFTER you removed the foot valve. Removal of the foot valve requires use of the foot valve fish tool, being attached to the original rods (without using the piston and rod) and carefully lowered into the riser main. When it reaches bottom, turn it up to about 90 degree and see if it drops any during that turn. Then pull up sharply to remove the foot valve from its seat, and proceed with removing all the rods, fish tool and foot valve. When the foot valve comes off the seat, you may hear water running down the riser pipe, this is not a problem. That water was just being held above static water level by the working foot valve.