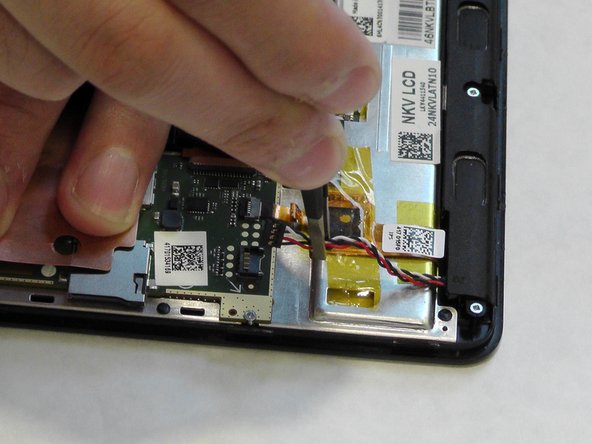
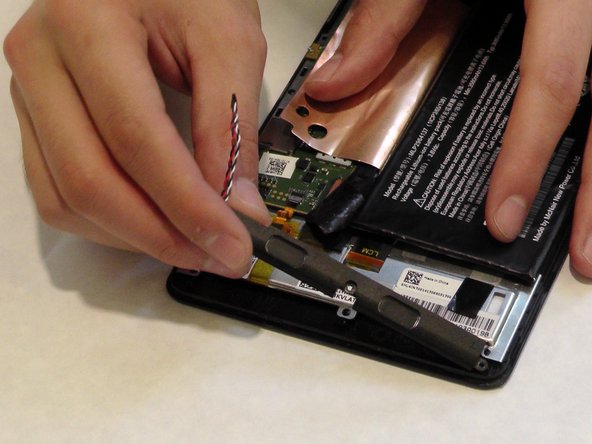
Ir para o conteúdo principal

Acer Iconia One 7 Speaker Replacement

O que você precisa

  1. Acer Iconia One 7 Speaker Replacement, Speaker: passo 1, imagem 1 %32
    • Begin at any side of the tablet.

    • With a plastic opening tool, begin taking apart the back cover from the tablet by working along the edges.

    • Prying the lid open can be difficult; use caution in order to safely remove.

    • Turn off device before this step.

  2. Acer Iconia One 7 Speaker Replacement: passo 2, imagem 1 %32
    • Using a plastic opening tool, separate the back cover from the main device.

    • Open each side continuously to ensure all sides have been separated.

  3. Acer Iconia One 7 Speaker Replacement: passo 3, imagem 1 %32
    • Turn the tablet over to locate the speaker.

    • Besides the parts that are mentioned in the instruction, try not to agitate other fragile components inside the device.

    • The speaker is on the bottom of the inside.

  4. Acer Iconia One 7 Speaker Replacement: passo 4, imagem 1 %32 Acer Iconia One 7 Speaker Replacement: passo 4, imagem 2 %32
    • Peel back tape.

    • Using tweezers, detach connection from motherboard.

  5. Acer Iconia One 7 Speaker Replacement: passo 5, imagem 1 %32 Acer Iconia One 7 Speaker Replacement: passo 5, imagem 2 %32 Acer Iconia One 7 Speaker Replacement: passo 5, imagem 3 %32
    • Unscrew screws with a JIS screwdriver with a #00 screw bit.

    • Dislodge the speaker unit.

    • Take care not to displace any other bits in the device.

Conclusão

To reassemble your device, follow these instructions in reverse order.

Michael

Membro desde: 09/03/15

519 Reputação

Autoria de 4 guias

Equipe

USF Tampa, Team 8-5, Eyestone Fall 2015 Membro de USF Tampa, Team 8-5, Eyestone Fall 2015

USFT-EYESTONE-F15S8G5

Membros da 3

Autoria de 5 guias

0 comentários

Adicione um comentário

Exibir estatísticas:

Últimas 24 horas: 0

Últimos 7 dias: 6

Últimos 30 dias: 9

Duração total: 405