Introdução
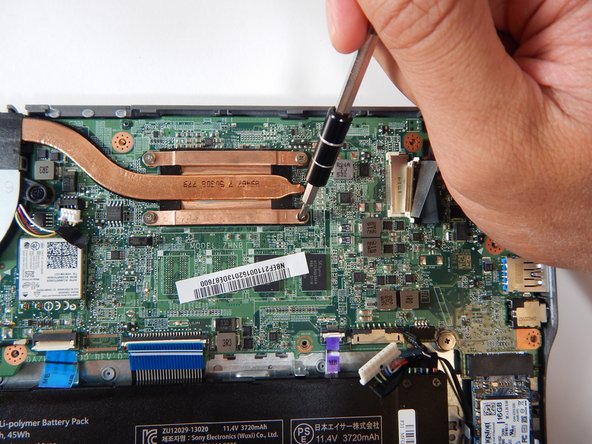
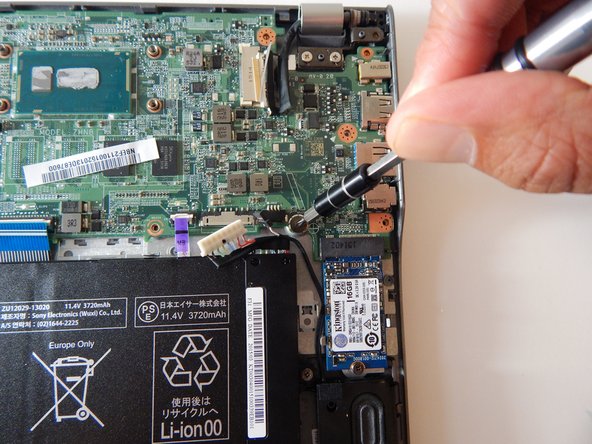
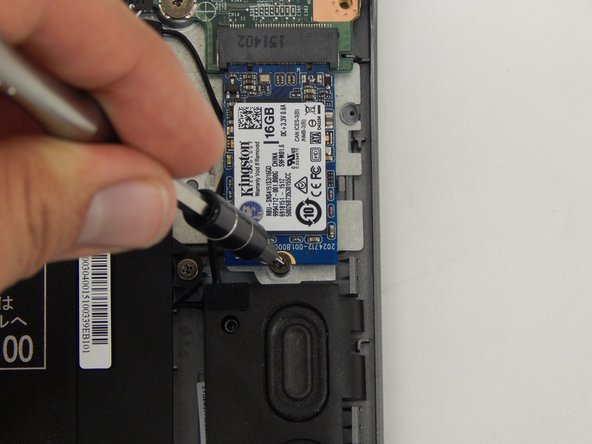
The motherboard replacement for the Acer Chromebook C740 requires removing the back panel, unplugging several connectors, and removing several screws. The motherboard is the main circuity for the laptop.
O que você precisa
-
-
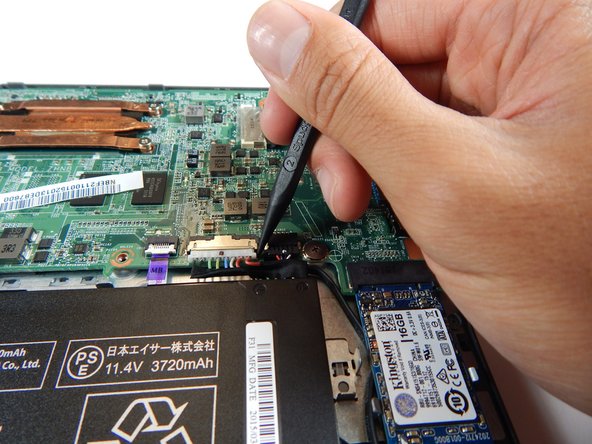
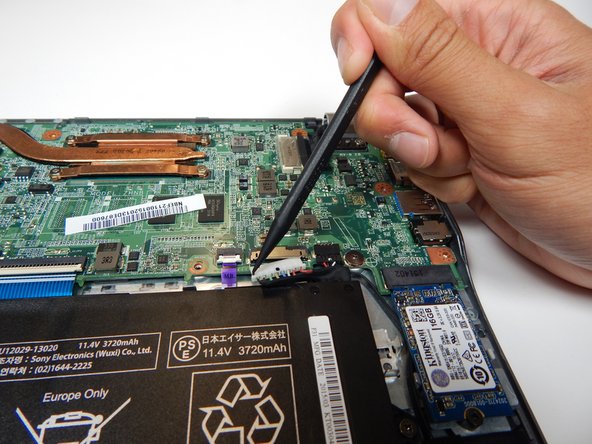
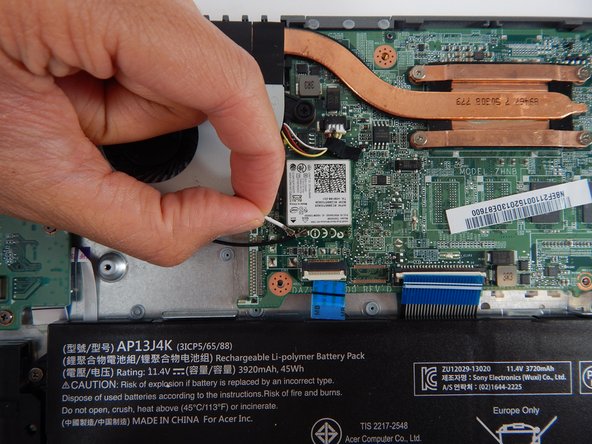
Flip up the clip holding down the white cable using the spudger.
-
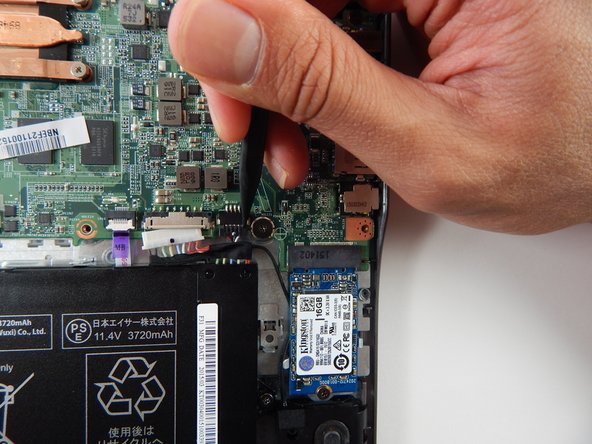
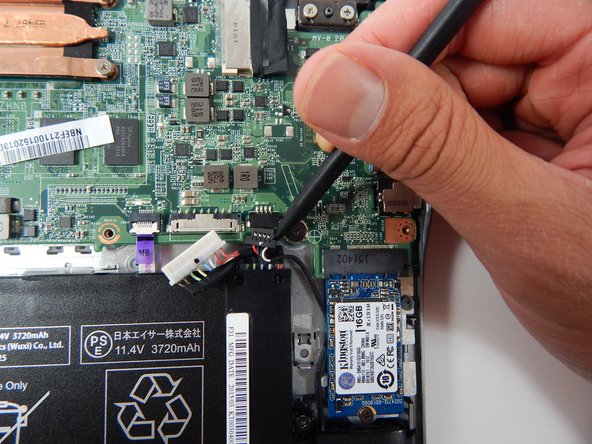
Pull the cable outwards towards the battery.
-
-


To reassemble your device, follow these instructions in reverse order.
To reassemble your device, follow these instructions in reverse order.
Cancelar: não concluí este guia.
4 outras pessoas executaram este guia.
Equipe

Cal Poly, Team S22-G2, Livingston Spring 2017 Membro de Cal Poly, Team S22-G2, Livingston Spring 2017
CPSU-LIVINGSTON-S17S22G2
Membros da 4
Autoria de 12 guias