Introdução
Follow this guide to replace the charging port on a Acer Aspire V5-571P-6815 laptop.
O que você precisa


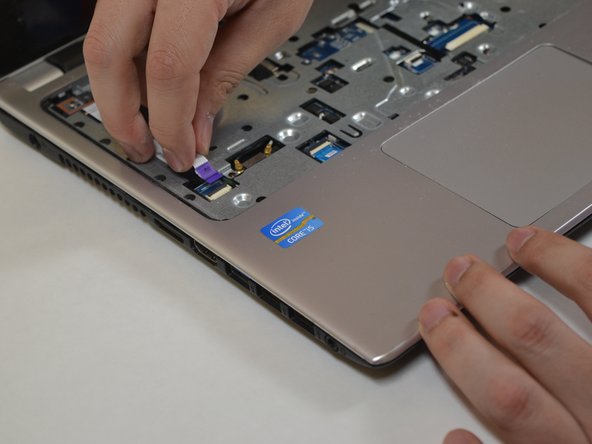


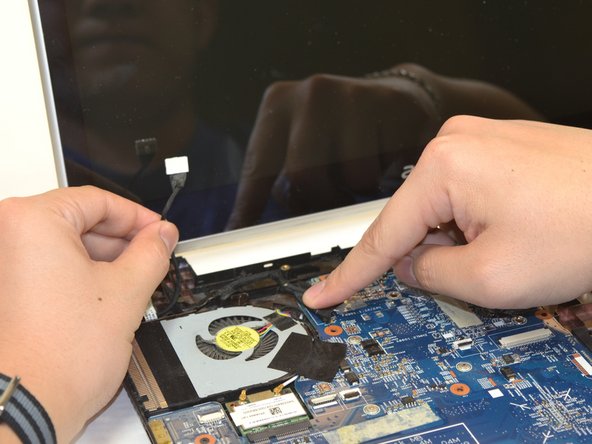


Quase terminado!
Follow the steps in reverse with a new cable.
Conclusão
Follow the steps in reverse with a new cable.
Cancelar: não concluí este guia.
Uma outra pessoa concluiu este guia.
Equipe

UW Tacoma, Team S1-G4, Liner Spring 2018 Membro de UW Tacoma, Team S1-G4, Liner Spring 2018
UWT-LINER-S18S1G4
Membros da 5
Autoria de 8 guias