Este guia tem alterações mais recentes. Mudar para a última versão não verificada.
Introdução
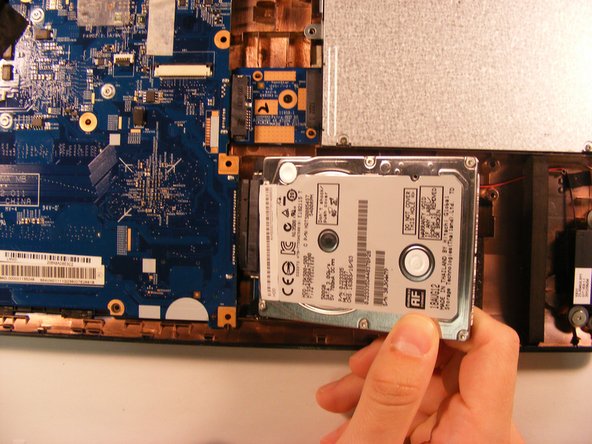
This guide will show how to replace the motherboard if it becomes damaged or non-functional.
O que você precisa
-
-
Use the pointed end of the spudger to slide the battery lock until the battery pops loose.
-
-
-
-
Slide the optical disc drive out of the slot to disconnect it from the motherboard.
-
Unscrew the main 3.5mm PH1 screw from the motherboard.
-
-
-
The motherboard can be replaced once disconnected from the CPU cooling fan.
-


To reassemble your device, follow these instructions in reverse order.
To reassemble your device, follow these instructions in reverse order.
Equipe

University of Alabama, Team S2-G7, Bedsole Spring 2018 Membro de University of Alabama, Team S2-G7, Bedsole Spring 2018
UA-BEDSOLE-S18S2G7
Membros da 3
Autoria de 12 guias