Esta versão pode conter edições incorretas. Mude para o último instantâneo verificado.
O que você precisa
-
Este passo não foi traduzido. Ajude a traduzi-lo
-
Turn off the laptop and remove the battery.
-
Remove two screws securing the Keyboard.
-
The Keyboard is held by two locking clips, under the battery. Use the sharp tip of a plastic tool to release the keyboard.
-
-
Este passo não foi traduzido. Ajude a traduzi-lo
-
Remove the Keyboard and disconnect the two flex cables:
-
Keyboard flex cable
-
Keyboard Light flex cable
-
-
Este passo não foi traduzido. Ajude a traduzi-lo
-
Remove the screw securing the Optical drive and gently press the drive to show slightly as at the second pic.
-
Slide the drive to the left and remove it.
-
-
Este passo não foi traduzido. Ajude a traduzi-lo
-
Remove 4x phillips screws and disconnect:
-
Power On button flex cable
-
Touch pad flex cable
-
Remove 18x Phillips screws from the bottom cover.
-
Remove any memory SD Card from the Card reader.
-
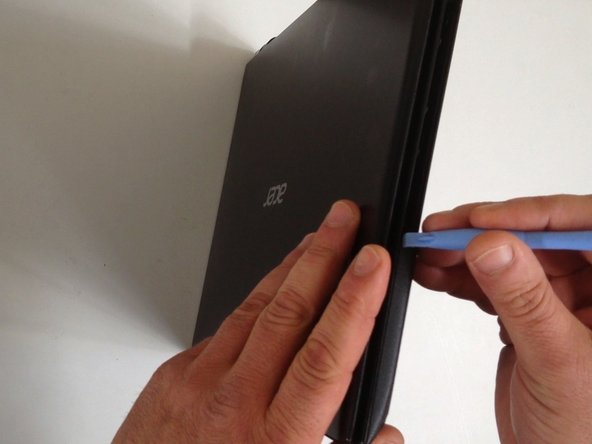
Start opening with a plastic opening tool.
-
-
-
Este passo não foi traduzido. Ajude a traduzi-lo
-
Gently remove the HDD and disconnect the SATA cable from it.
-
-
Este passo não foi traduzido. Ajude a traduzi-lo
-
Remove one Phillips screw, securing th WLan card and disconnect the two coaxial antenna cables.
-
Remove the Wi-Fi card.
-
-
Este passo não foi traduzido. Ajude a traduzi-lo
-
Remove the Memory Cover.
-
Disconnect the Loudspeaker cable connector.
-
-
Este passo não foi traduzido. Ajude a traduzi-lo
-
Remove two Phillips screw from the Mother board and from the Optical drive SATA adapter.
-
Disconnect the LCD Display flex cable.
-
Disconnect the DC Jack cable.
-
Carefully remove the Optical drive SATA adapter.
-
We will disconnect the battery cable when we pick up the board.
-
-
Este passo não foi traduzido. Ajude a traduzi-lo
-
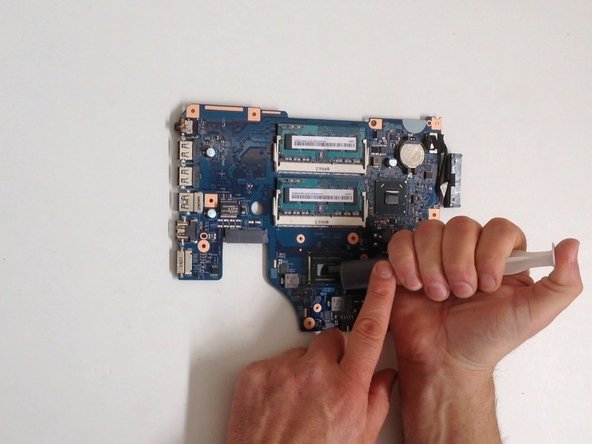
Carefully pick up the Mother board and disconnect the Battery cable.
-
-
Este passo não foi traduzido. Ajude a traduzi-lo
-
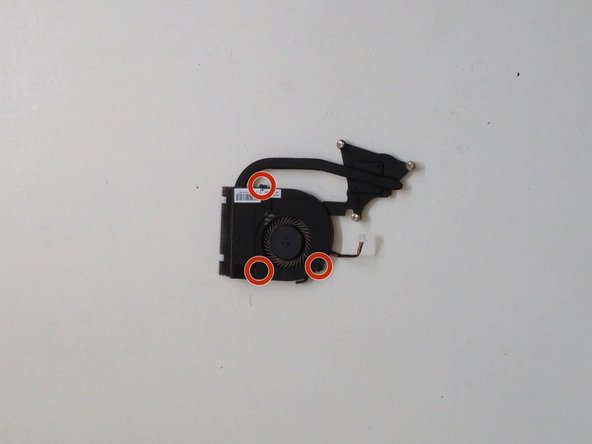
Disconnect the Fan cable.
-
Unscrew the screws that hold the Cooling system to the Mother board.
-
Carefully lift the Cooling system right up.
-
-
Este passo não foi traduzido. Ajude a traduzi-lo
-
Use a lint-free cloth to clean the old thermal compound.
-
Use again cloth with isopropyl alcohol to clean the Thermal surface.
-
Remove three Philips screws held the Fan shield.
-
-
Este passo não foi traduzido. Ajude a traduzi-lo
-
Unstick the black tape that hold the Fan to the cooler.
-
Unlock the clip and open the Fan case.
-
Close the Fan system.
-
-
Este passo não foi traduzido. Ajude a traduzi-lo
-
Use the same technic to clean the surface of the processor from the old thermal compound
-
Dispense a small amount of thermal compound and gently smear it over the entire processor surface.
-
.
-
.
-
.
-
Did you do it successful?
-


Cancelar: não concluí este guia.
4 outras pessoas executaram este guia.

Equipe

Um comentário
Hello!
Is ist possible to installa SSD storage to the V5-571G without removing the SATA?
Thanks for your reply