Introdução
Not all computer speaker issues require speaker replacement. Common problems include faulty connections, outdated drivers, or incorrect audio settings, which can often be fixed without speaker replacement. However, when an issue persists after troubleshooting, it might be more practical to replace the speakers.
Signs to Know They Need Replacement
Here are some signs that indicate your computer speakers might need replacement:
- No Sound or Distorted Audio: If there is no sound or the audio is distorted despite correct settings, it could indicate a problem with the speakers.
- Physical Damage: Visible damage to the speakers or cables can also suggest they need replacement.
- Static Noise: Persistent static noise that cannot be resolved by adjusting settings or connections may indicate faulty speakers.
O que você precisa
-
-
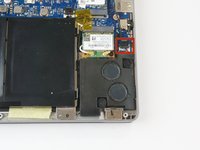
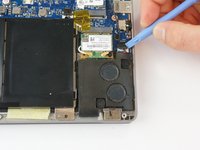
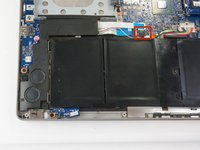
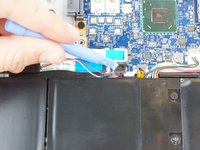
Locate the clip attaching the right-side speakers to the motherboard.
-
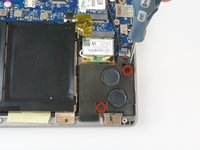
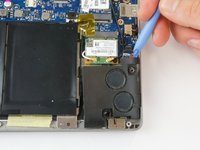
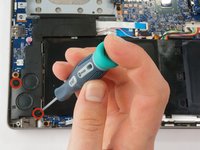
Carefully pull on the clip until it detaches from the motherboard.
-


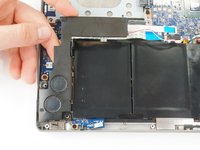
To reassemble your device, follow these instructions in reverse order.
To reassemble your device, follow these instructions in reverse order.
Equipe

USF Tampa, Team 3-4, Hickman Winter 2015 Membro de USF Tampa, Team 3-4, Hickman Winter 2015
USFT-HICKMAN-W15S3G4
4 Membros
Autoria de 7 guias