Introdução
If your screen is cracked or non-functional you have two options:
- You can replace the entire laptop lid assembly including the LCD panel, web cam, microphone, WiFi aerials, case and hinges, as described in this guide. You may wish to do this if the plastic case is damaged.
- If only the LCD panel needs replacing then there is much less preliminary disassembly to do, but bear in mind that the LCD is delicate and you need to take care not to crack your new one. For this, see Acer Aspire 5742 LCD Panel Replacement
If the problem is simply that the screen is blank though undamaged as far as you can see, there is a small chance that the video cable needs reseating either at the motherboard or at its connection behind the LCD panel.
O que você precisa
-
-
Move the battery catch to the "unlocked" position.
-
Pull back the second spring-loaded battery catch until the battery pops up.
-
Remove the battery.
-
-
-
Turn the notebook around to face you.
-
There are two Phillips #00 screws securing the cover panel to the rest of the notebook. Remove these screws.
-
-
-
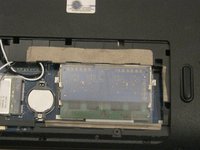
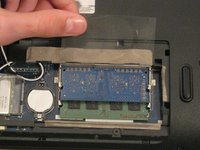
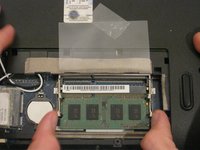
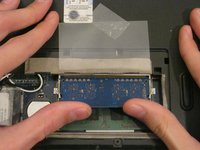
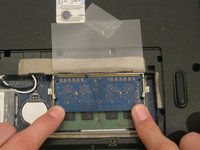
The RAM is protected by a transparent cellophane cover.
-
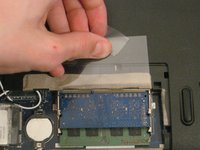
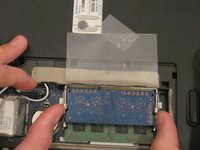
Lift this cover away from the RAM. It will not come free from the RAM.
-
-
-
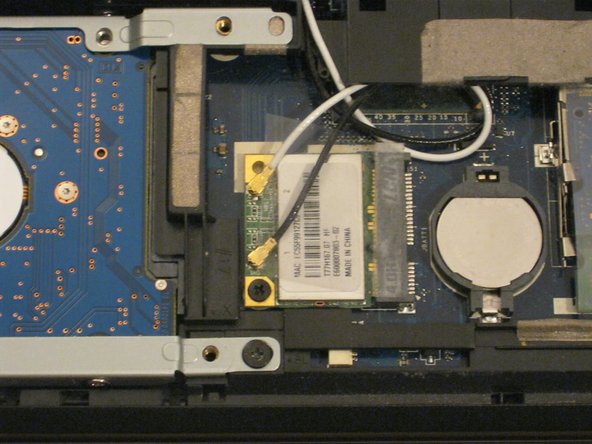
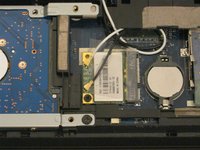
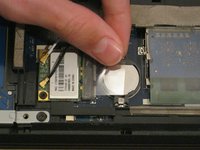
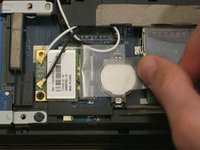
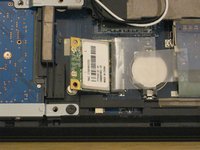
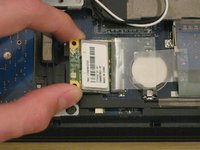
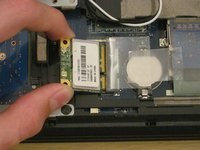
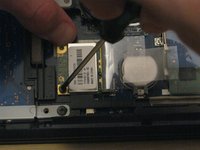
The WLAN card is protected by a transparent cellophane cover.
-
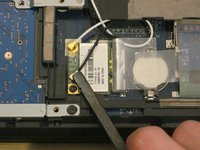
Lift this cover away from the WLAN card. It will not come free from the WLAN card socket.
-
-
-
-
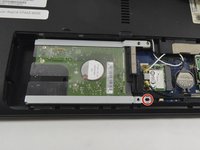
Unscrew the Phillips #00 screw which retains the hard drive in place.
-
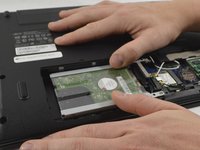
Gently slide the hard drive to the left in order to disengage the SATA connectors.
-
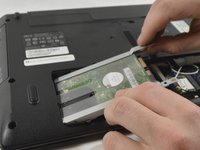
Lift the drive out of the notebook.
-
-
-
Unfold the laptop so that you are looking at the keyboard.
-
At the top right of the keyboard you will notice two clips above the 'Del' and 'End' keys.
-
Using your spudger, press these clips in to unlock the keyboard from the laptop
-
Slide the spudger along the top of the keyboard until the keyboard is able to easily be lifted up out of the laptop
-
-
-
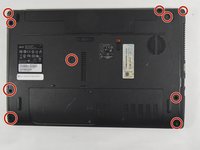
Remove the 10 Phillips #0 screws on the bottom cover.
-
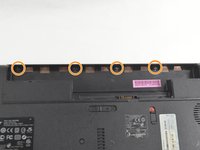
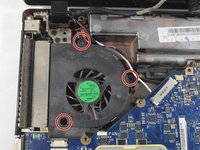
Remove the 4 Phillips #00 screws from under the battery.
-
-
-
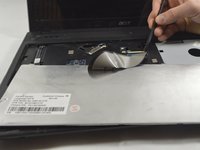
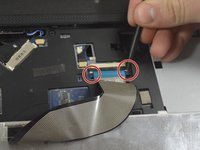
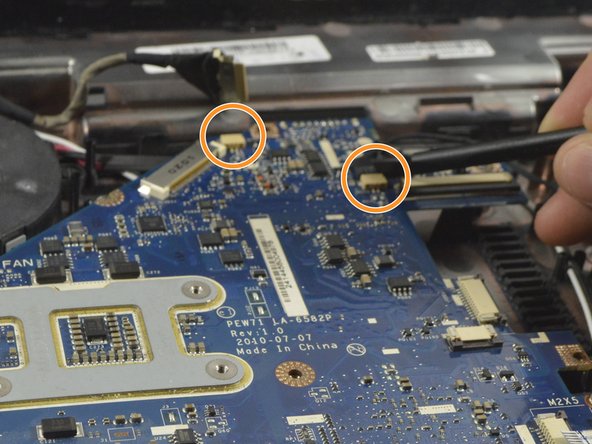
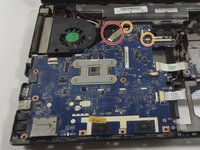
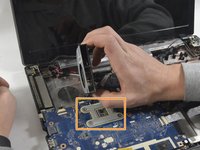
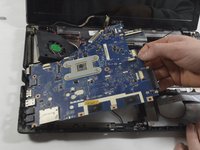
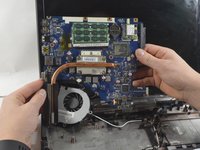
Rotate the motherboard to the right and lay it down so that the copper heatsink is facing up and parallel with the bottom of the monitor.
-
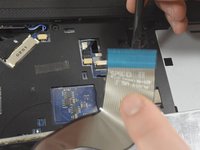
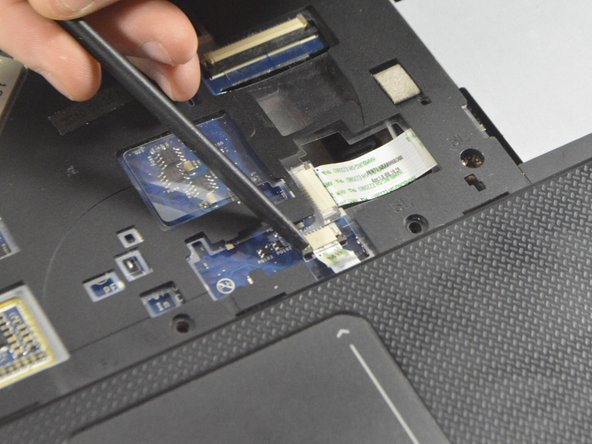
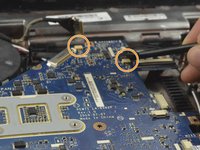
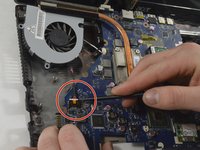
In this position the last cable to the motherboard can be disconnected using the spudger to push each end out until loose enough to pull the cable completely out.
-
The motherboard can now be completely removed from the laptop enclosure.
-
-
-
Note how the cables leading into each of the hinges are routed, then release them from their guides.
-
Whilst supporting the lid, remove 2 screws from each hinge. You will now be able to lift the lid assemble away from the body.
-
To reassemble your device, follow these instructions in reverse order.
To reassemble your device, follow these instructions in reverse order.
1Comentário do guia
“If the problem is simply that the screen is blank though undamaged as far as you can see, there is a small chance that the video cable needs reseating either at the motherboard or at its connection behind the LCD panel.”
Do of the these steps need to be taken to the above quote? Or can I just do the topside under keyboard steps. Thanks so much.


