Ir para o conteúdo principal

ASUS ZenPad S 8.0 Daughter Board Replacement

O que você precisa

  1. ASUS ZenPad S 8.0 Daughter Board Replacement, Rear Cover Removal: passo 1, imagem 1 %32 ASUS ZenPad S 8.0 Daughter Board Replacement, Rear Cover Removal: passo 1, imagem 2 %32 ASUS ZenPad S 8.0 Daughter Board Replacement, Rear Cover Removal: passo 1, imagem 3 %32
    • if present, remove the MicroSD card before disassembly. Failure to remove could lead to damage to the MicroSD card , rear cover, or MicroSD card slot.

    • Use the plastic tool to pry between the silver bezel and the back case

    • Work the tool around the device to free the back case

  2. ASUS ZenPad S 8.0 Daughter Board Replacement: passo 2, imagem 1 %32 ASUS ZenPad S 8.0 Daughter Board Replacement: passo 2, imagem 2 %32
    • Remove the ribbon cables by lifting up the white retaining flap on the ZIF connectors, then pulling the ribbon cable away.

    • Do not kink the ribbon cables as they can break easily

  3. ASUS ZenPad S 8.0 Daughter Board Replacement: passo 3, imagem 1 %32 ASUS ZenPad S 8.0 Daughter Board Replacement: passo 3, imagem 2 %32 ASUS ZenPad S 8.0 Daughter Board Replacement: passo 3, imagem 3 %32
    • Remove the battery connector by prying it up away from the device using 2 plastic pry tools

  4. ASUS ZenPad S 8.0 Daughter Board Replacement: passo 4, imagem 1 %32 ASUS ZenPad S 8.0 Daughter Board Replacement: passo 4, imagem 2 %32
    • Remove all 9 of the 1.5mm #00 Philips screws

    • Gently lift the battery out of the device

    • Use an opening pick or similar tool to separate the adhesive on the bottom and top of the battery.

  5. ASUS ZenPad S 8.0 Daughter Board Replacement, Daughter Board: passo 5, imagem 1 %32 ASUS ZenPad S 8.0 Daughter Board Replacement, Daughter Board: passo 5, imagem 2 %32 ASUS ZenPad S 8.0 Daughter Board Replacement, Daughter Board: passo 5, imagem 3 %32
    • To remove the ribbon cables, lift up the white retaining flap on the ZIF Connectors with a plastic pry tool

  6. ASUS ZenPad S 8.0 Daughter Board Replacement: passo 6, imagem 1 %32 ASUS ZenPad S 8.0 Daughter Board Replacement: passo 6, imagem 2 %32 ASUS ZenPad S 8.0 Daughter Board Replacement: passo 6, imagem 3 %32
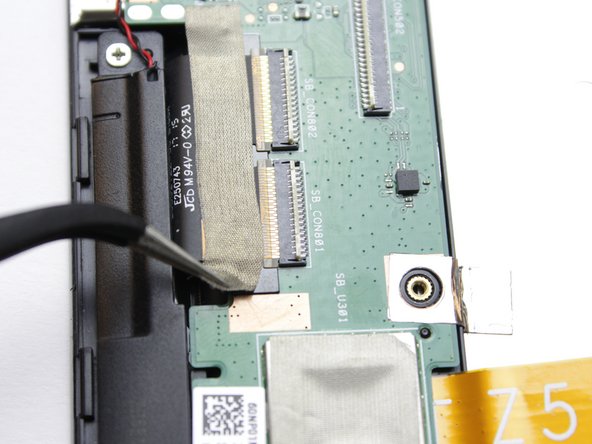
    • Using the tweezers gently pull off the tape over the ribbon cable

  7. ASUS ZenPad S 8.0 Daughter Board Replacement: passo 7, imagem 1 %32 ASUS ZenPad S 8.0 Daughter Board Replacement: passo 7, imagem 2 %32
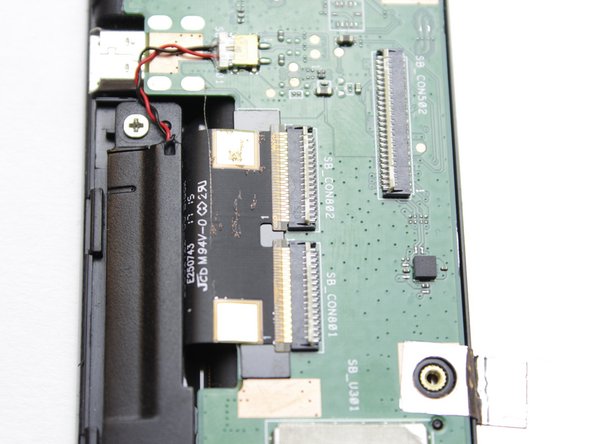
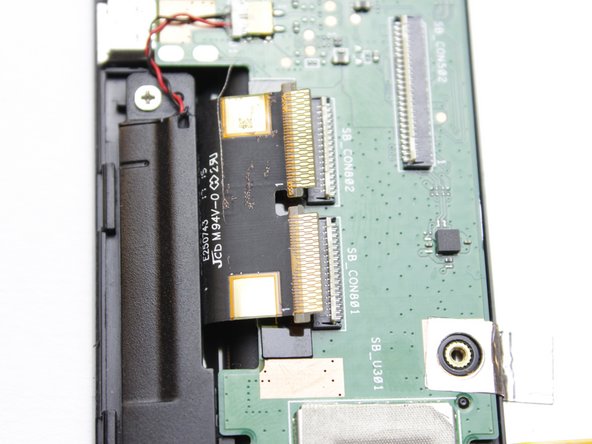
    • Using the tweezers gently pull the ribbon cable out from from the connector.

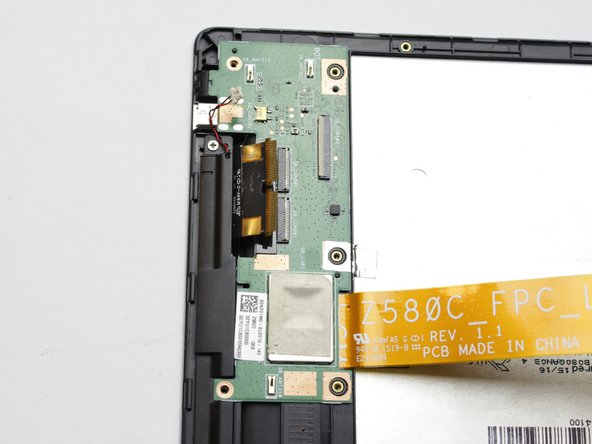
  8. ASUS ZenPad S 8.0 Daughter Board Replacement: passo 8, imagem 1 %32 ASUS ZenPad S 8.0 Daughter Board Replacement: passo 8, imagem 2 %32 ASUS ZenPad S 8.0 Daughter Board Replacement: passo 8, imagem 3 %32
    • Using the tweezers gently remove the connector from the yellow slot

  9. ASUS ZenPad S 8.0 Daughter Board Replacement: passo 9, imagem 1 %32 ASUS ZenPad S 8.0 Daughter Board Replacement: passo 9, imagem 2 %32
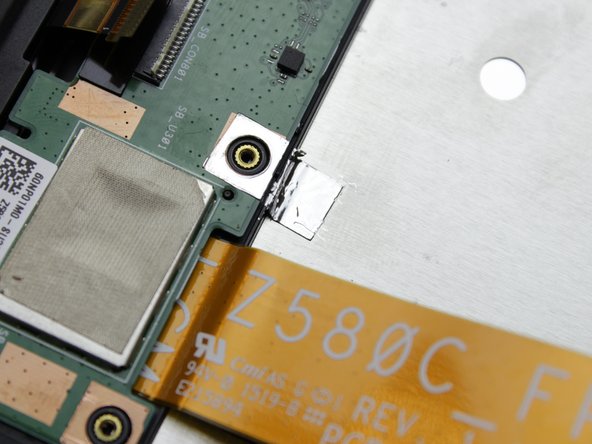
    • Cut the warranty tape connecting the daughter board to the metal plate under the battery

  10. ASUS ZenPad S 8.0 Daughter Board Replacement: passo 10, imagem 1 %32 ASUS ZenPad S 8.0 Daughter Board Replacement: passo 10, imagem 2 %32 ASUS ZenPad S 8.0 Daughter Board Replacement: passo 10, imagem 3 %32
    • Using the #00 Phillips head screwdriver, remove the remaining 1.5mm screws in the daughter board

    • Gently lift the daughter board from the device

Conclusão

To reassemble your device, follow these instructions in reverse order.

5 outras pessoas executaram este guia.

John Astfanous

Membro desde: 10/04/16

987 Reputação

Autoria de 3 guias

Equipe

USF Tampa, Team 2-2, Cagle Fall 2016 Membro de USF Tampa, Team 2-2, Cagle Fall 2016

USFT-CAGLE-F16S2G2

Membros da 4

Autoria de 5 guias

4 comentários

Thanks for helping me fix my beloved Zenpad!

Karen Detter - Responder

Karen, where did you get the replacement daughter board? I can’t find one anywhere! - Christine

Christine Collister -

Bought it here:

https://www.asusparts.eu/en/Asus-90NP01M...

This is Part Number: 32YU1CB0000,

“ASUSparts” internal part number: 90NP01M0-R10010

4andrew - Responder

Please clarify Step 9 - where exactly is the warranty tape that needs to be cut?

I have this unit and it stopped charging and stopped holding charge- I do not want to buy another unit as I invested a LOT of time in setting this one up…

Thanks

vshulyaker@gmail.com

Vladimir Shulyaker - Responder

Adicione um comentário

Exibir estatísticas:

Últimas 24 horas: 1

Últimos 7 dias: 11

Últimos 30 dias: 22

Duração total: 3,724