Ir para o conteúdo principal

ASUS Q536F Display Assembly Replacement

O que você precisa

  1. ASUS Q536F Display Assembly Replacement, Back Panel: passo 1, imagem 1 %32 ASUS Q536F Display Assembly Replacement, Back Panel: passo 1, imagem 2 %32
    • Remove ten 2 mm screws using a Phillips #0 screwdriver.

    • Remove the screw in the center using a T4 Torx screwdriver.

    • Use an iFixit opening tool to pry open the back panel.

    • It's normal to hear some cracking, but proceed with caution.

  2. ASUS Q536F Display Assembly Replacement, Display Assembly: passo 2, imagem 1 %32
    • Remove the six 2 mm screws from the hinges using a Phillips #0 screwdriver.

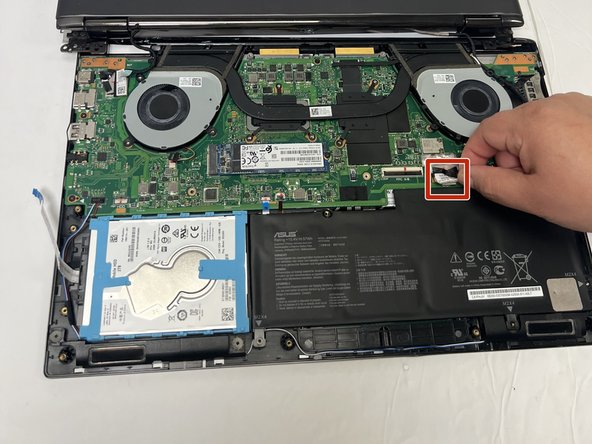
  3. ASUS Q536F Display Assembly Replacement: passo 3, imagem 1 %32 ASUS Q536F Display Assembly Replacement: passo 3, imagem 2 %32 ASUS Q536F Display Assembly Replacement: passo 3, imagem 3 %32
    • Using your fingers, unplug the two power cables connecting the display to the motherboard.

    • Remove the display assembly from the laptop.

Conclusão

To reassemble your device, follow these instructions in reverse order.

Kristen Gismondi

Membro desde: 11/12/14

85.242 Reputação

Autoria de 215 guias

Equipe

iFixit Membro de iFixit

Staff

Membros da 140

Autoria de 18.077 guias

0 comentários

Adicione um comentário

Exibir estatísticas:

Últimas 24 horas: 0

Últimos 7 dias: 2

Últimos 30 dias: 5

Duração total: 32