Introdução
This guide will show you how to replace the speakers for an Asus MeMO Pad 7. If you want to listen a music or watch a video and the speakers are not working properly, this guide will help you to replace both speakers on the tablet.
O que você precisa
-
-
Make sure your device is turned off. Then with a plastic opening tool, carefully remove the back panel by carefully working your way around the perimeter.
-
-
-
Disconnect the ZIF connectors to release the data cables holding the battery in. Use tweezers to do this.
-
-
-
-
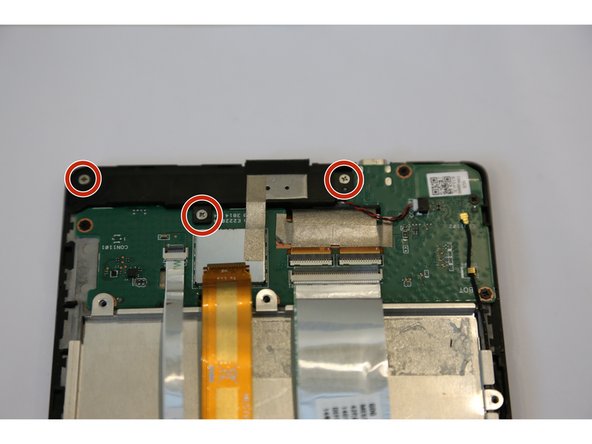
After removing the battery from the device, locate the volume connectors on the side of the device.
-
Using tweezers, carefully remove the volume connectors and place it to the side.
-
-
-
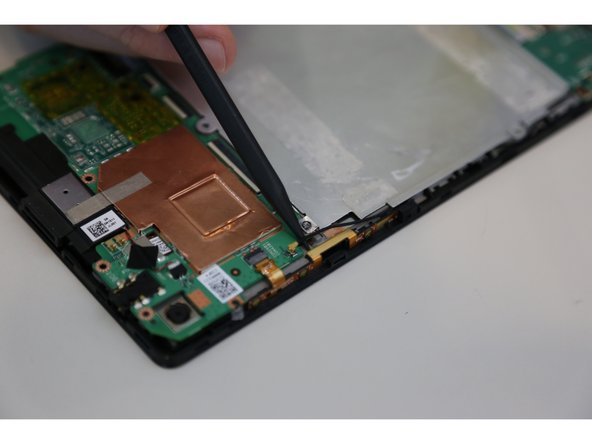
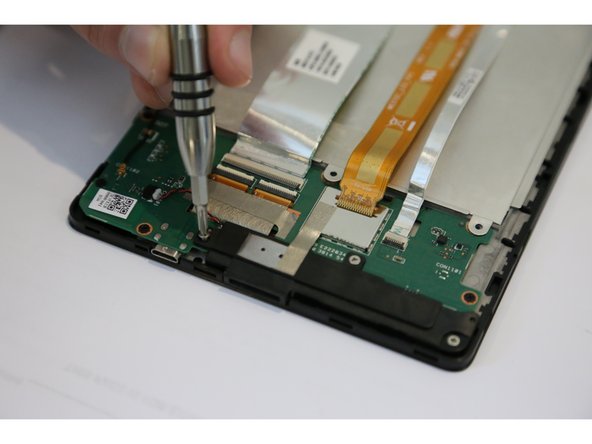
Locate the speaker connector on the motherboard.
-
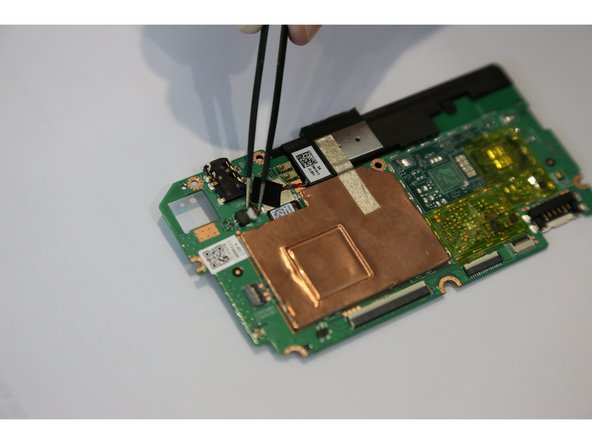
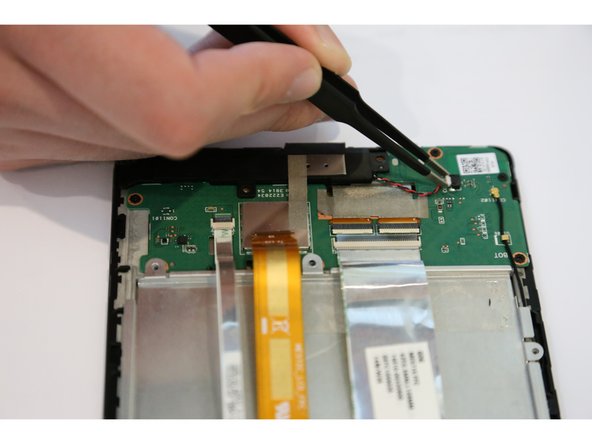
Using tweezers, carefully remove the speaker connector.
-
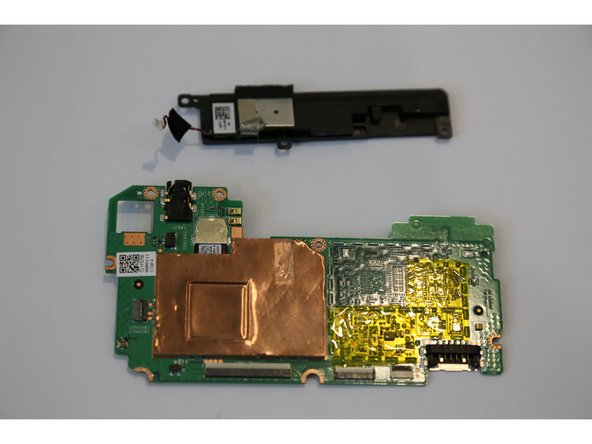
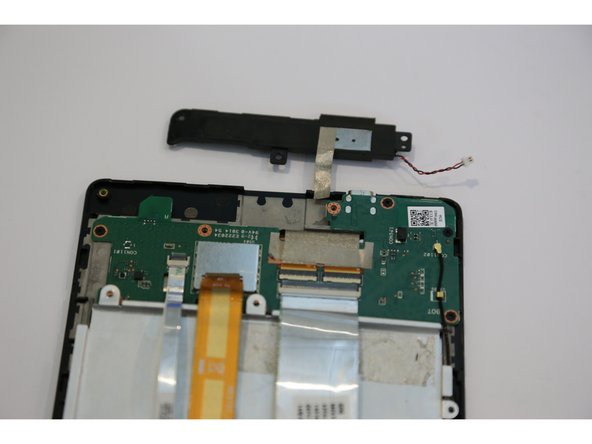
After removing the speaker connector, you can easily take the speaker out.
-


To reassemble your device, follow these instructions in reverse order.
To reassemble your device, follow these instructions in reverse order.
Equipe

USF Tampa, Team 14-23, Meier Fall 2015 Membro de USF Tampa, Team 14-23, Meier Fall 2015
USFT-MEIER-F15S14G23
Membros da 4
Autoria de 14 guias