Introdução
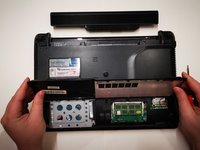
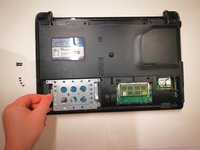
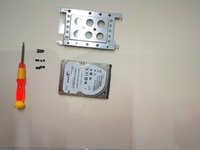
ASUS k43sv notebook computer is equipped with a mechanical hard disk. As we all know, the transmission speed of the mechanical hard disks is slow. After using it for a period of time, the computer will get stuck and wait for a long time. The solid-state disk has great advantages in storage and transmission efficiency. In this guide, people will be taught how to replace the solid-state drive for Asus k43sv notebook computers.
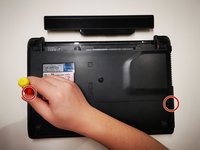
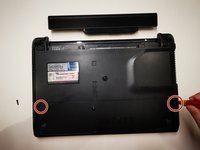
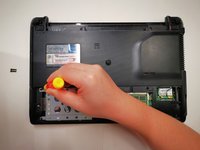
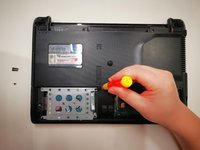
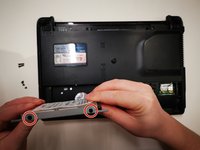
Replacing the solid-state drive for the laptop is a relatively simple operation, but some details should be paid attention to, otherwise, some interfaces may be permanently damaged due to improper operation. This guide will mark more details and points needing attention. You can intuitively see the positions needing attention in each step, so as to reduce the possibility of misoperation.
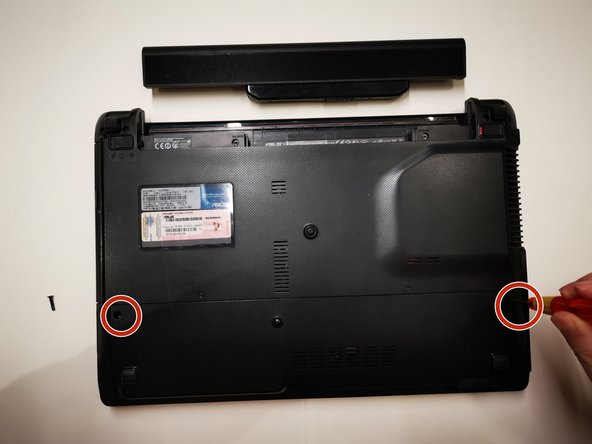
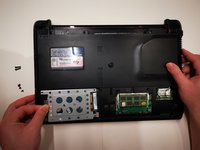
Of course, we need to replace the solid-state drive for the laptop. Before the operation, you should prepare a suitable solid-state drive in advance and backup the data. Before the maintenance, you should disconnect the external power supply so that the maintenance can be completed smoothly.
This guide can be more widely used in ASUS K /A series (k43, K53, A43, A53).
O que você precisa


To reassemble your device, follow these instructions in reverse order.
Cancelar: não concluí este guia.
3 outras pessoas executaram este guia.

Equipe

York University, Team S-14, Woodhouse Winter 2022 Membro de York University, Team S-14, Woodhouse Winter 2022
YORK-WOODHOUSE-W22SSG14
1 Membro
1 Guia de autoria