Introdução
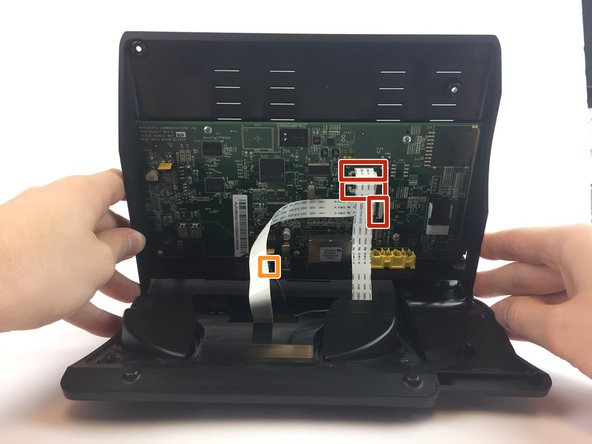
The video screen displays video sent from a device you have connected to (i.e. another Iris WG4K). If your screen is glitched, foggy, or does not display any video, your video screen may be faulty and may need replacing. This guide is here to help.
O que você precisa
-
-
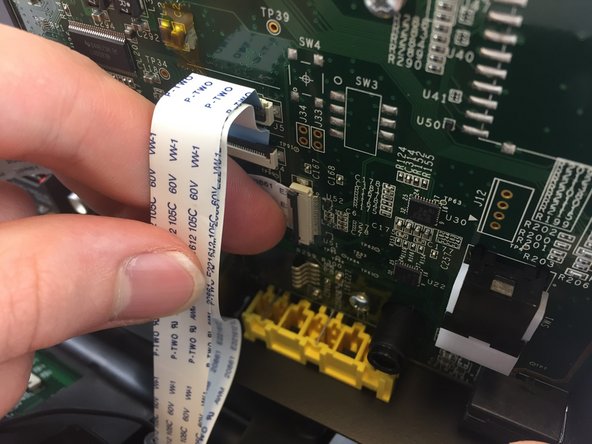
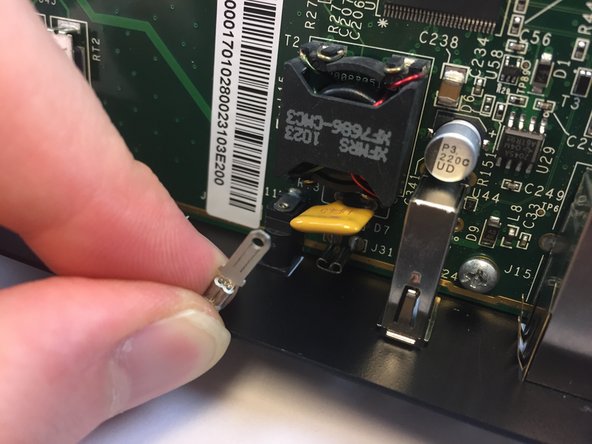
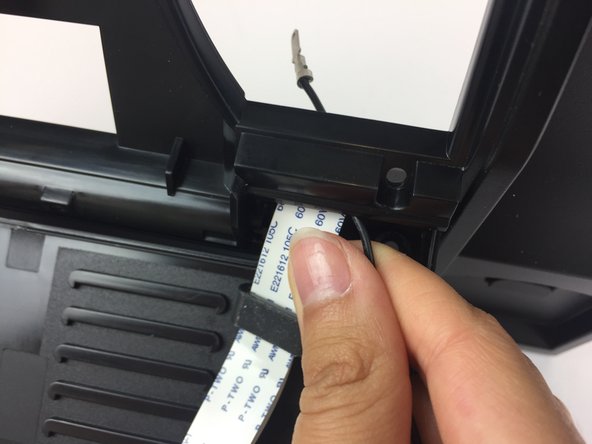
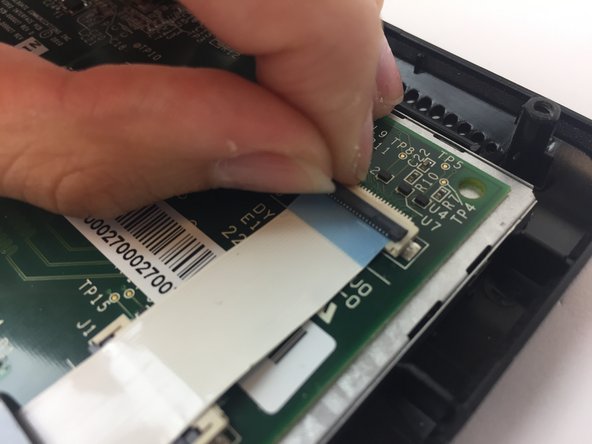
Press upwards with your index finger on the 4P4C connector as shown in the image.
-
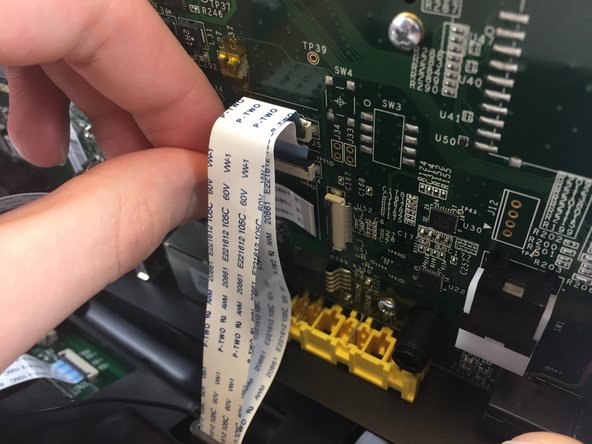
Pull the connector gently out of its socket.
-
-
-
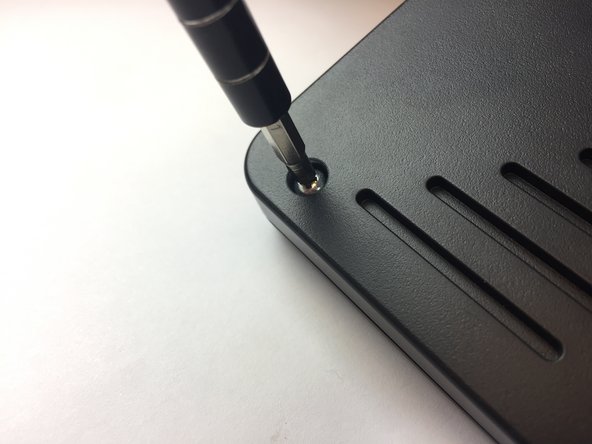
Flip the main body of the video phone so that the bottom is facing up.
-
Use the Phillips #0 Screwdriver to remove the four Phillips head screws (6 mm) highlighted by the red circles.
-
-
-
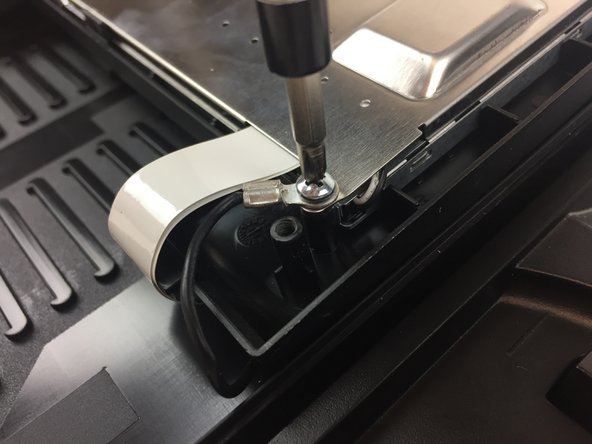
Use the Phillips #0 Screwdriver to remove the four Phillips head screws (6 mm) highlighted by the red circles.
-
-
-
-
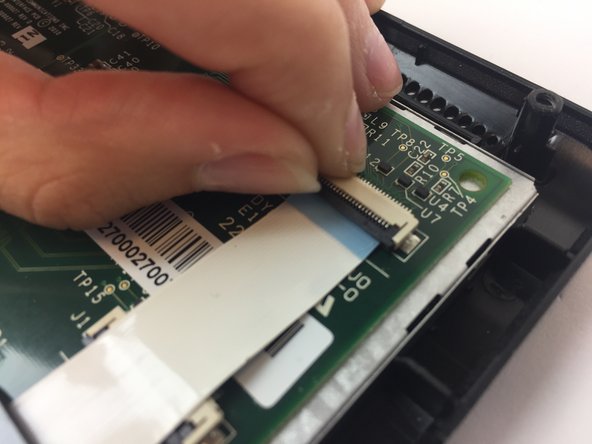
Note that the video screen is no longer attached to the top case, place in on a flat surface.
-
Gently lift of the silver casing.
-


To reassemble your device, follow these instructions in reverse order.
To reassemble your device, follow these instructions in reverse order.
Cancelar: não concluí este guia.
2 outras pessoas executaram este guia.

Equipe

USF Tampa, Team 20-4, Remmell Spring 2017 Membro de USF Tampa, Team 20-4, Remmell Spring 2017
USFT-REMMELL-S17S20G4
Membros da 4
Autoria de 20 guias