Introdução
If your laptop is currently experiencing full memory then this guide below will show you step by step how to replace the ACER Aspire 7750G 6645 Hard Drive. Once the new Hard Drive is installed the memory of the laptop will be empty.
O que você precisa
-
-
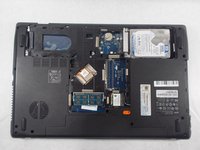
Remove three 60mm Phillips #00 screws that are holding the bottom cover in place.
-
-
-
-
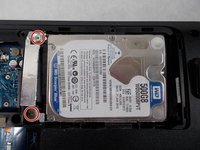
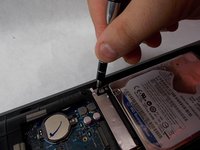
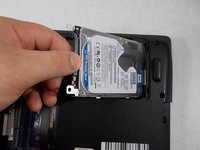
Remove two 4mm Phillips #00 screws that are holding the hard drive in place.
-


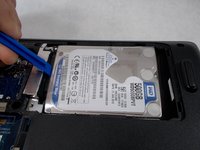
To reassemble your device, follow these instructions in reverse order.
To reassemble your device, follow these instructions in reverse order.
Cancelar: não concluí este guia.
Uma outra pessoa concluiu este guia.
Equipe

UMass Dartmouth, Team S1-G2, Botvin Spring 2019 Membro de UMass Dartmouth, Team S1-G2, Botvin Spring 2019
UMASSD-BOTVIN-S19S1G2
4 Membros
Autoria de 6 guias