Ir para o conteúdo principal

2013-2015 Chevrolet Malibu Factory BackUp Camera Replacement

O que você precisa

  1. 2013-2015 Chevrolet Malibu Factory BackUp Camera Replacement, Camera: passo 1, imagem 1 %32 2013-2015 Chevrolet Malibu Factory BackUp Camera Replacement, Camera: passo 1, imagem 2 %32 2013-2015 Chevrolet Malibu Factory BackUp Camera Replacement, Camera: passo 1, imagem 3 %32
    • Mount the new camera in the space provided.

    • The camera routes through the bumper of the car and not the license plate.

  2. 2013-2015 Chevrolet Malibu Factory BackUp Camera Replacement: passo 2, imagem 1 %32 2013-2015 Chevrolet Malibu Factory BackUp Camera Replacement: passo 2, imagem 2 %32 2013-2015 Chevrolet Malibu Factory BackUp Camera Replacement: passo 2, imagem 3 %32
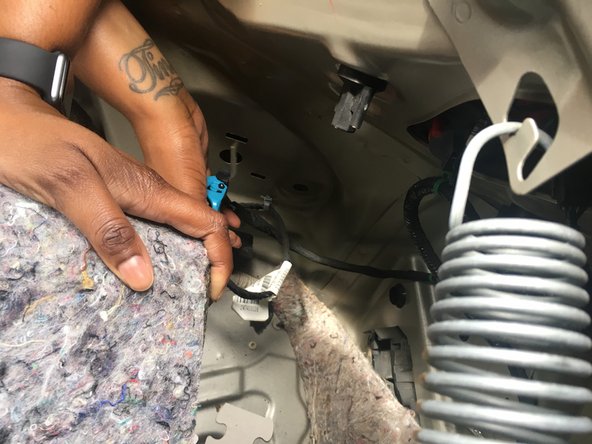
    • Run the new wires through the holes provided, and cover with electrical tape.

    • The new cords will simply connect where the faulty wires were removed.

  3. 2013-2015 Chevrolet Malibu Factory BackUp Camera Replacement: passo 3, imagem 1 %32 2013-2015 Chevrolet Malibu Factory BackUp Camera Replacement: passo 3, imagem 2 %32 2013-2015 Chevrolet Malibu Factory BackUp Camera Replacement: passo 3, imagem 3 %32
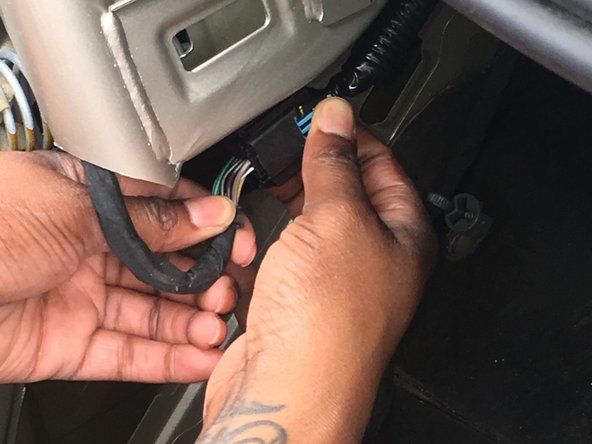
    • Coordinate the colored wires to keep the repair simple. Match the new wires to the existing wires through the splitter. Use a wire splitter to expose the wire.

    • Then simply connect the wires to the wires for reverse light.

  4. 2013-2015 Chevrolet Malibu Factory BackUp Camera Replacement: passo 4, imagem 1 %32
    • The green wire is the camera connection or positive wire and the black is the ground.

    • This line should already be connected correctly because you should have only switched wires that connected to the camera.

  5. 2013-2015 Chevrolet Malibu Factory BackUp Camera Replacement: passo 5, imagem 1 %32
    • Make sure that the reverse light is working properly when the car is in reverse.

  6. 2013-2015 Chevrolet Malibu Factory BackUp Camera Replacement: passo 6, imagem 1 %32
    • Make sure the display is clear and working properly.

Conclusão

To reassemble your device, follow these instructions in reverse order.

2 outras pessoas executaram este guia.

2 comentários

The photos you show in steps 2 & 3 - is that the trunk only?

jrselinger24 - Responder

Hello. I am trying to replace my camera. But not sure how to remove it or where to buy a replacement.

Jonathan Anderson - Responder

Adicione um comentário

Exibir estatísticas:

Últimas 24 horas: 13

Últimos 7 dias: 45

Últimos 30 dias: 199

Duração total: 13,208