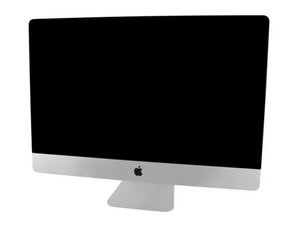
Sadly, you have to go back and inspect the logic board as something was damaged along the way. Try reseating the CPU and make sure the screws are tightened in the correct order. There is a trick here think how you tighten a tire on your car using the star pattern to tighten the lug nuts!
We recommend using the RIST method of lug nut installation which the Tire Industry Association refers to in its Automotive Tire Service training program. The RIST method involves: (R) Removing debris from mounting surfaces, (I) Inspecting components for damage or excessive wear, (S) Snugging the lugs in a star pattern, and (T) Torquing to manufacturer specifications. Follow all instructions in the order presented.
1. Clean and inspect all stud threads and mounting surfaces before installation. Threads must not be lubricated and must be free of corrosion, rust, burrs, fractures, and damage. Replace studs if they are corroded, stripped, damaged, or if any fractures are found.
Place the wheel back onto the vehicle hub. Match the bolt circle of the wheel to that of your vehicle. The wheel must make full contact with the mating surface of the hub.
2. Install your lug nuts and tighten with your hand in a star, or criss cross, pattern until you cannot hand tighten anymore. Refer to our wheel torque sequence chart to determine proper pattern and sequence for your installation. Do not force your lugs on with a wrench. If they cannot be turned by hand, stop installation and contact a Driven Products Fitment Specialist.
3. Once all lug nuts have been tightened to meet minimum thread engagement and your wheel is sitting flush against the mating surface, lower the vehicle to ground and tighten all lug nuts to the proper torque specifications shown in your vehicle owner’s manual. We recommend using a calibrated torque wrench for this step. Apply torque evenly by repeating the star, or criss cross, pattern until the desired torque is reached.
Always re-torque your lug nuts after the first 25 miles of use each time the lug nuts are removed and installed. Failure to re-torque could result in unsafe driving conditions.


 1
1 
 329
329  971
971
2 comentários
Reduce the RAM and if you can try booting up on an external drive with MacOS 10.12 Sierra.
por Dan
@danj
Hi Dan,
I did as you told me the same result, I boot from a external had but the progress bar don’t even move. Changing the ram blades from slots makes the boot after the chime to the logo take longer
I manage to stop the kernel panic removing the NVme ssd but the iMac keeps restarting :(
When I try to boot from a external the progress bar get stuck and doesn’t even show like starting to load
por Jose F